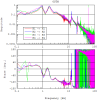
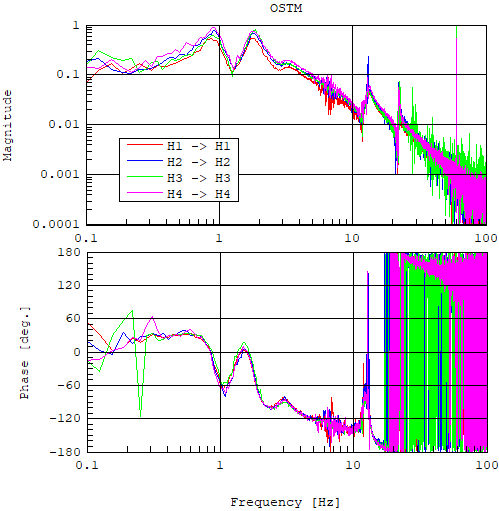
[Aso, Washimi, Ito, Takahashi]
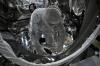
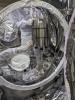
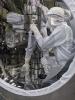
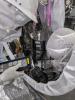
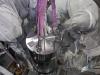
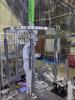
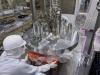
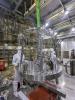
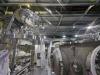
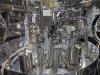
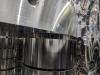
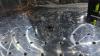
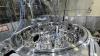
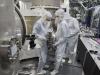
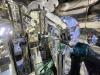
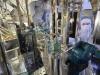
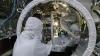
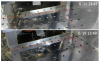
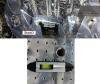
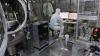
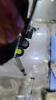
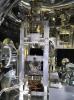
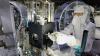
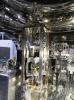
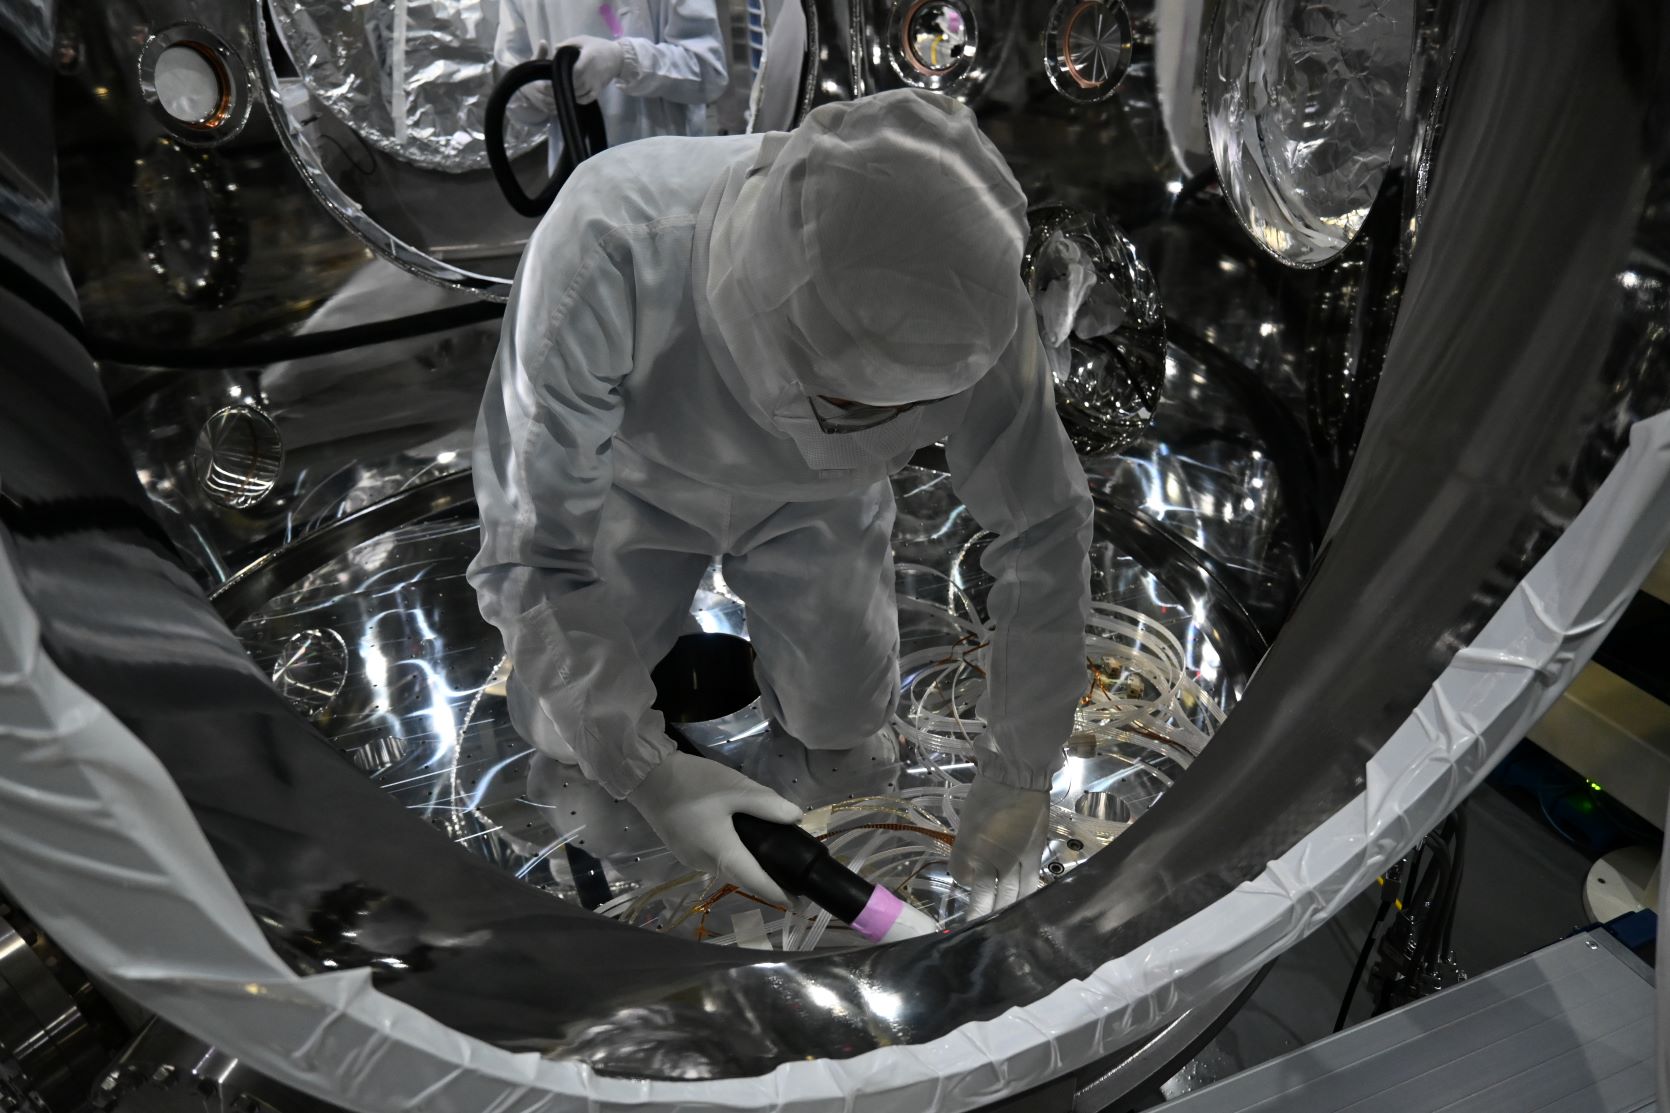
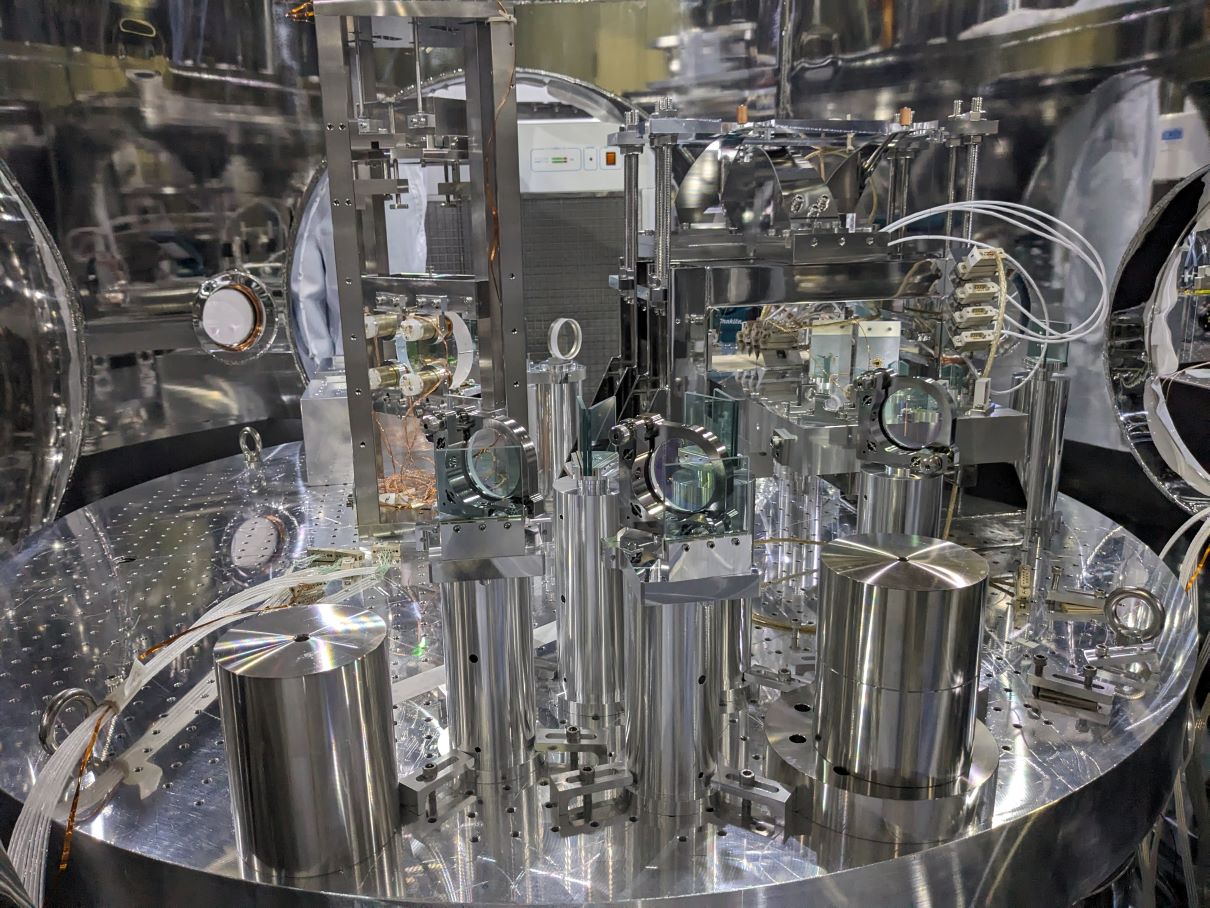
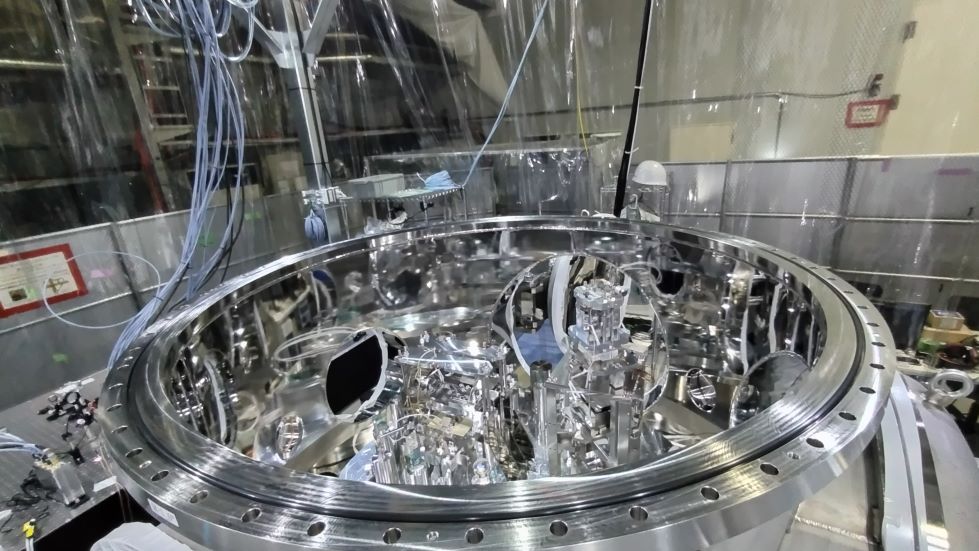
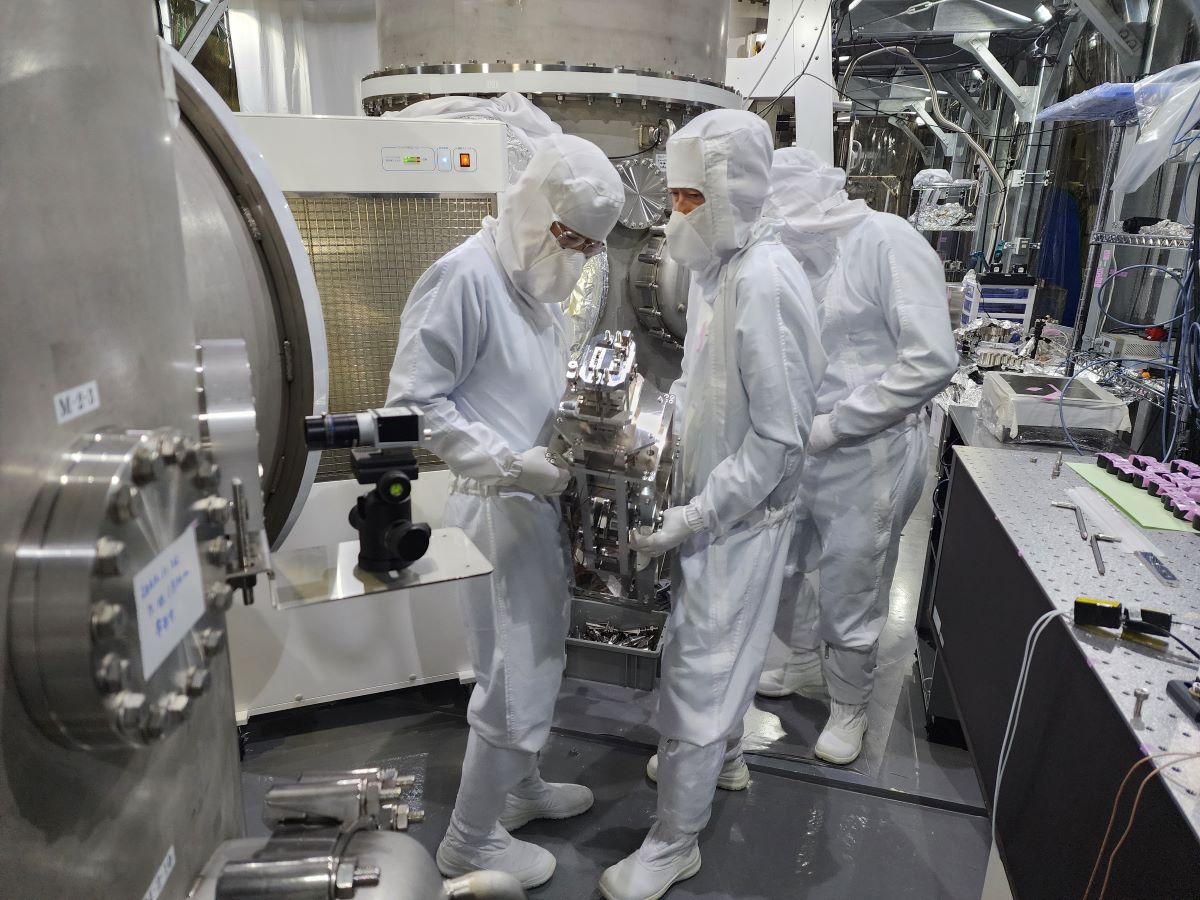
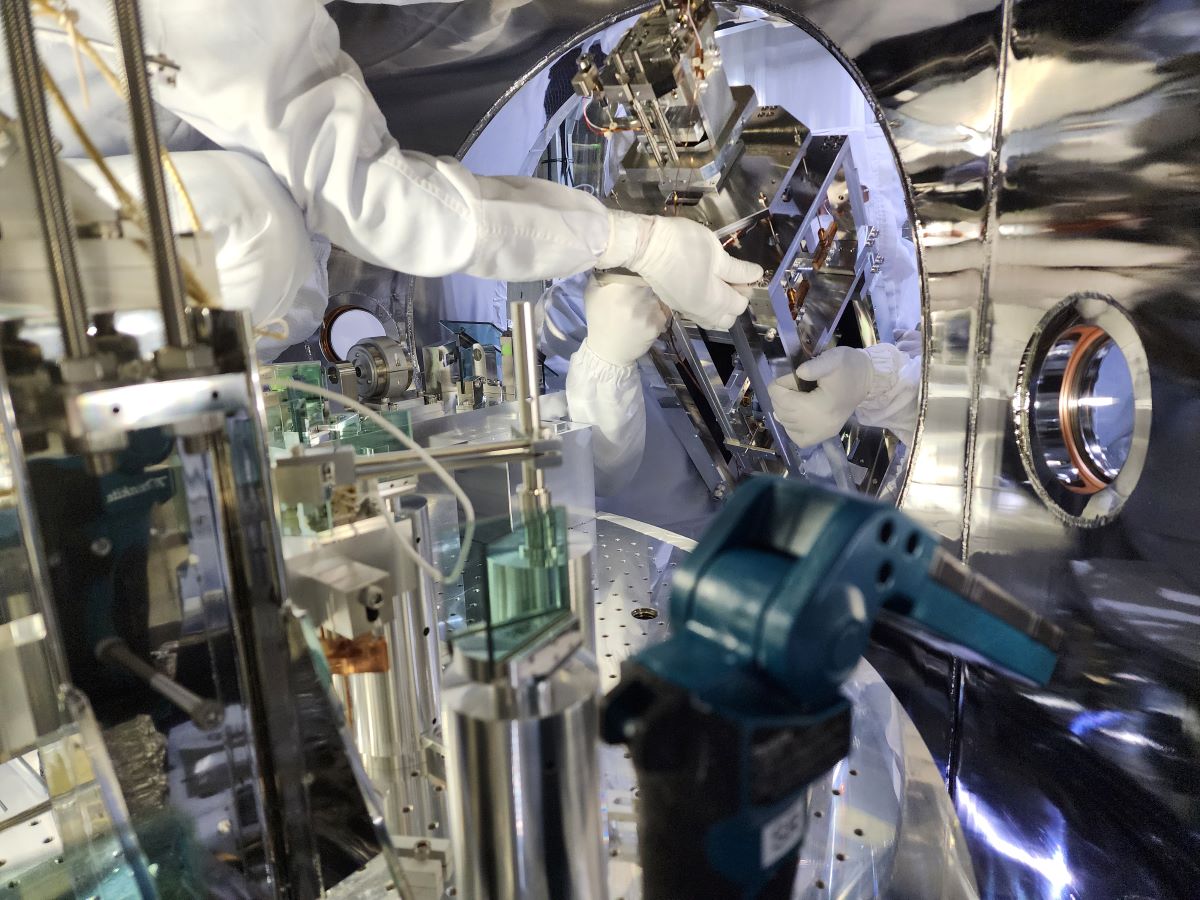
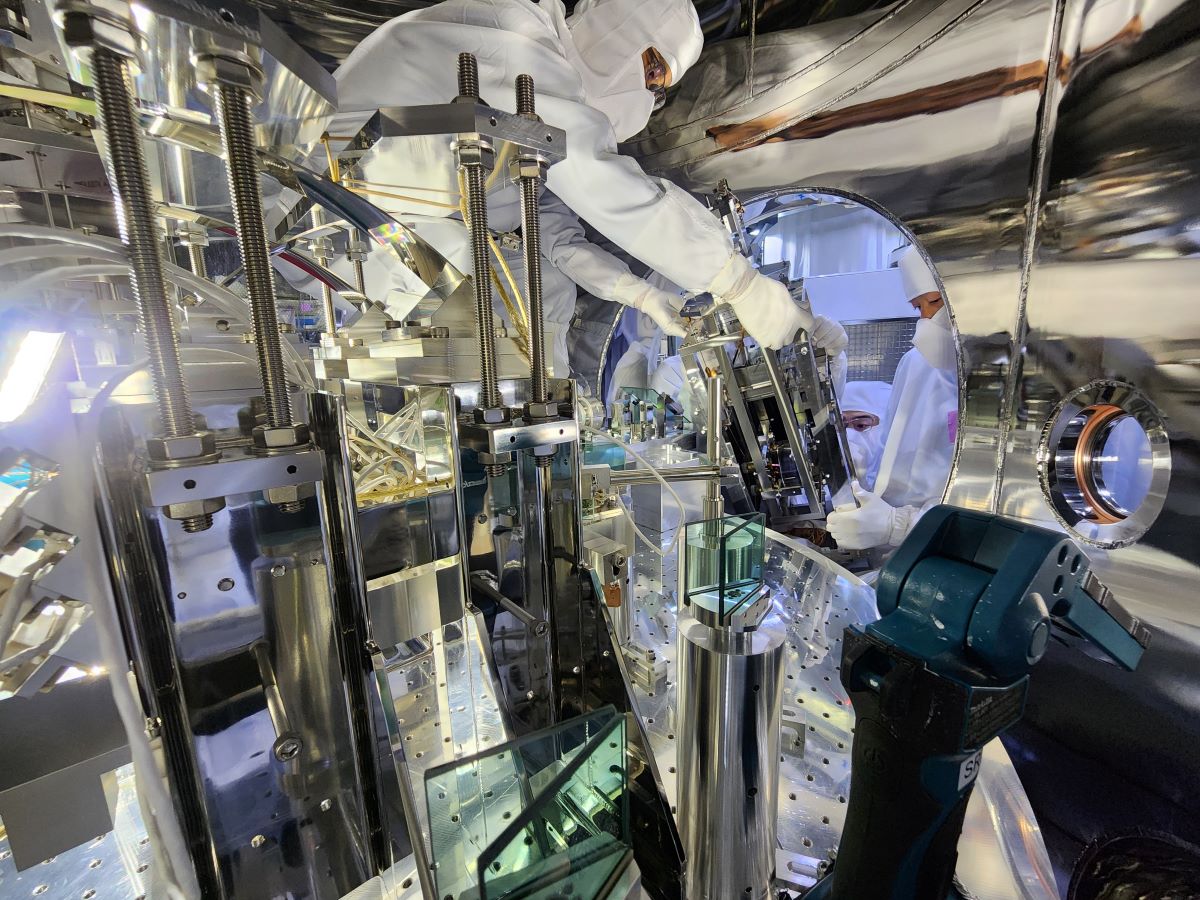
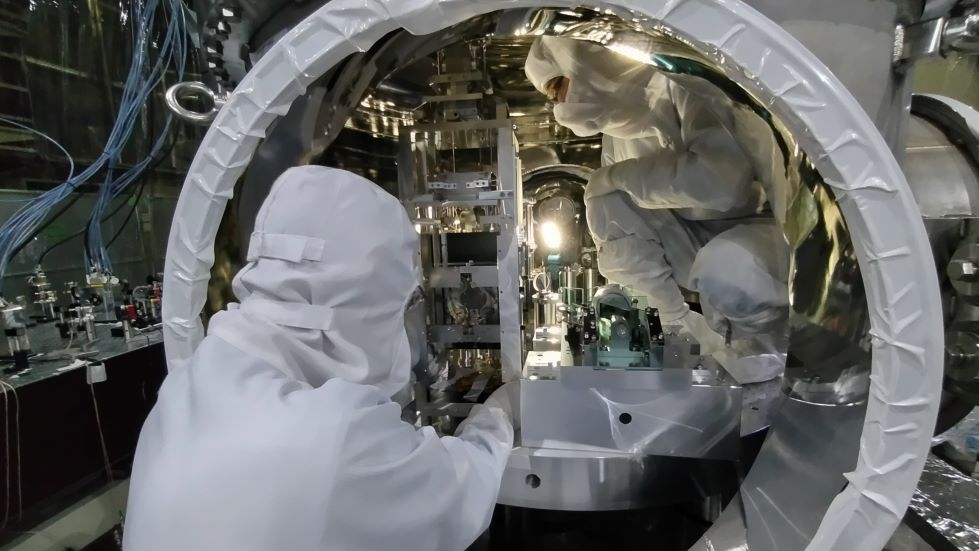
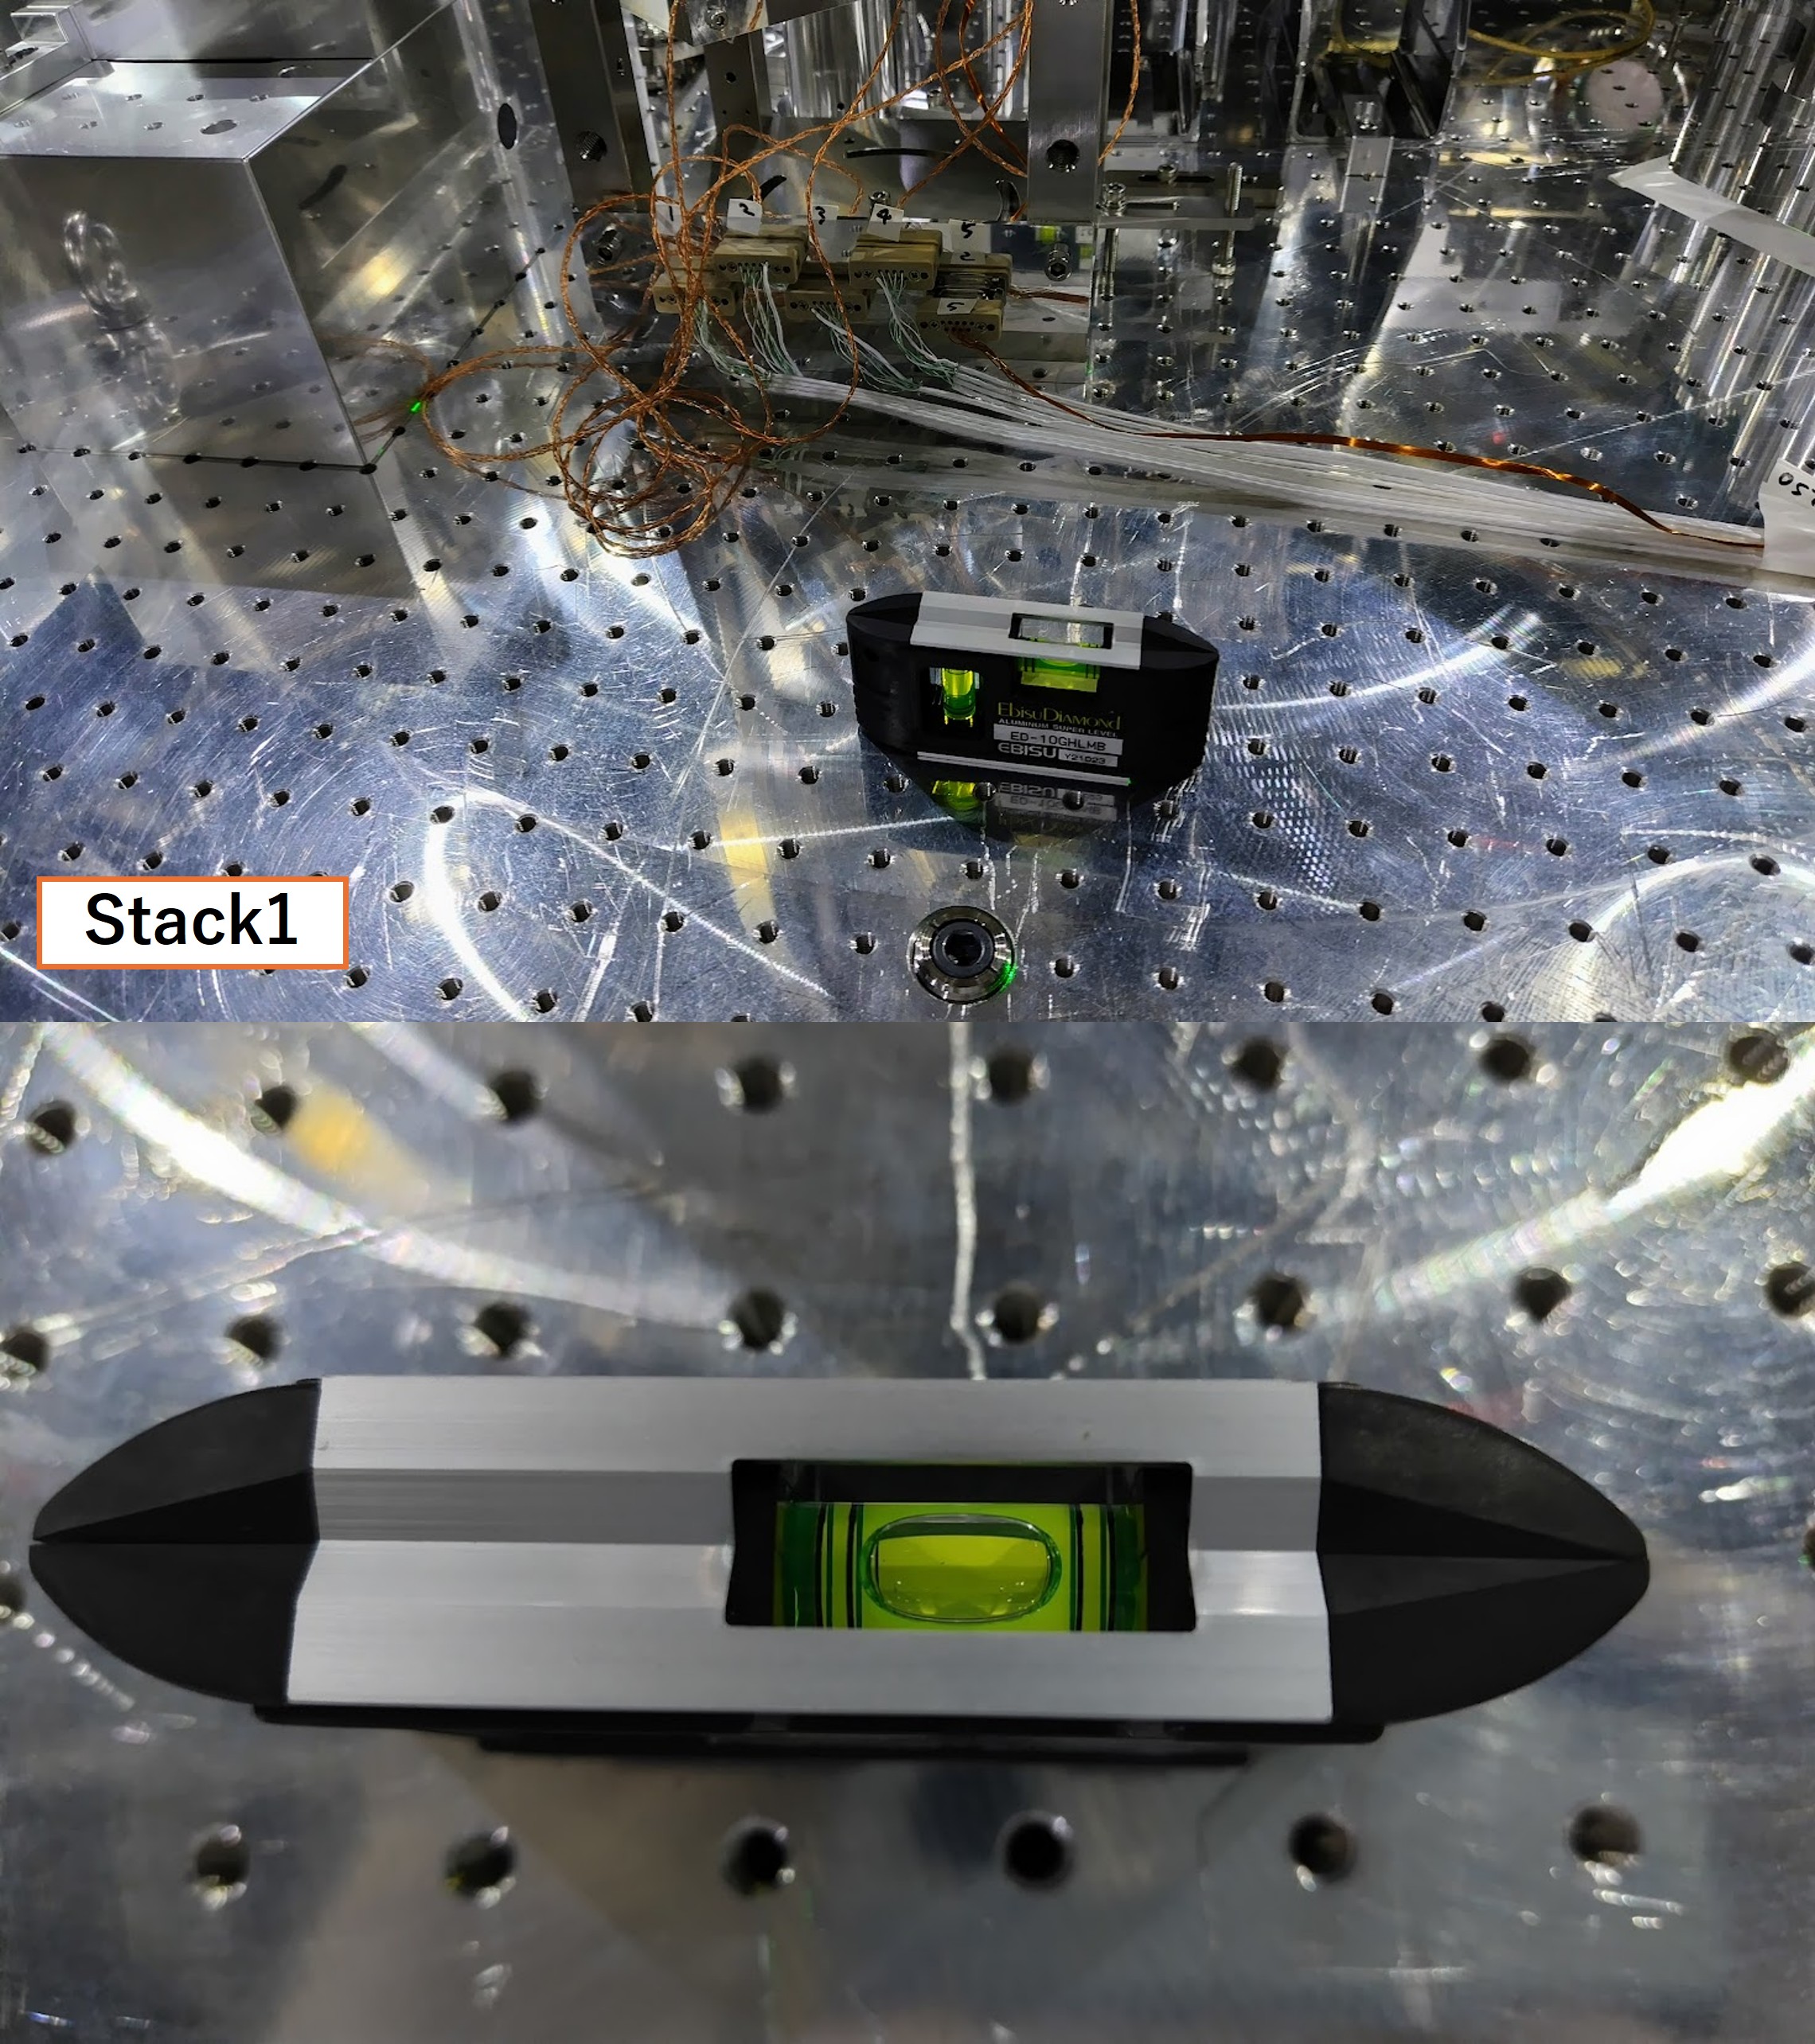
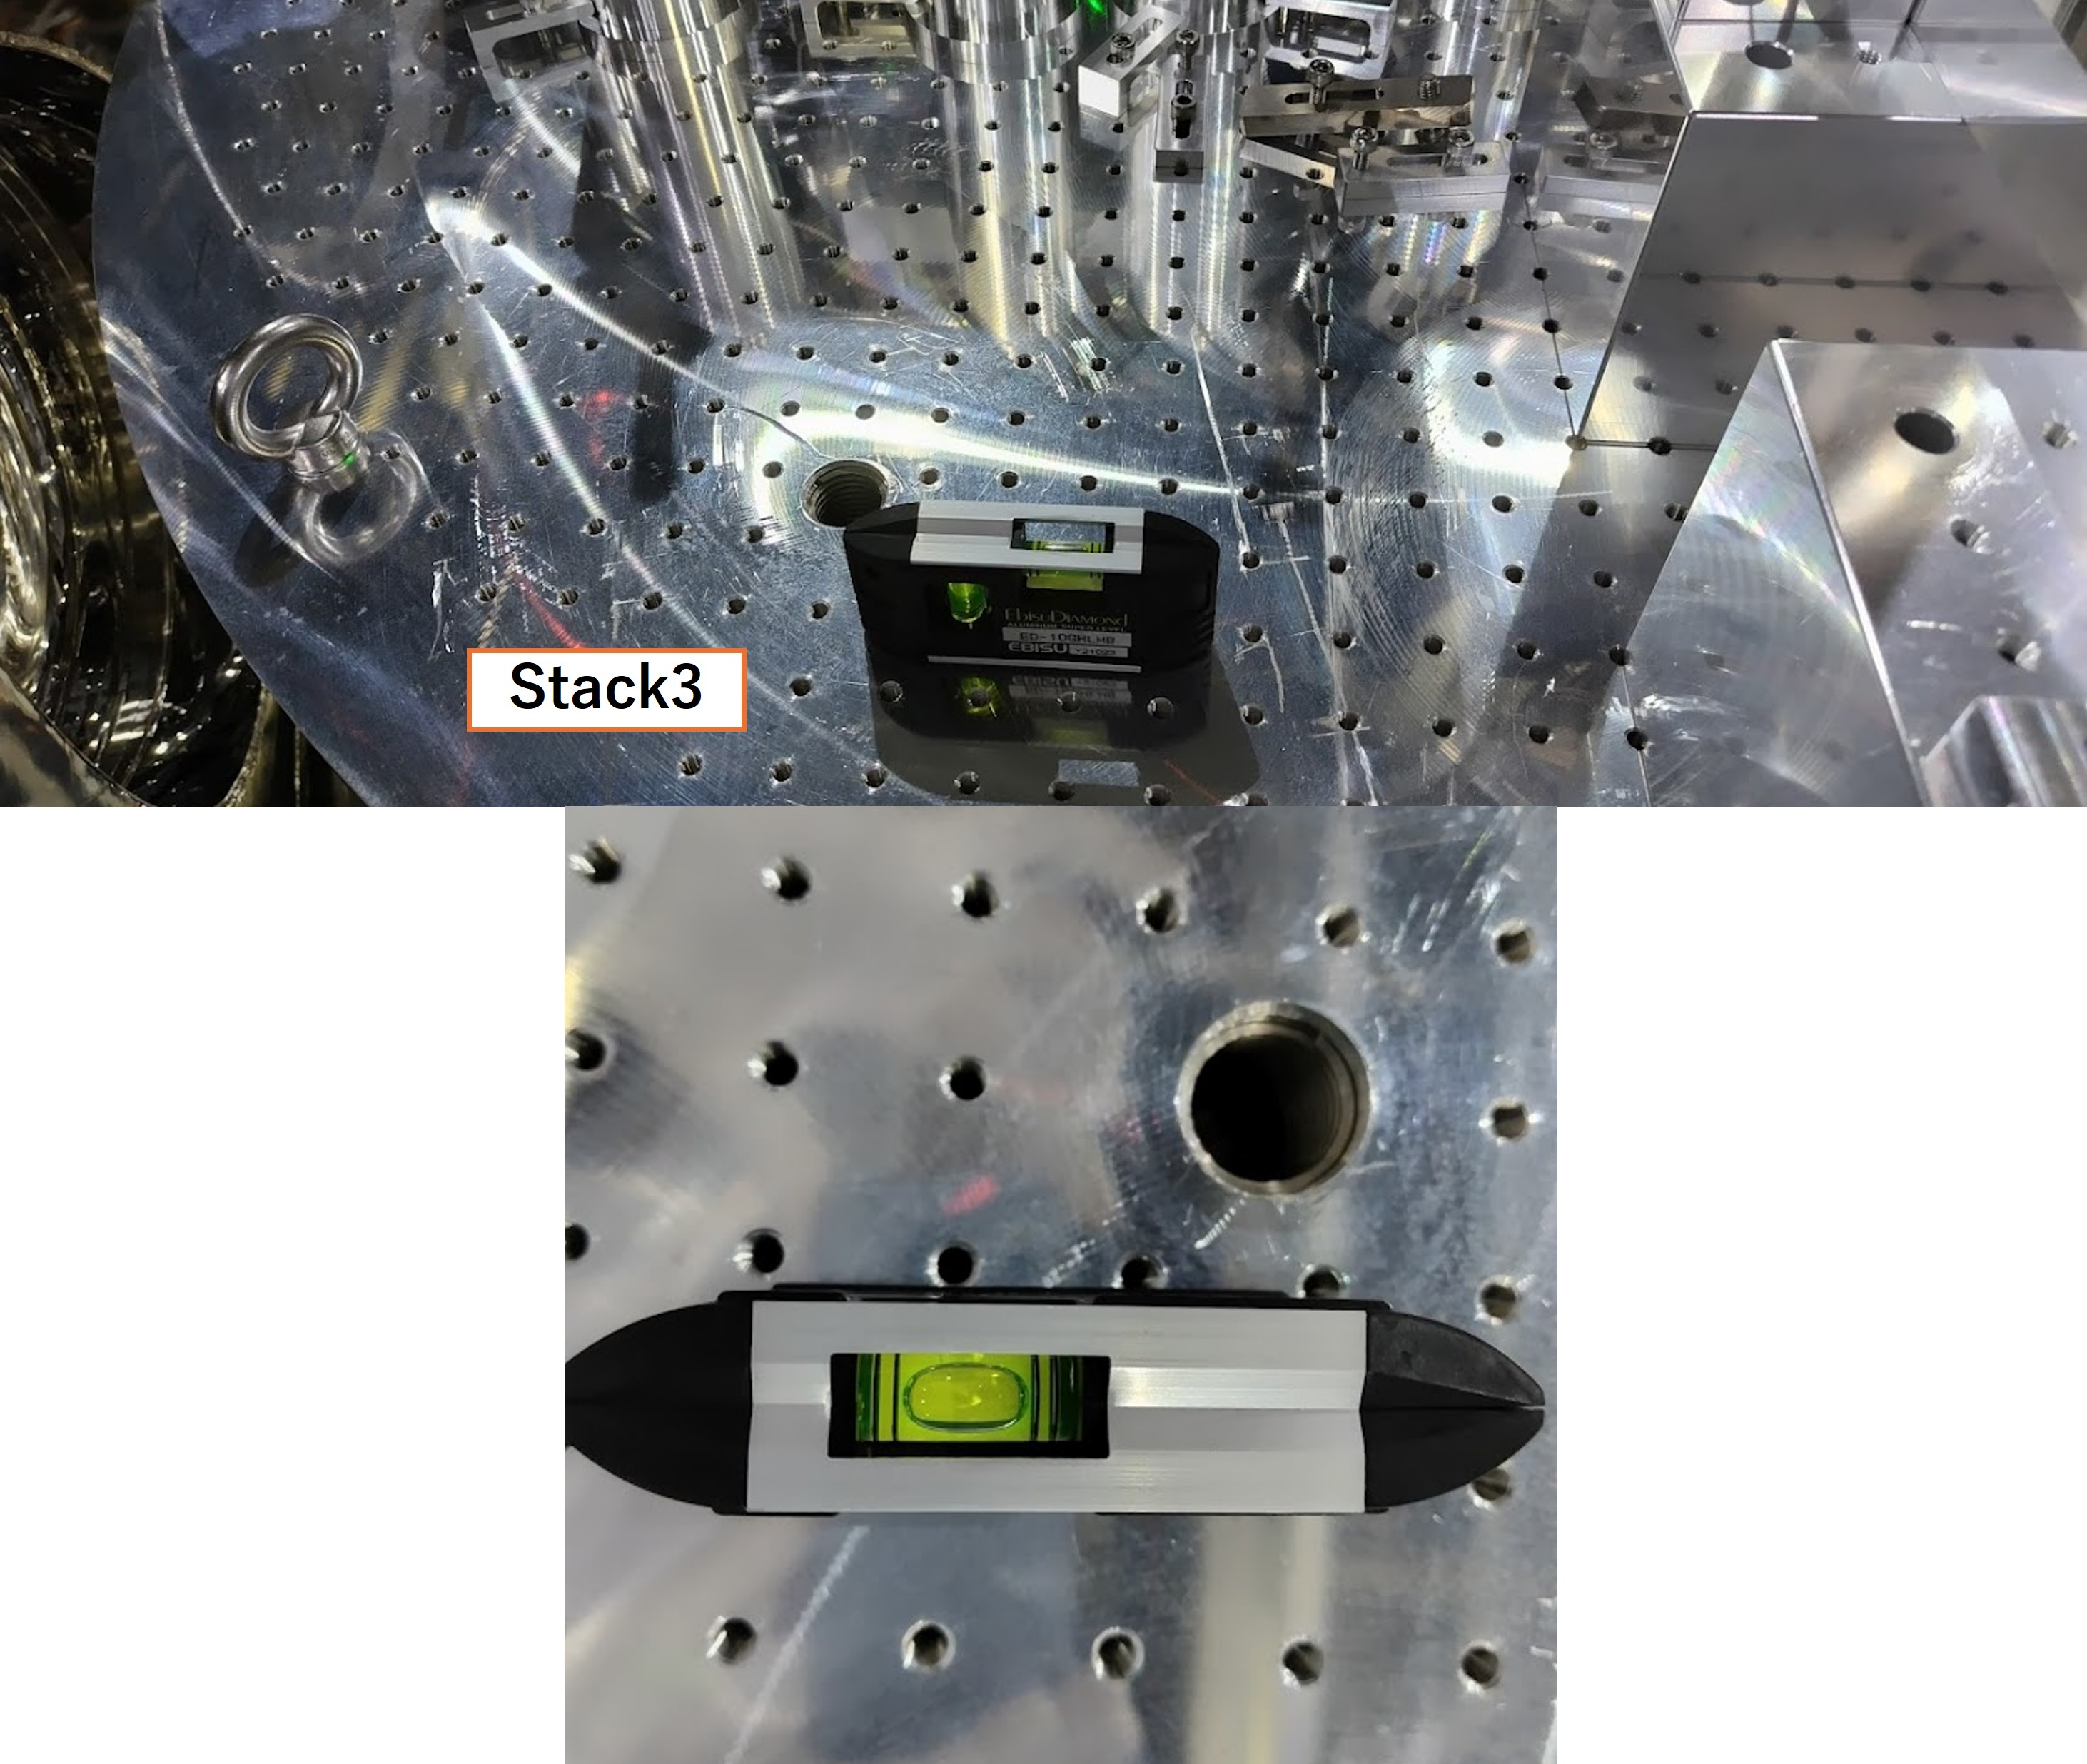
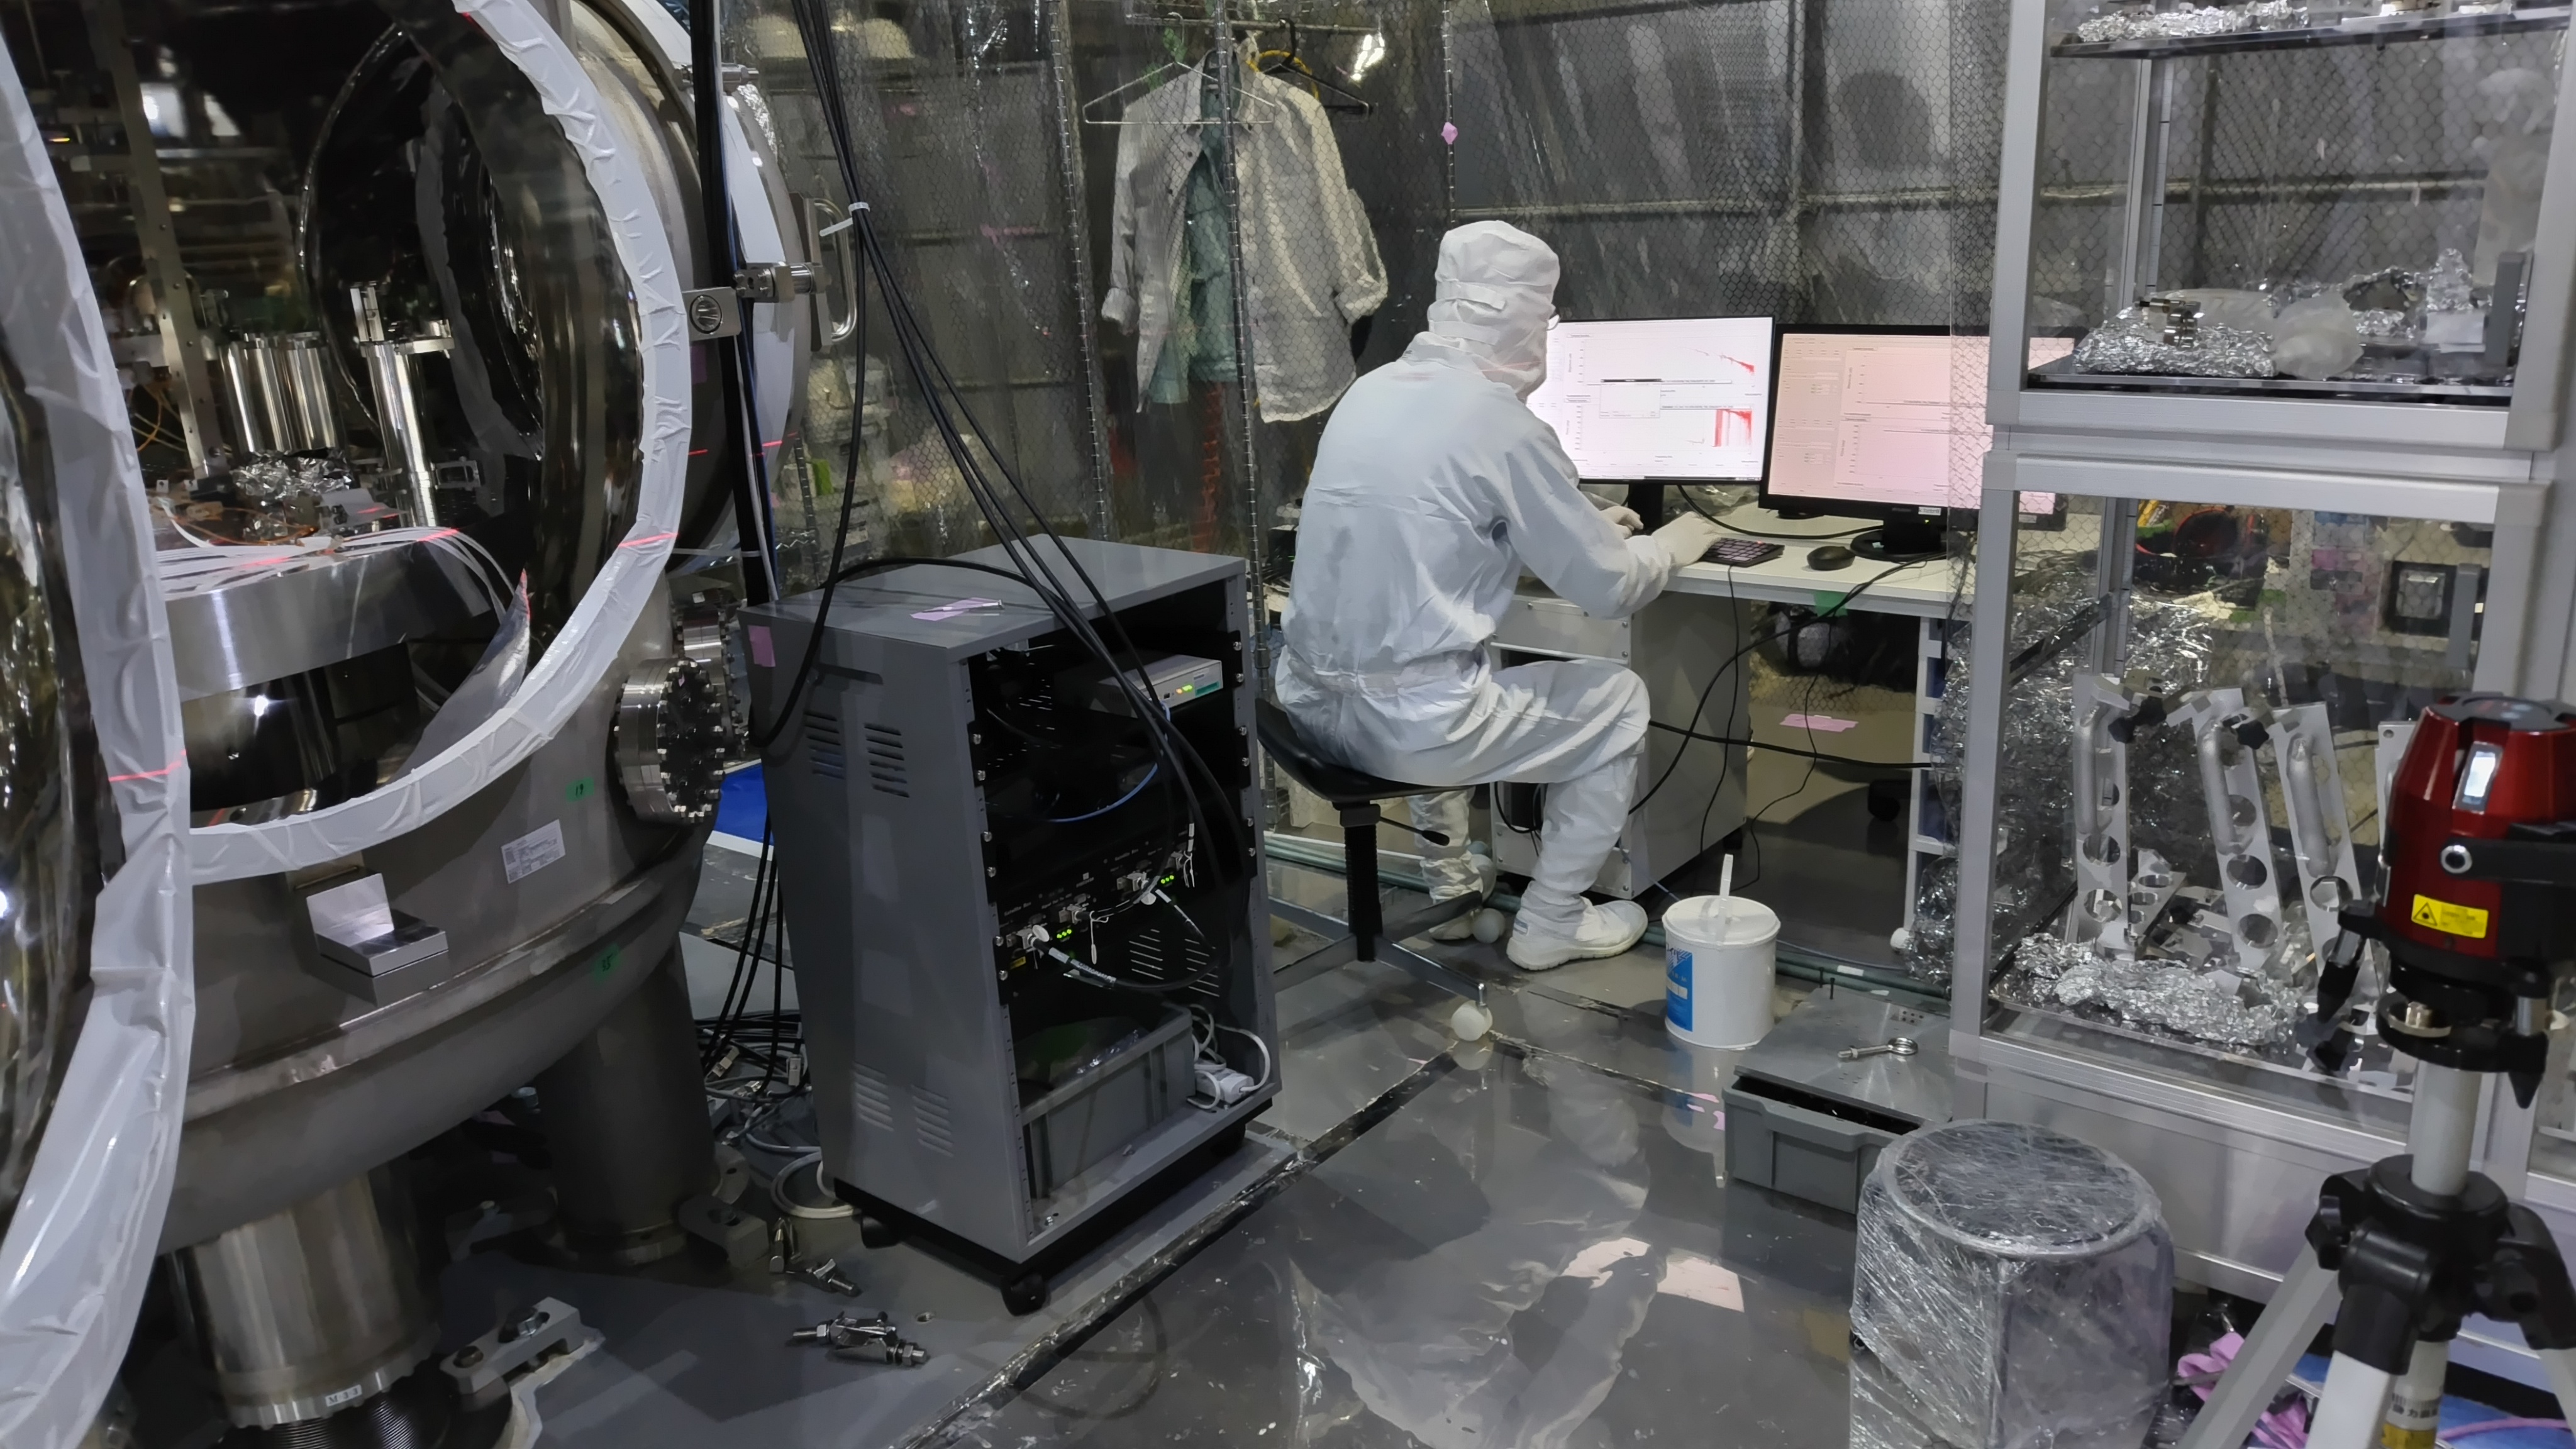
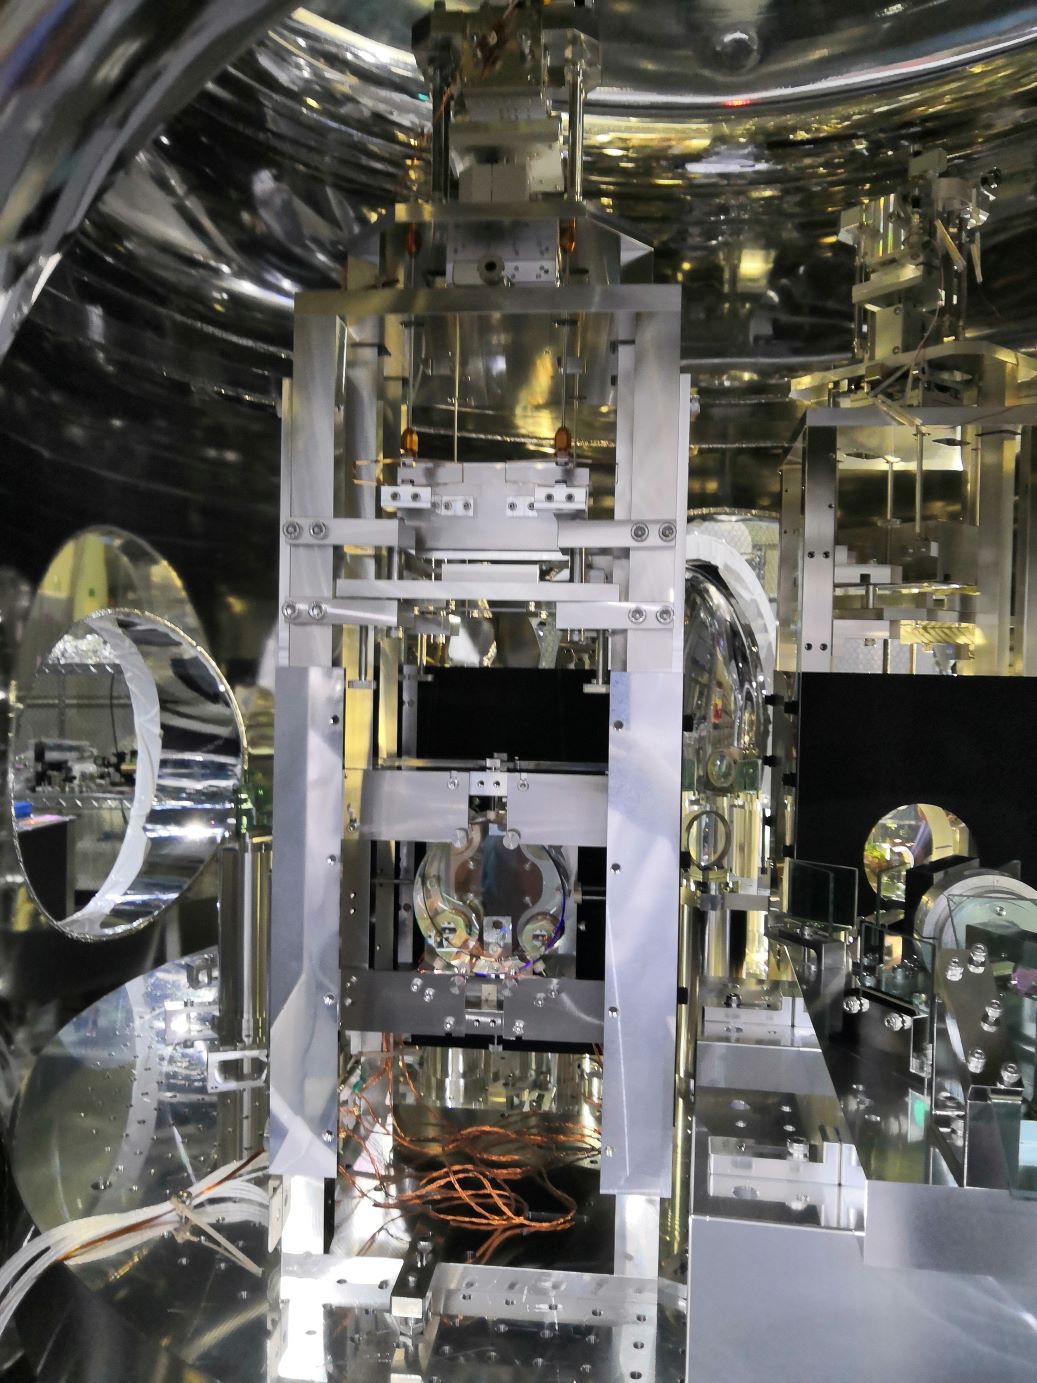
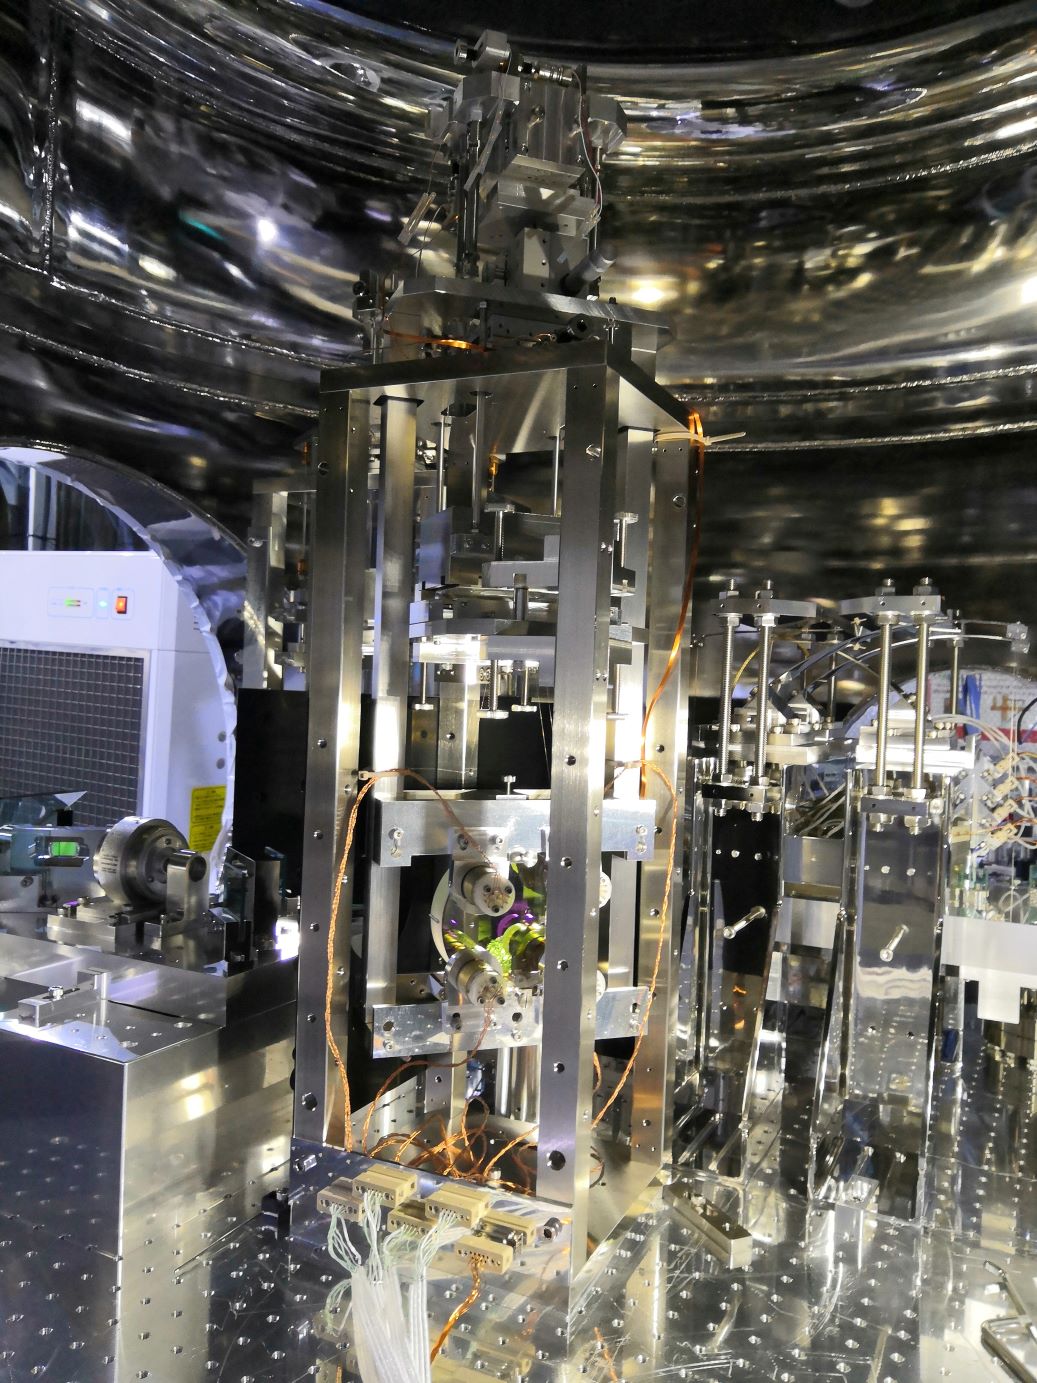
We installed the reconstructed stack and optical bench into the OMC chamber.
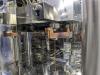
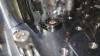
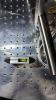
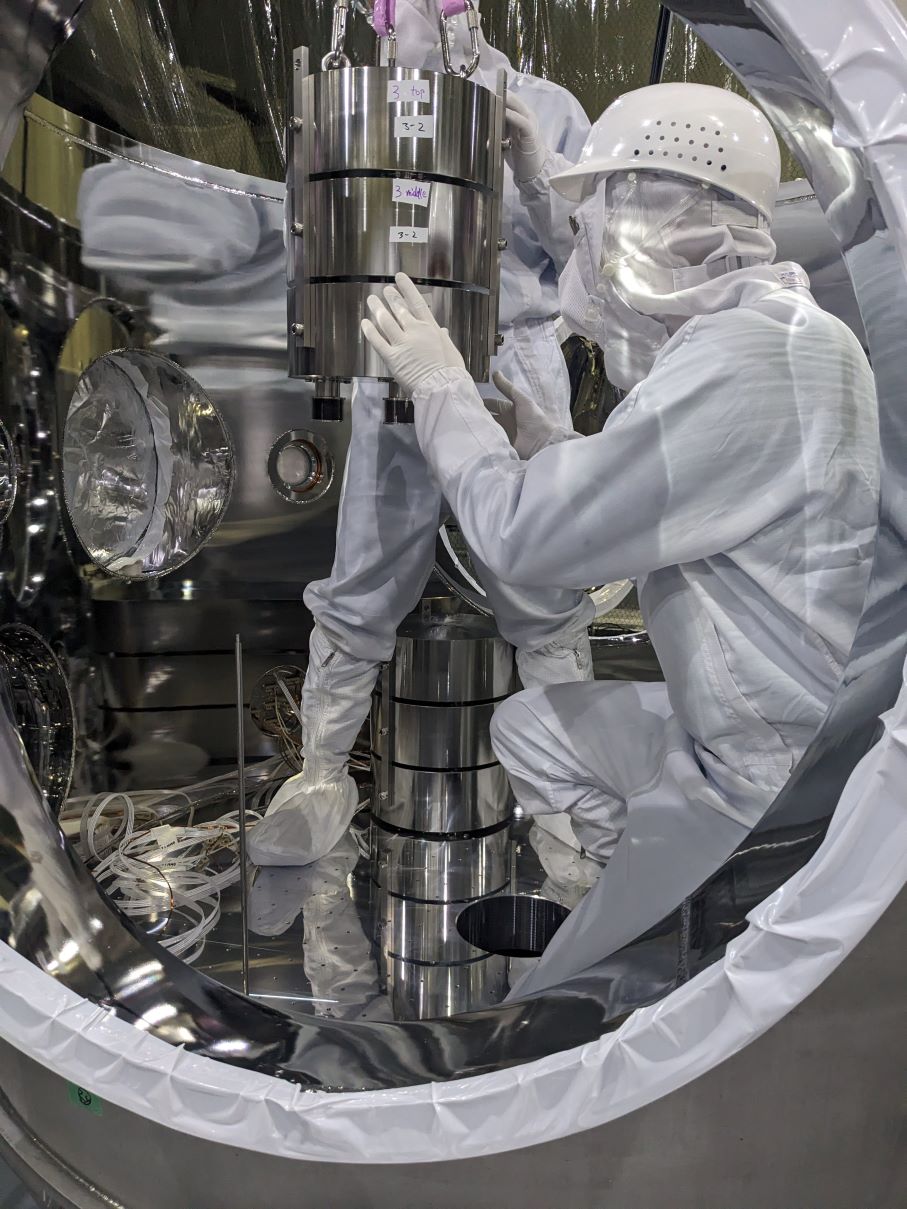
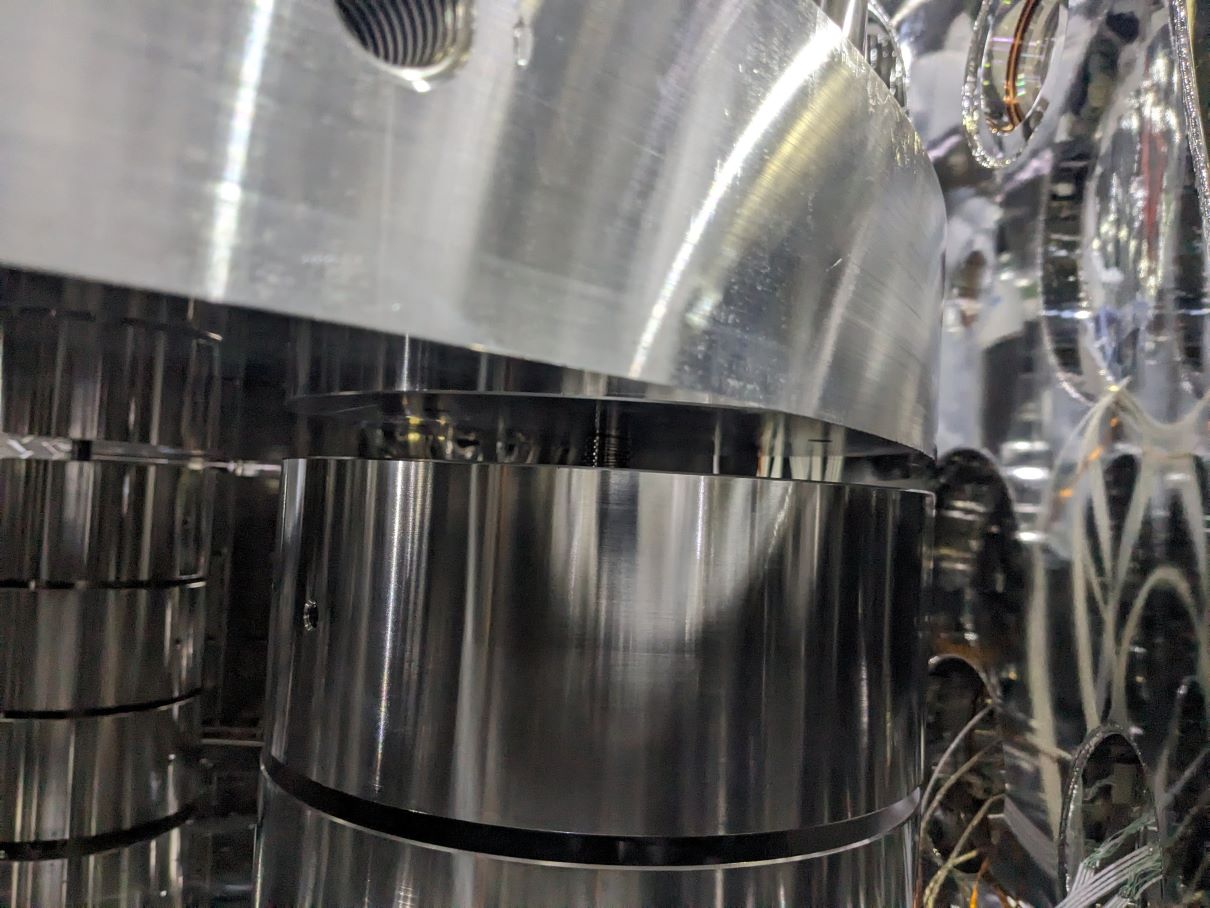
Stack Legs
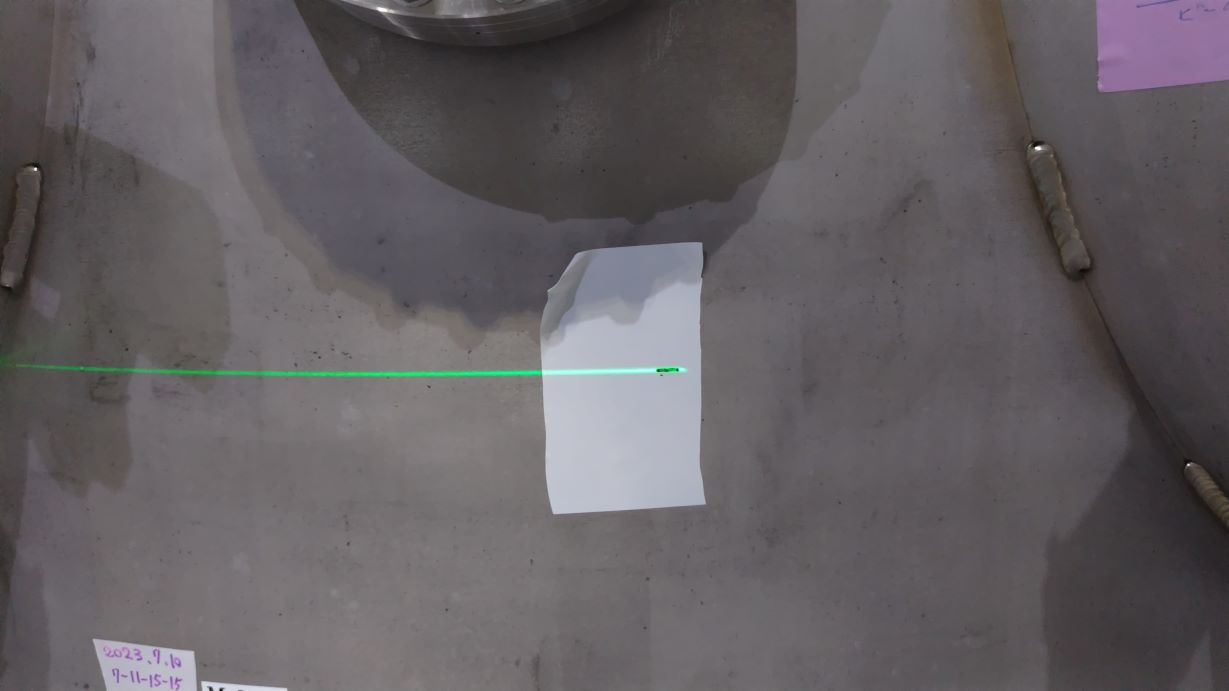
- Cleaned the baseplate and chamber bottom using a vacuum cleaner and wipers.
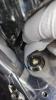
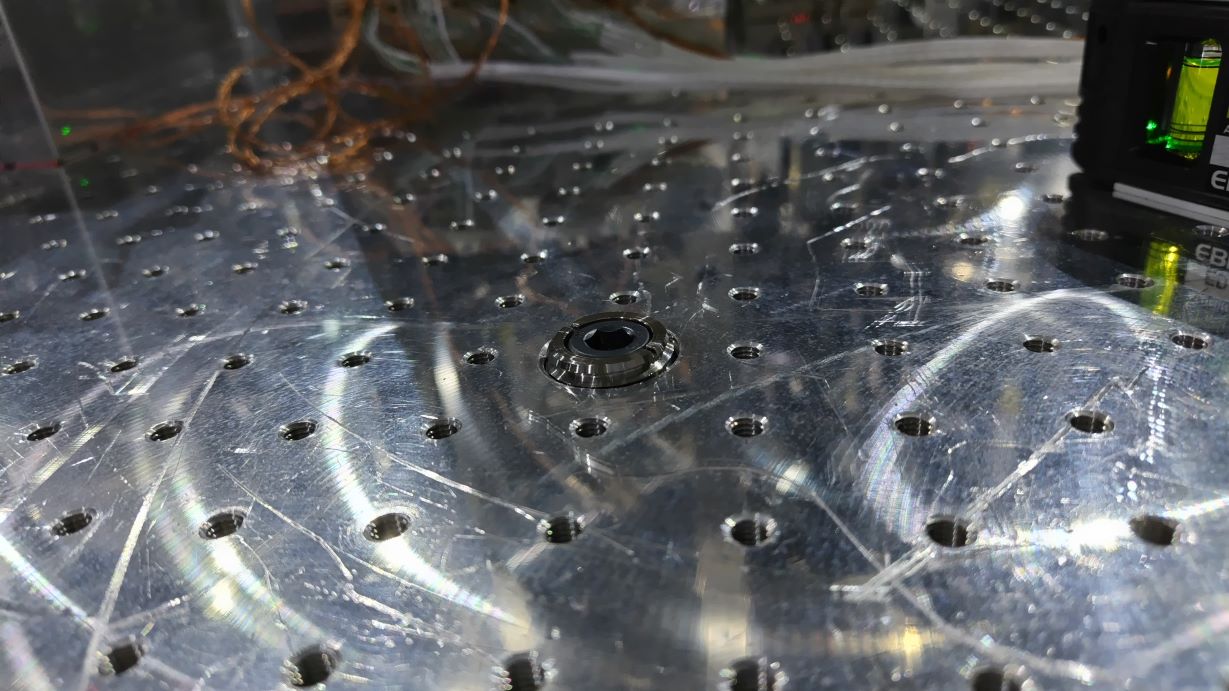
- Set the guide rod at the center of the stack leg position.
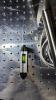
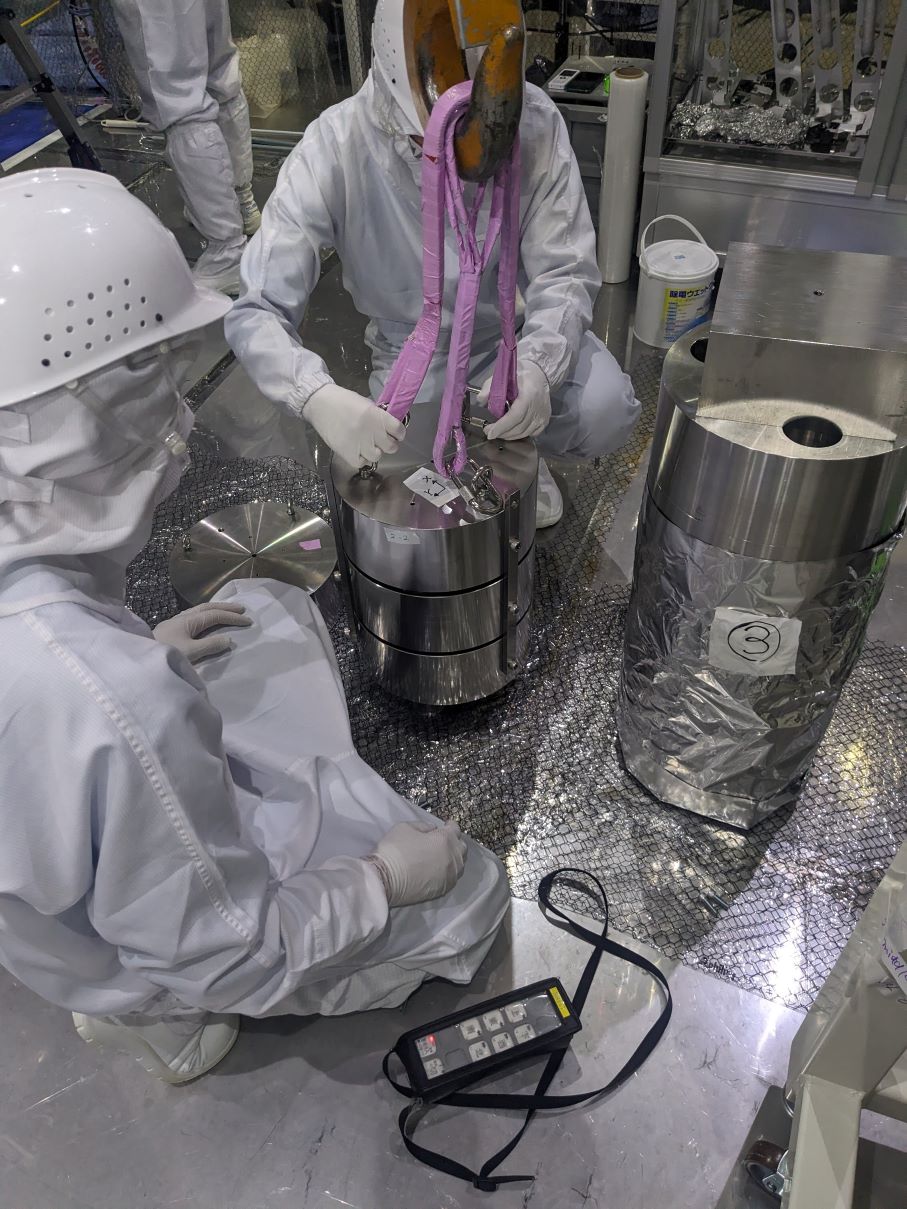
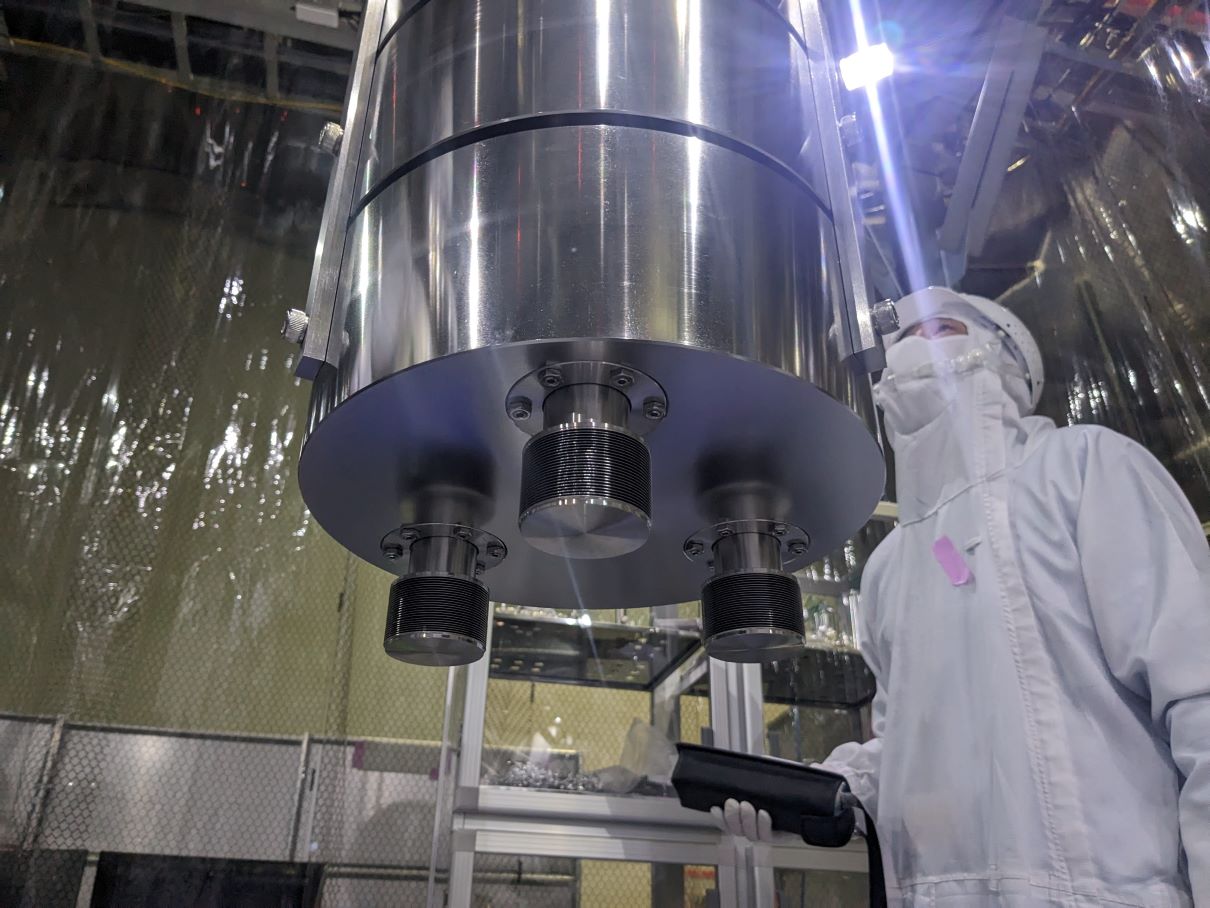
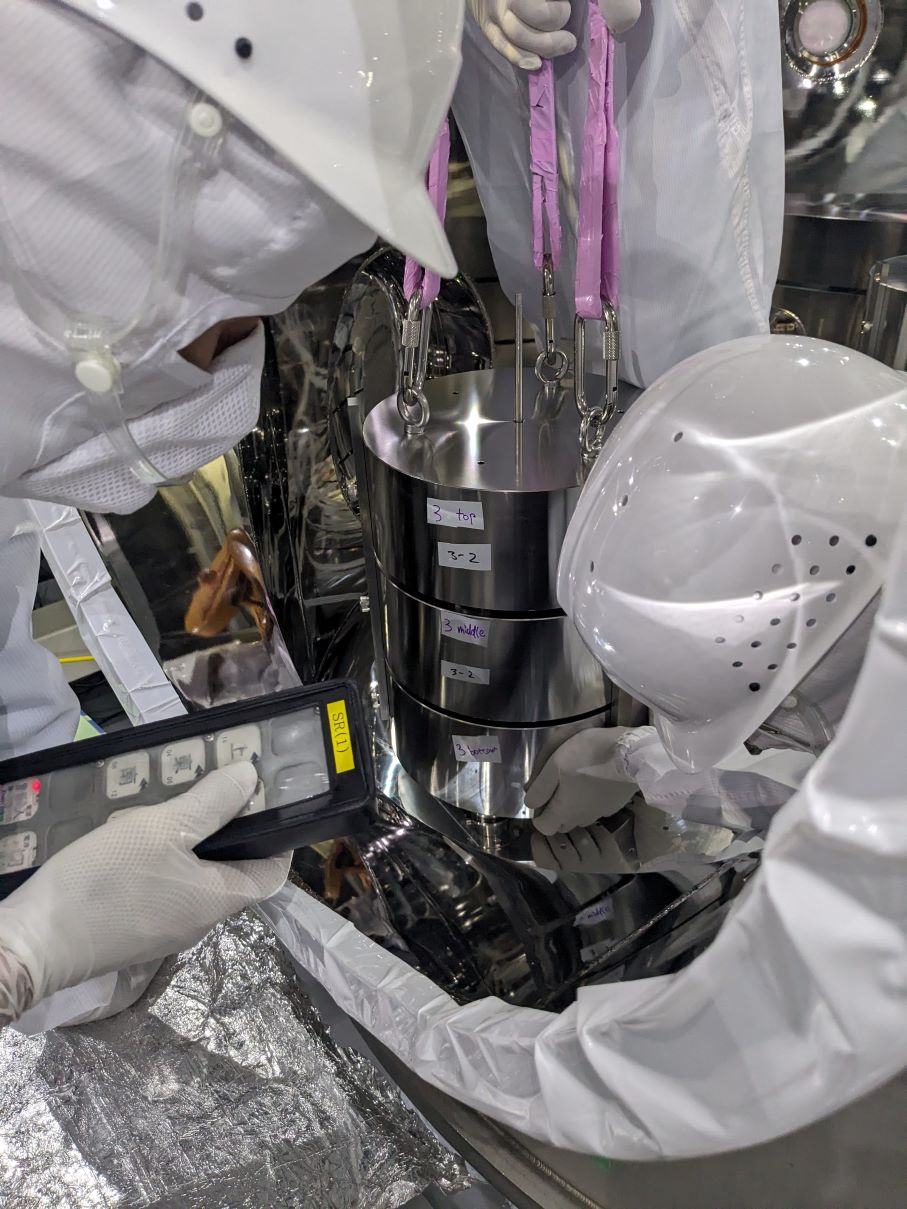
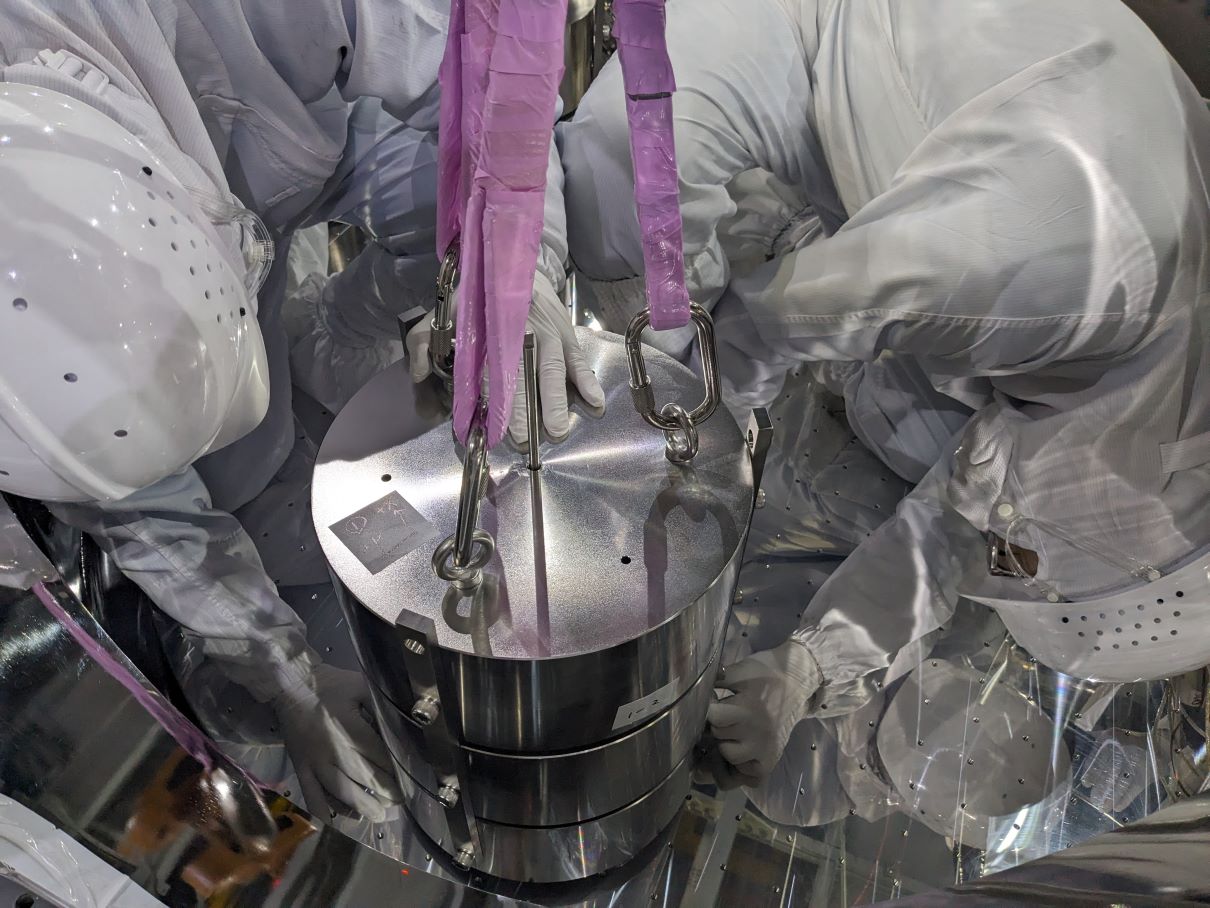
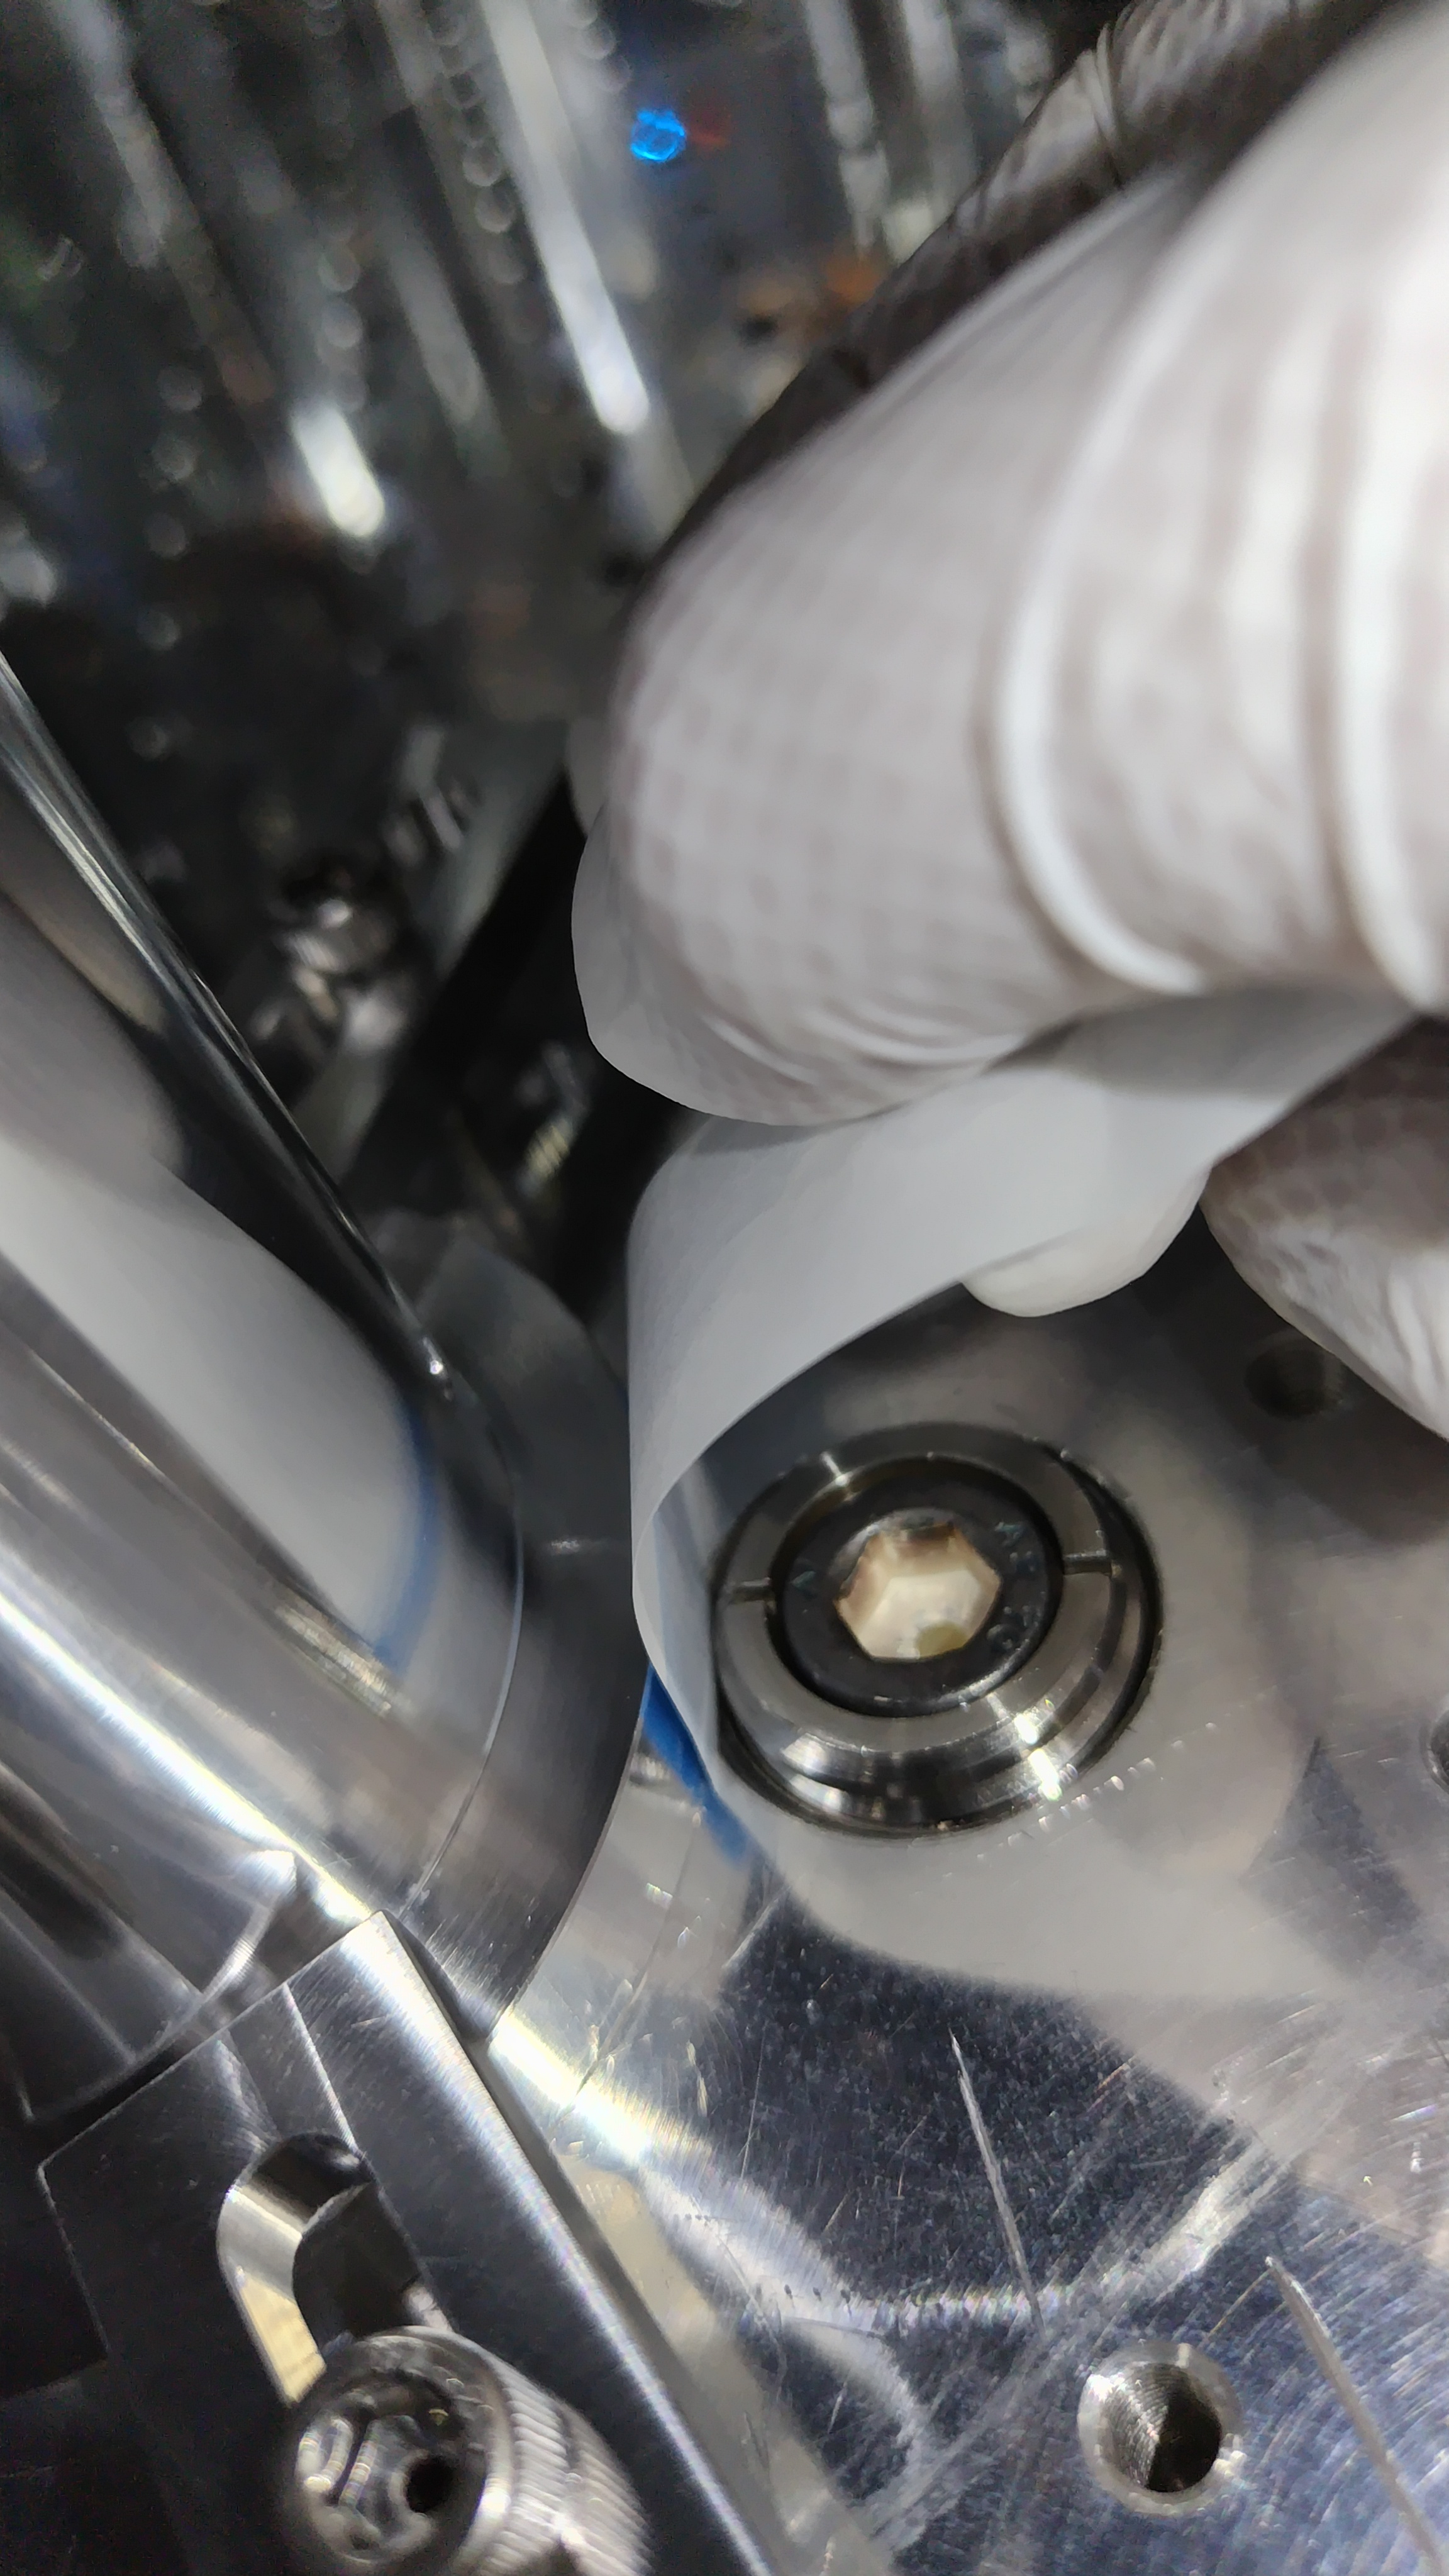
- Attached three connection jigs to the SUS blocks of the #2 stack leg.
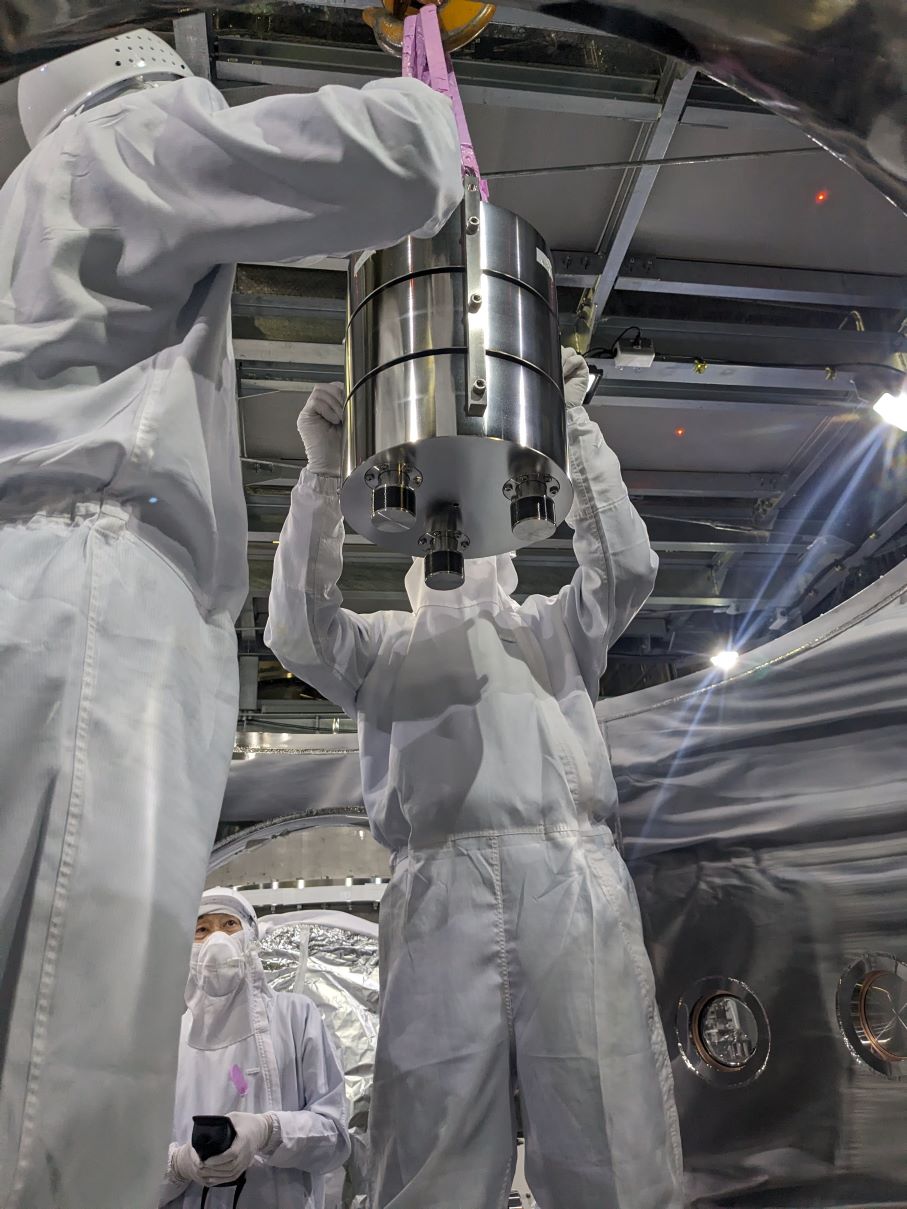
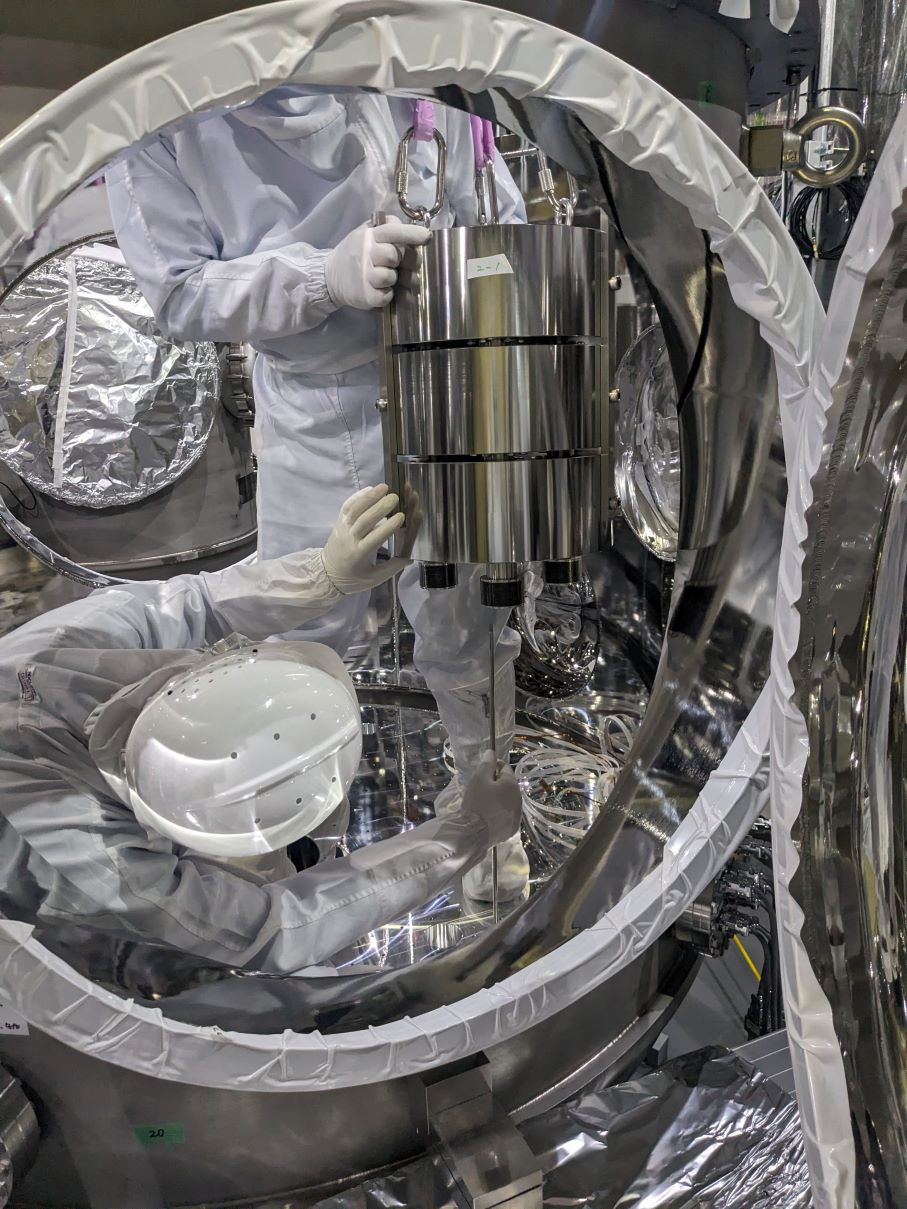
- Hung the combined stack leg up with the crane.
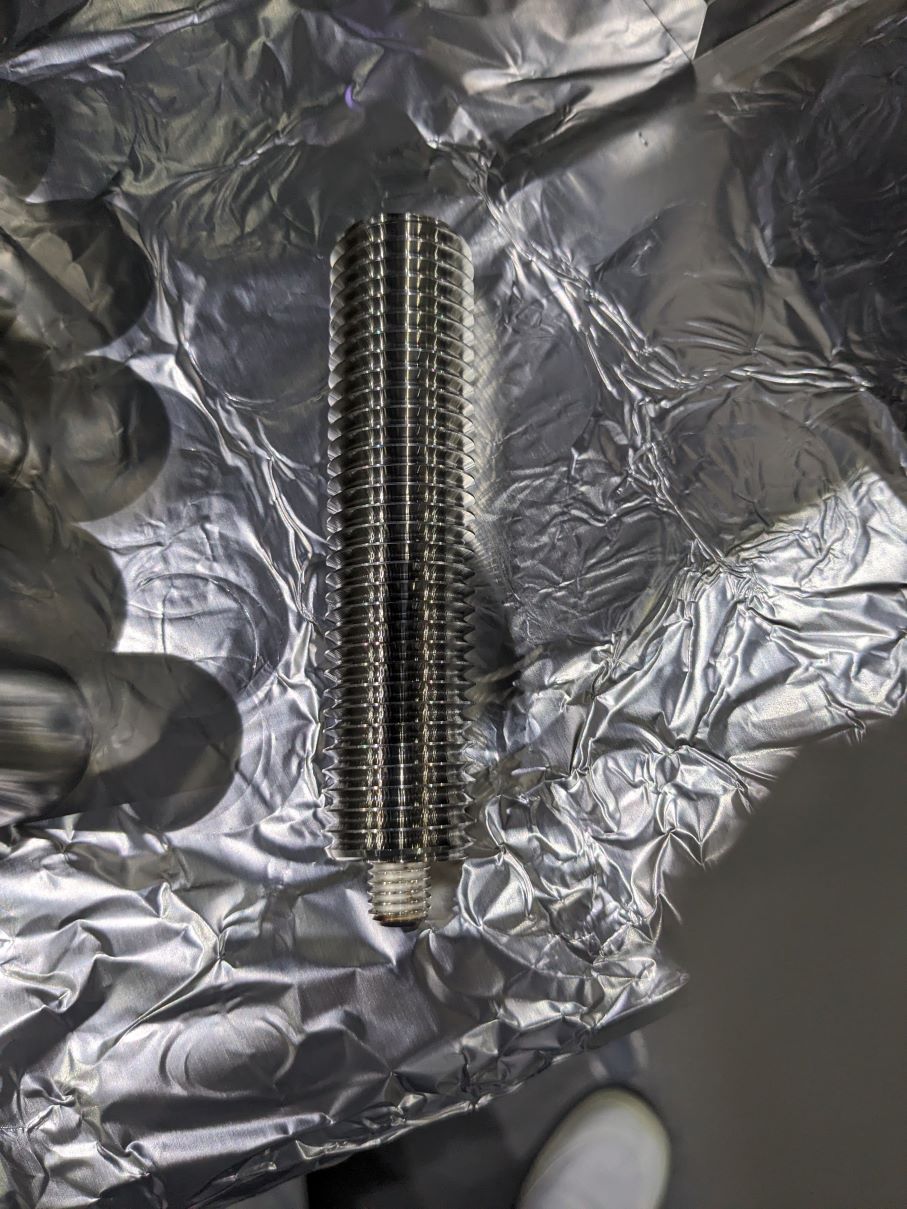
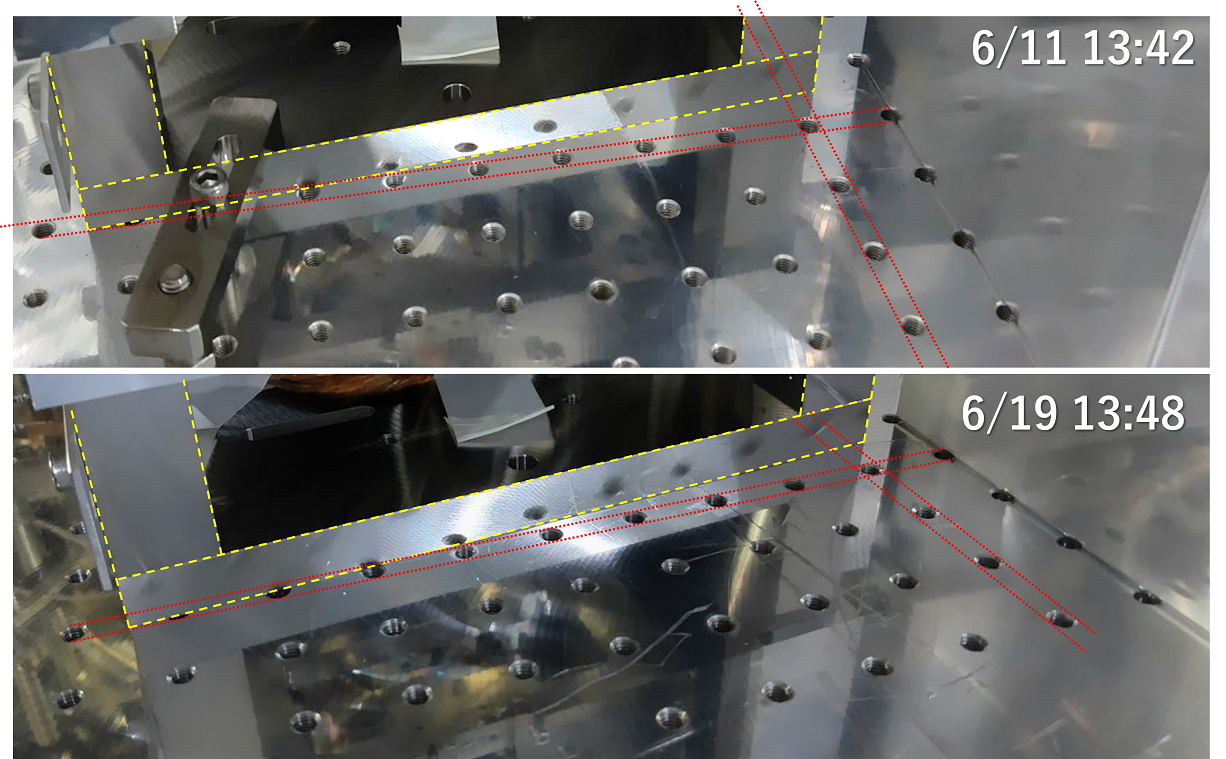
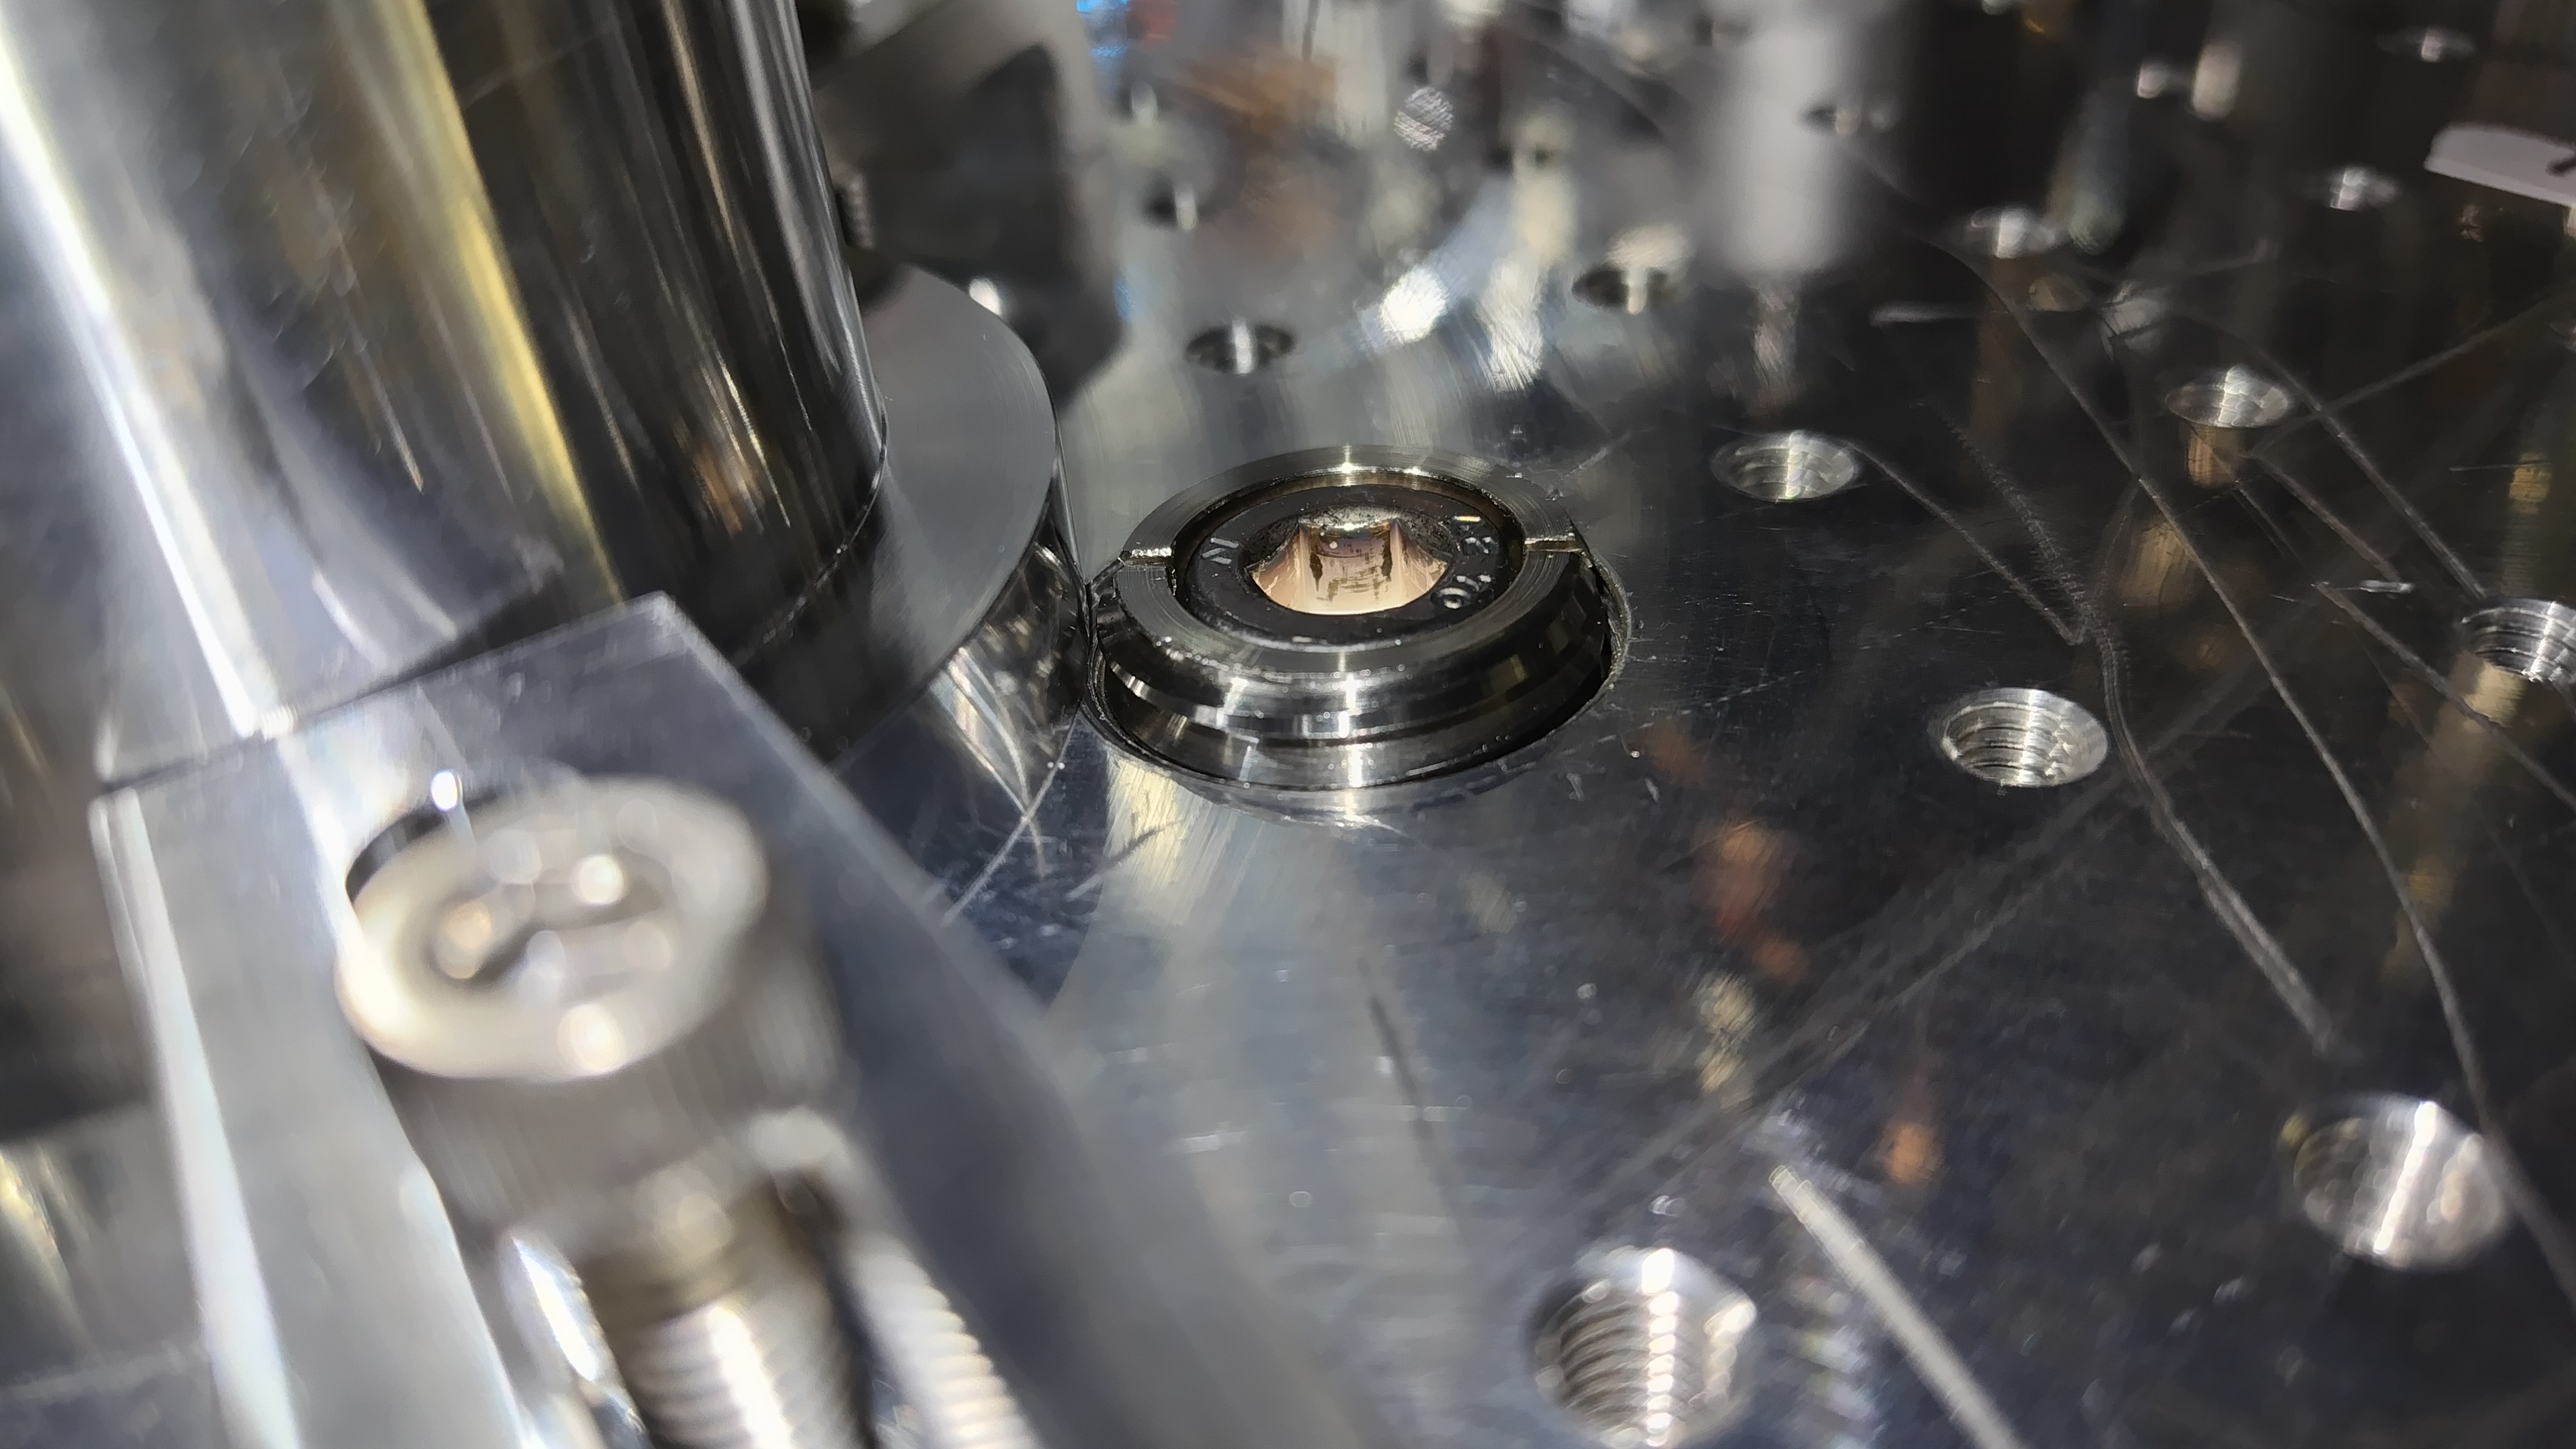
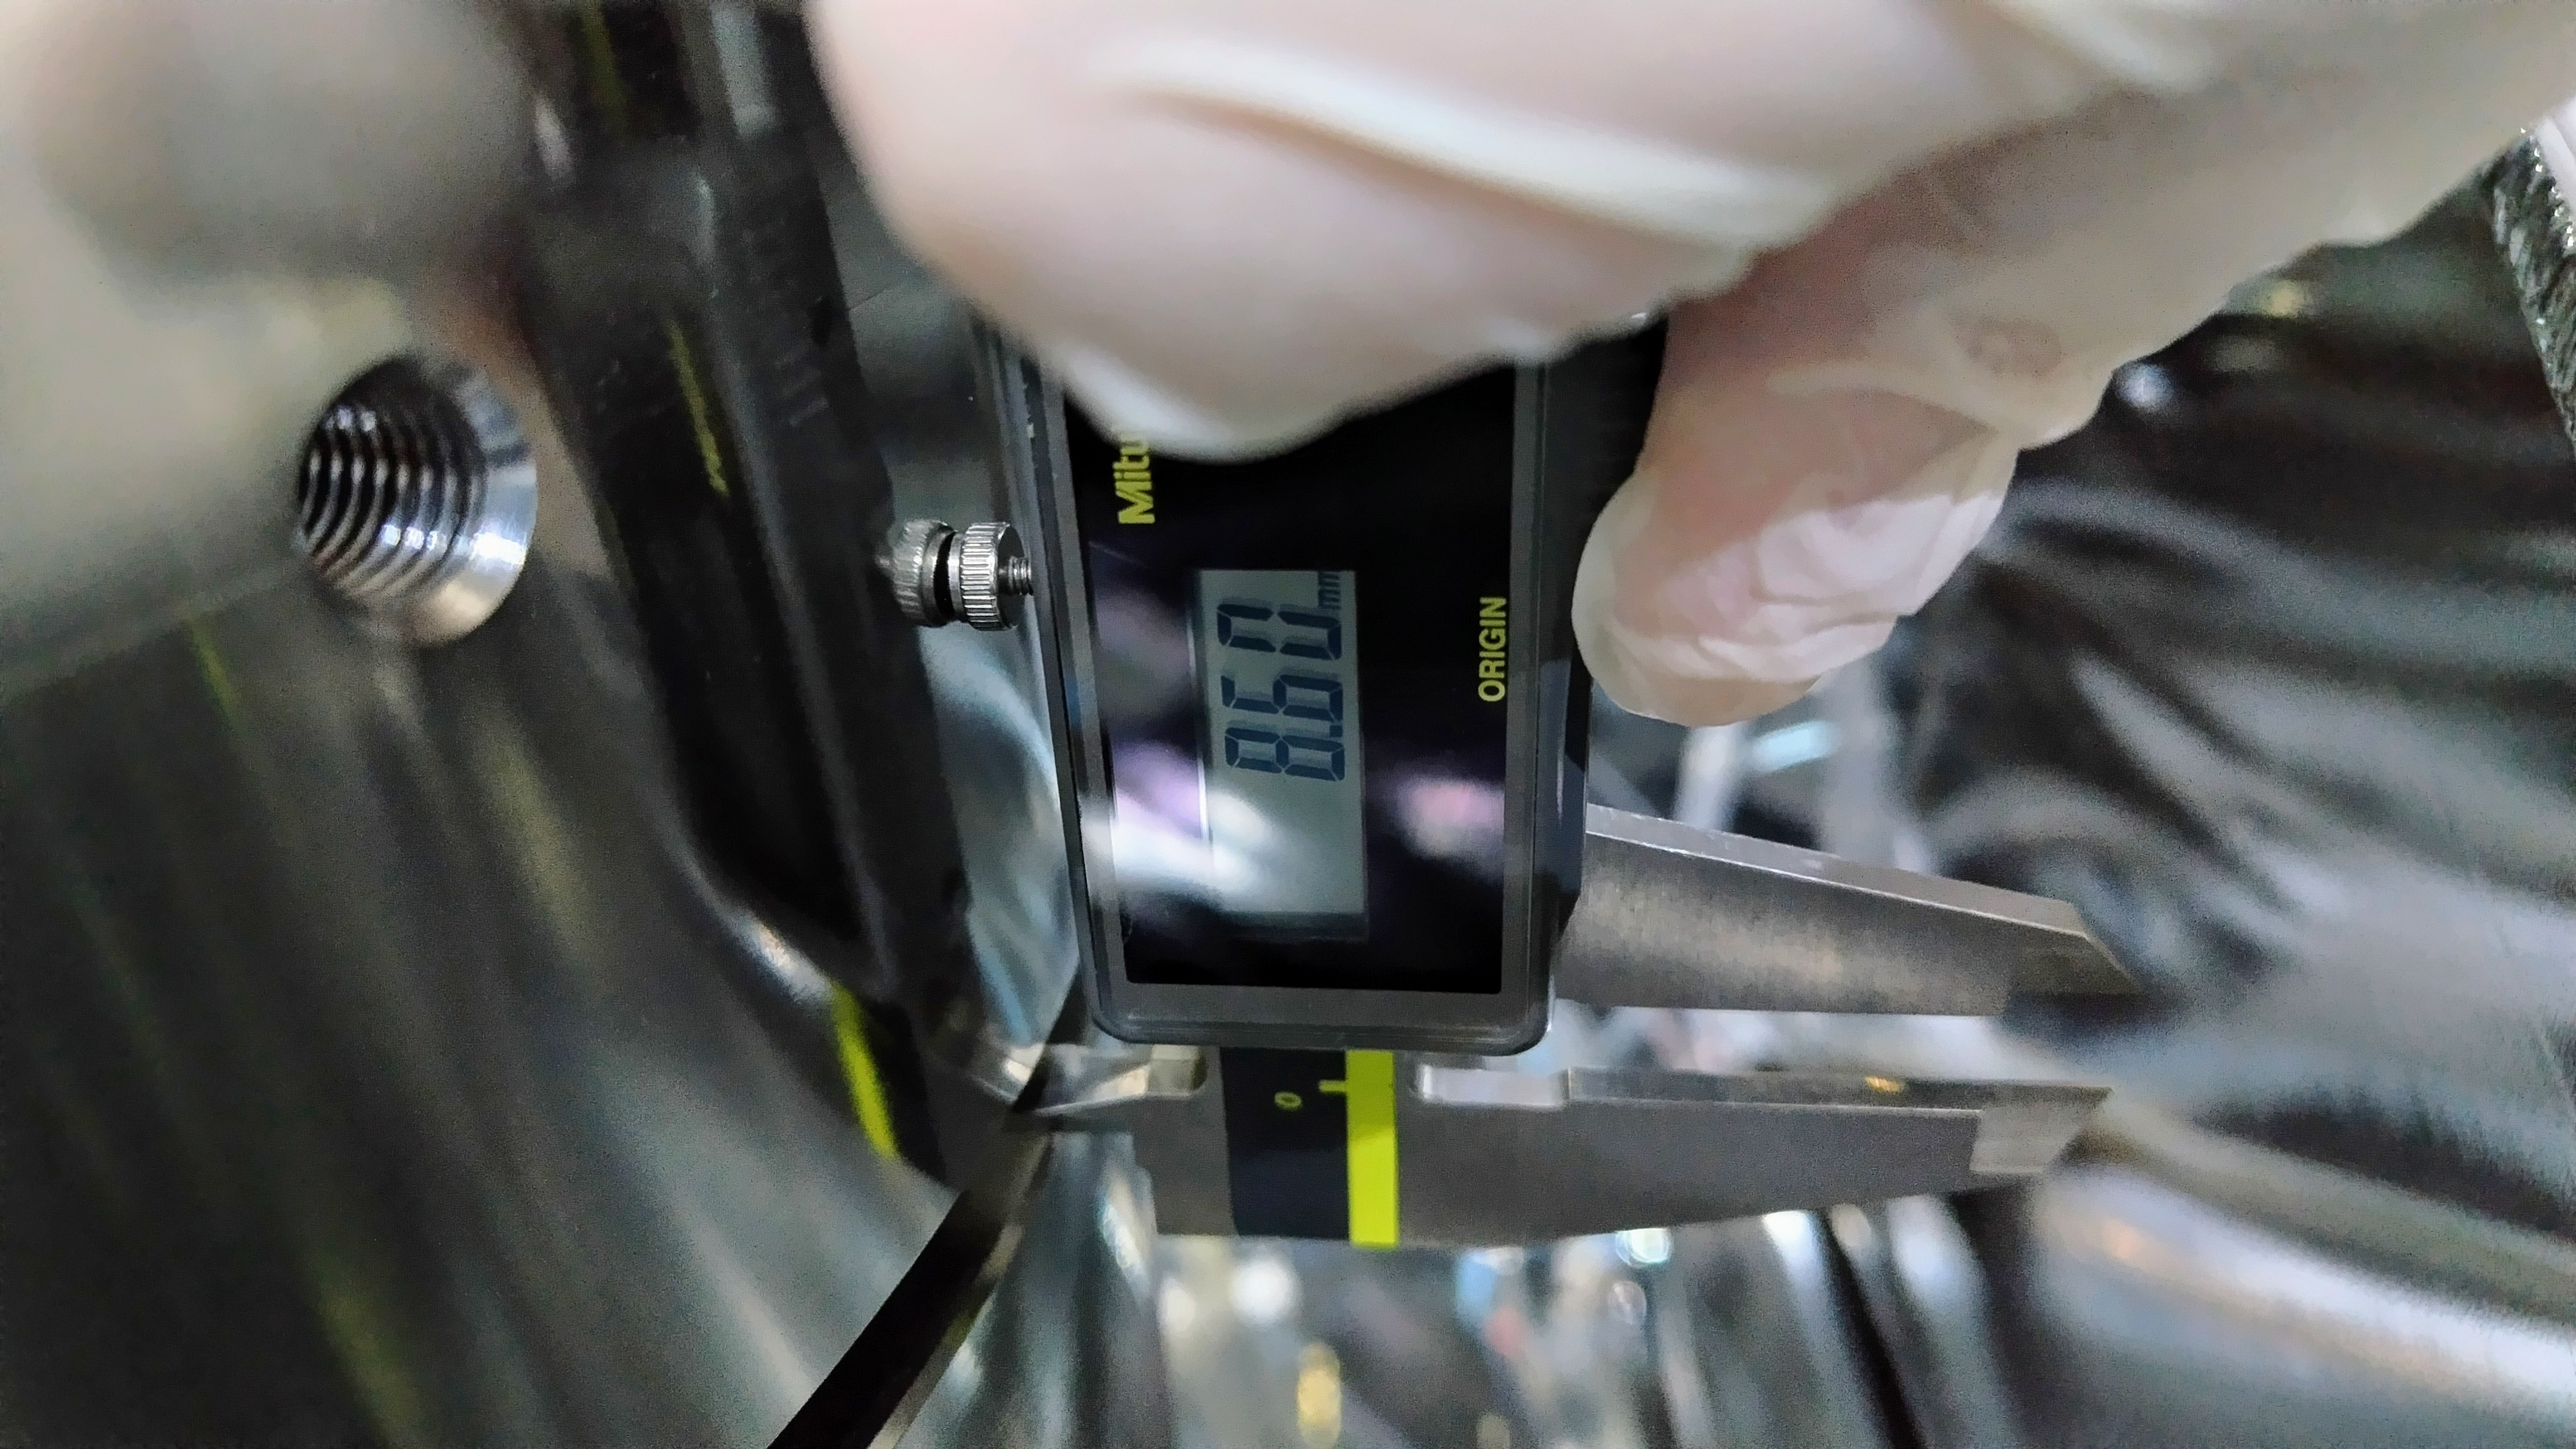
- Moved the stack leg into the chamber. The bottom bellows were set to the counterbores on the baseplate. Since #2 and #3 legs were offset from the crane line by 43cm, we needed to push horizontally by our hand with 13kgf.
- Repeated the installation of the other two legs.
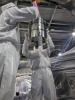
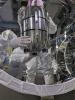
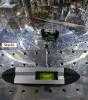
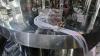
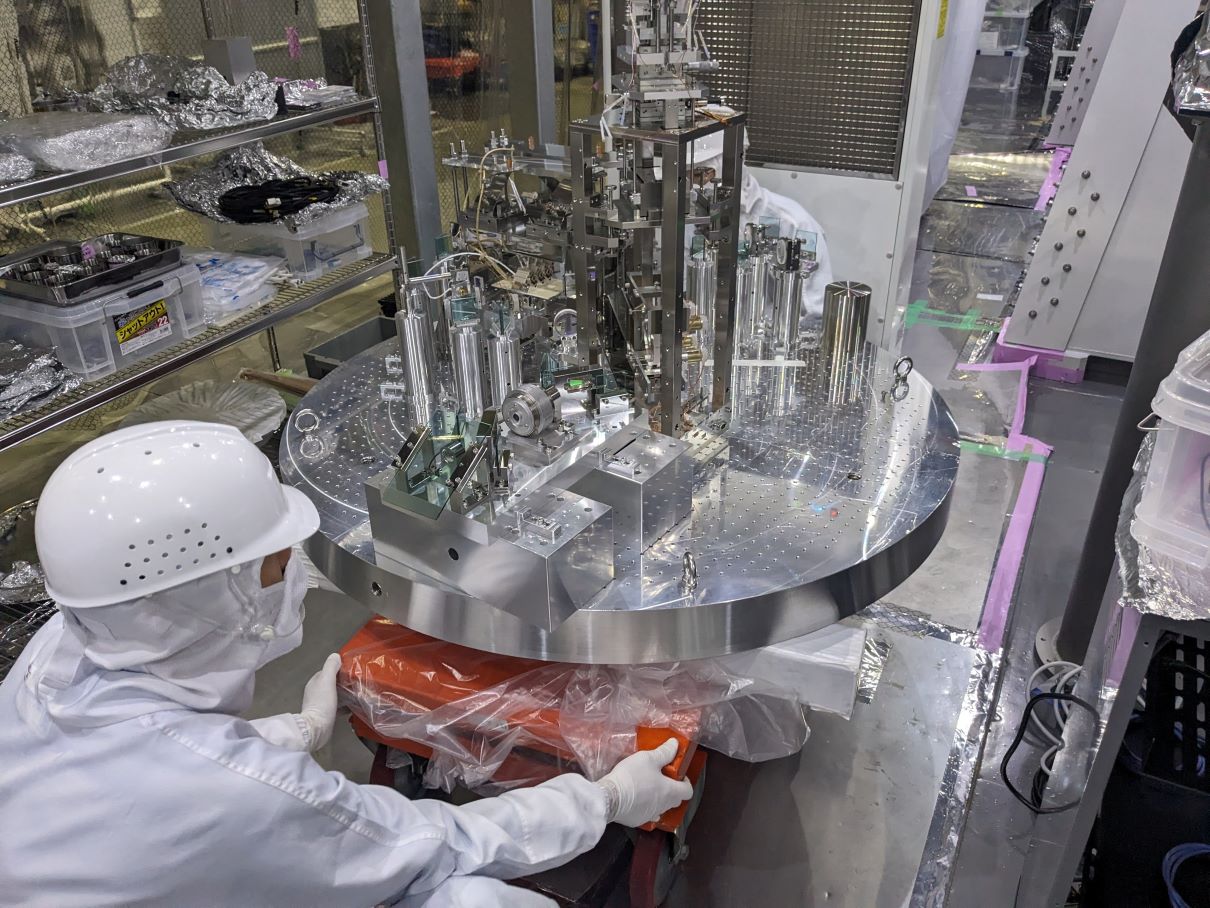
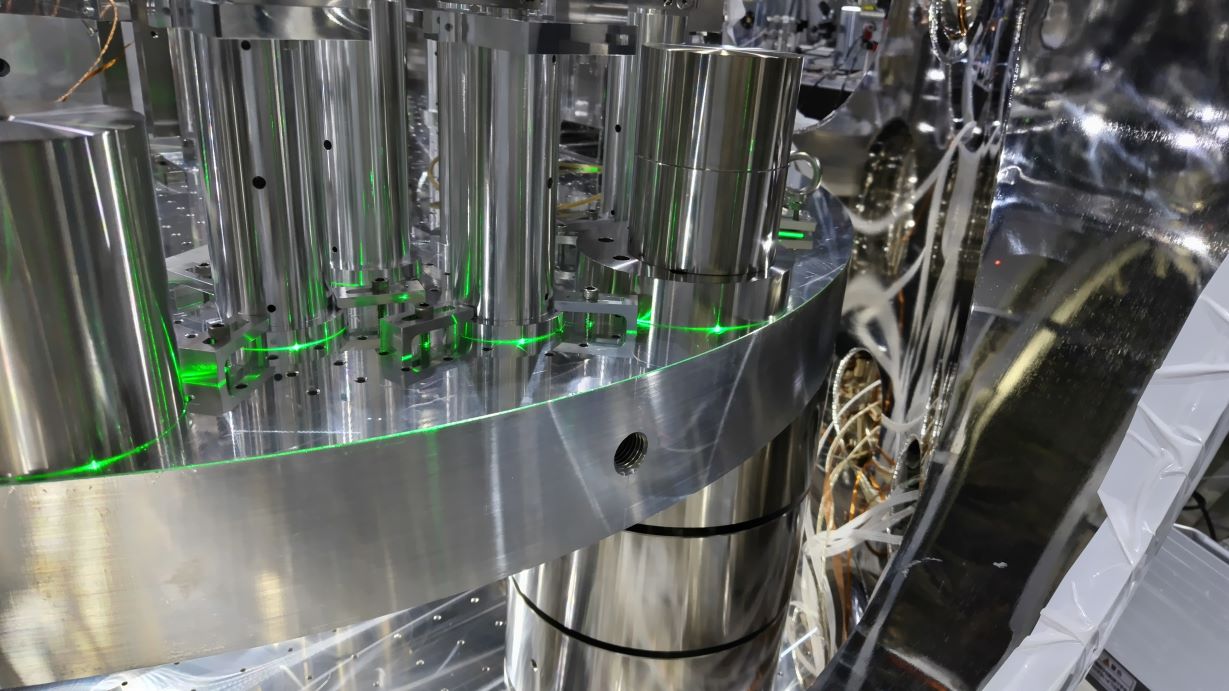
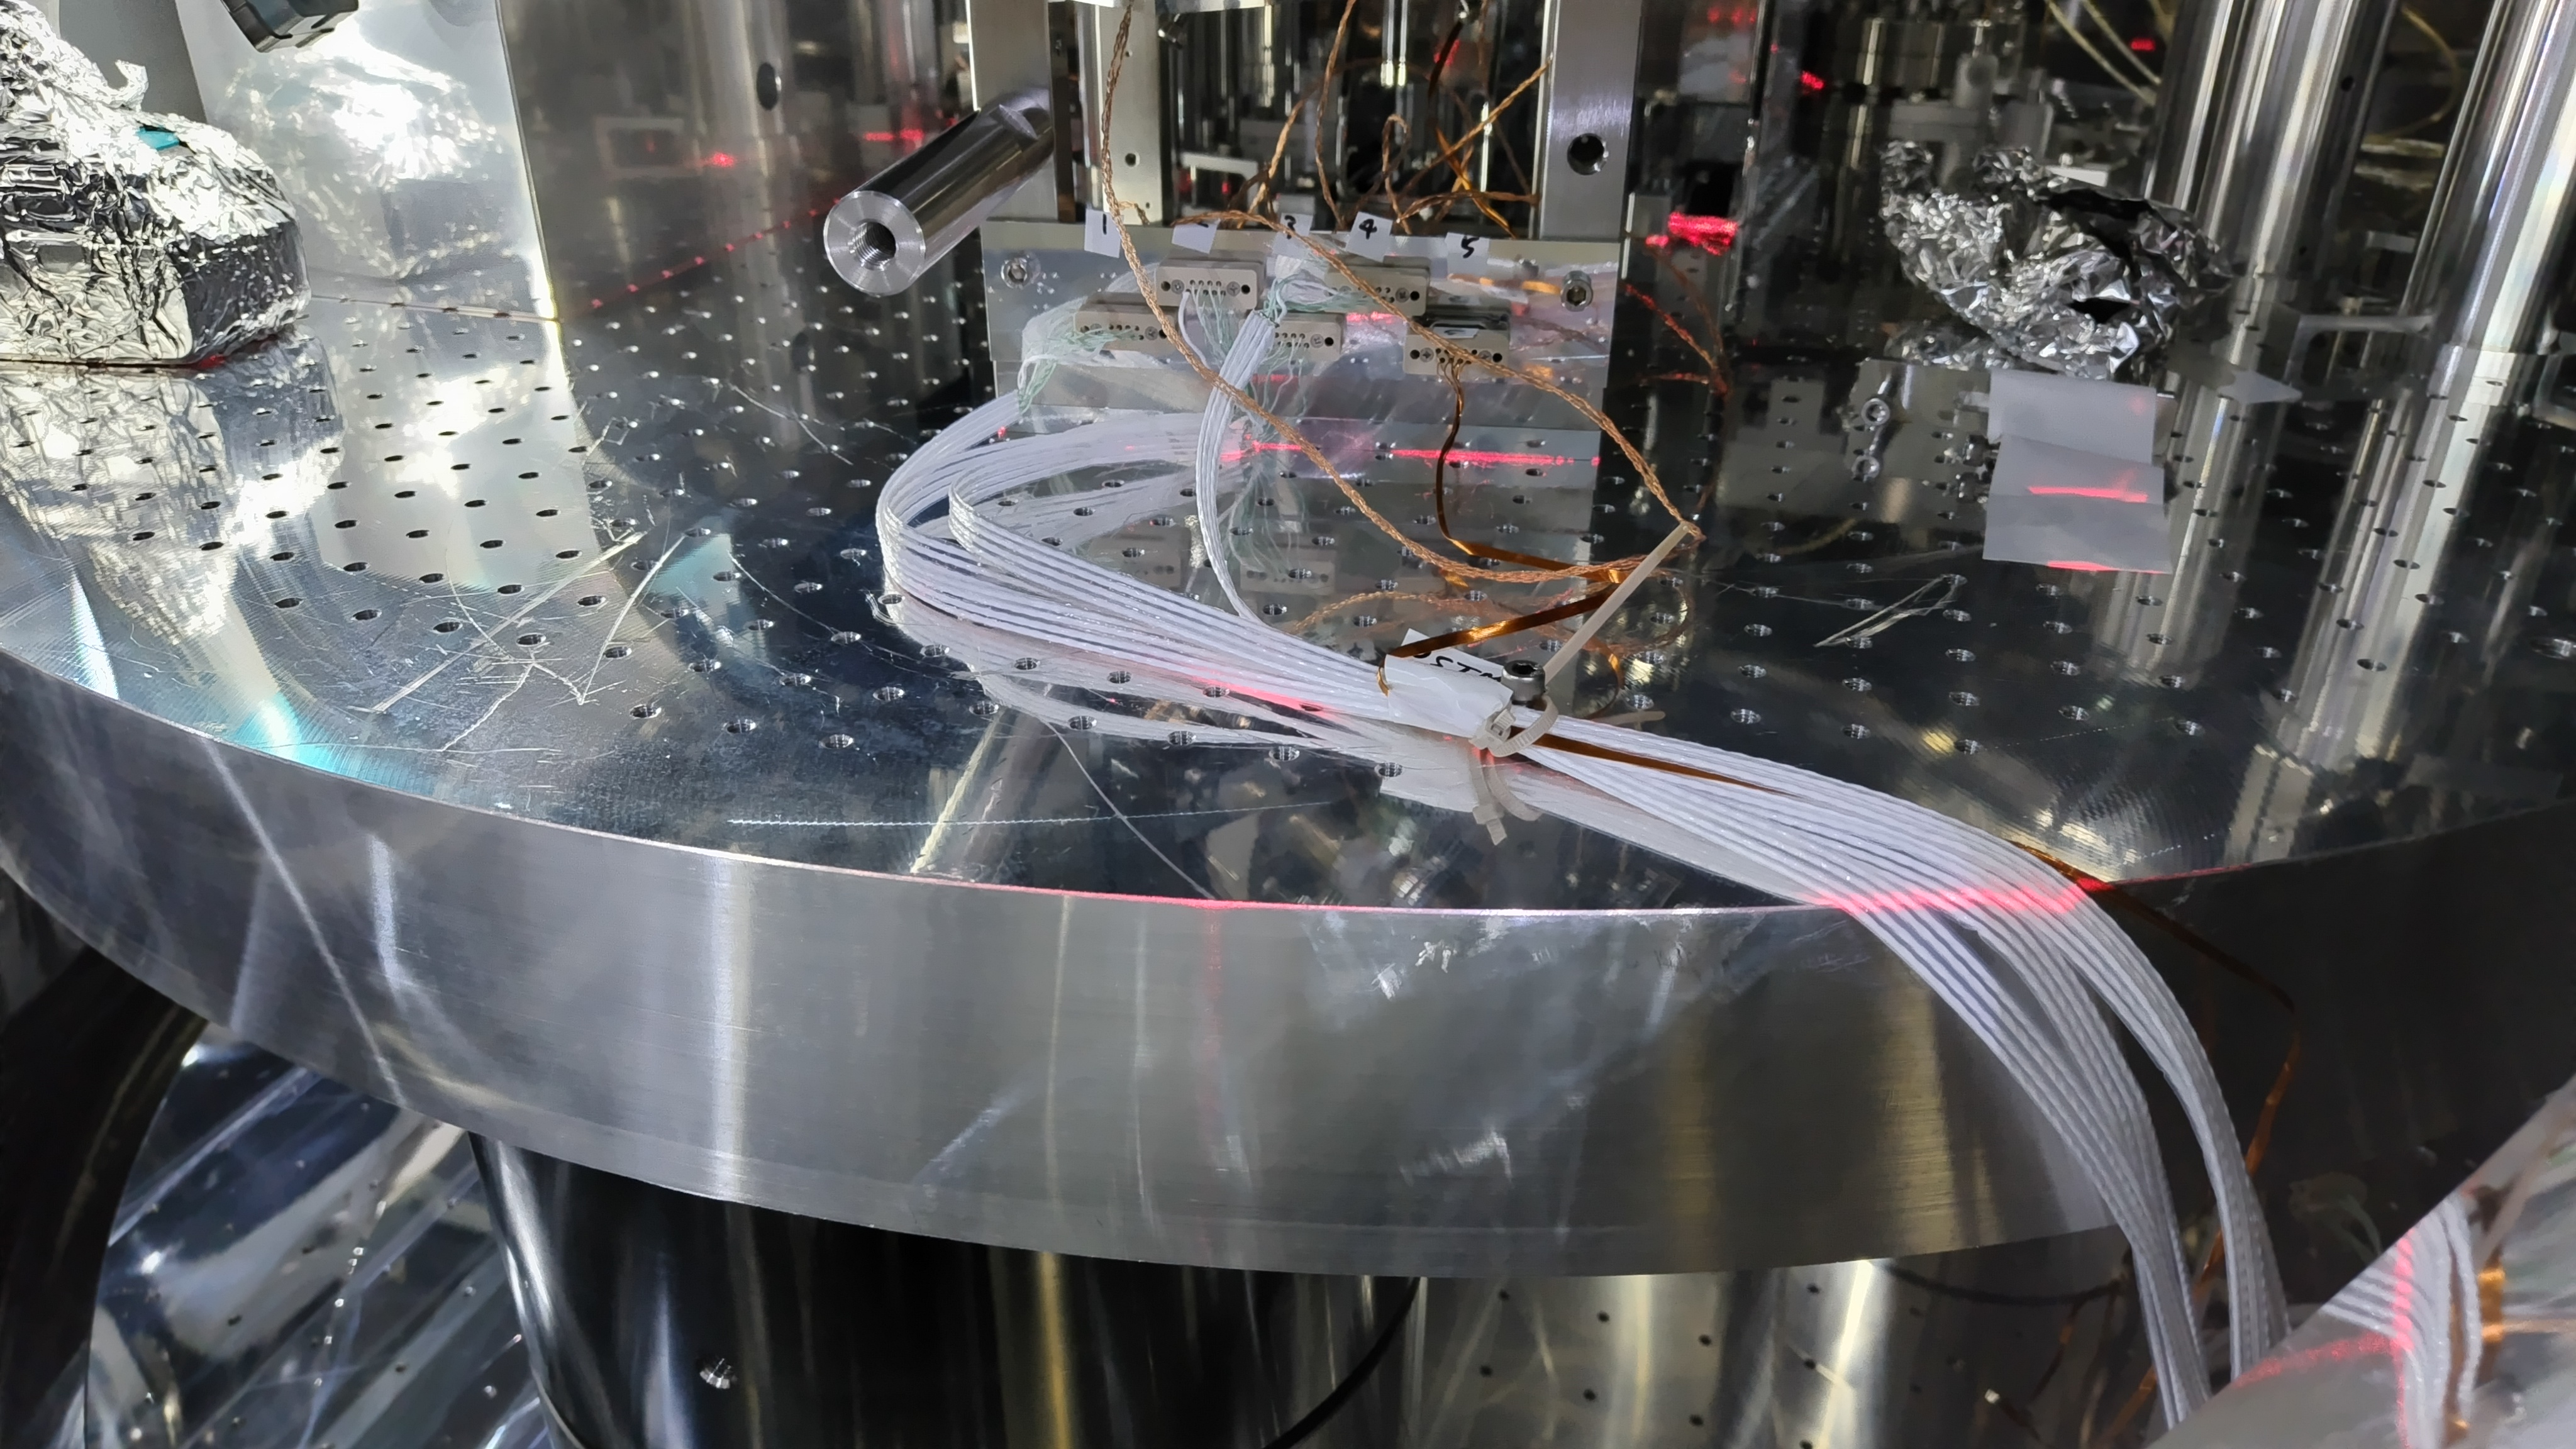
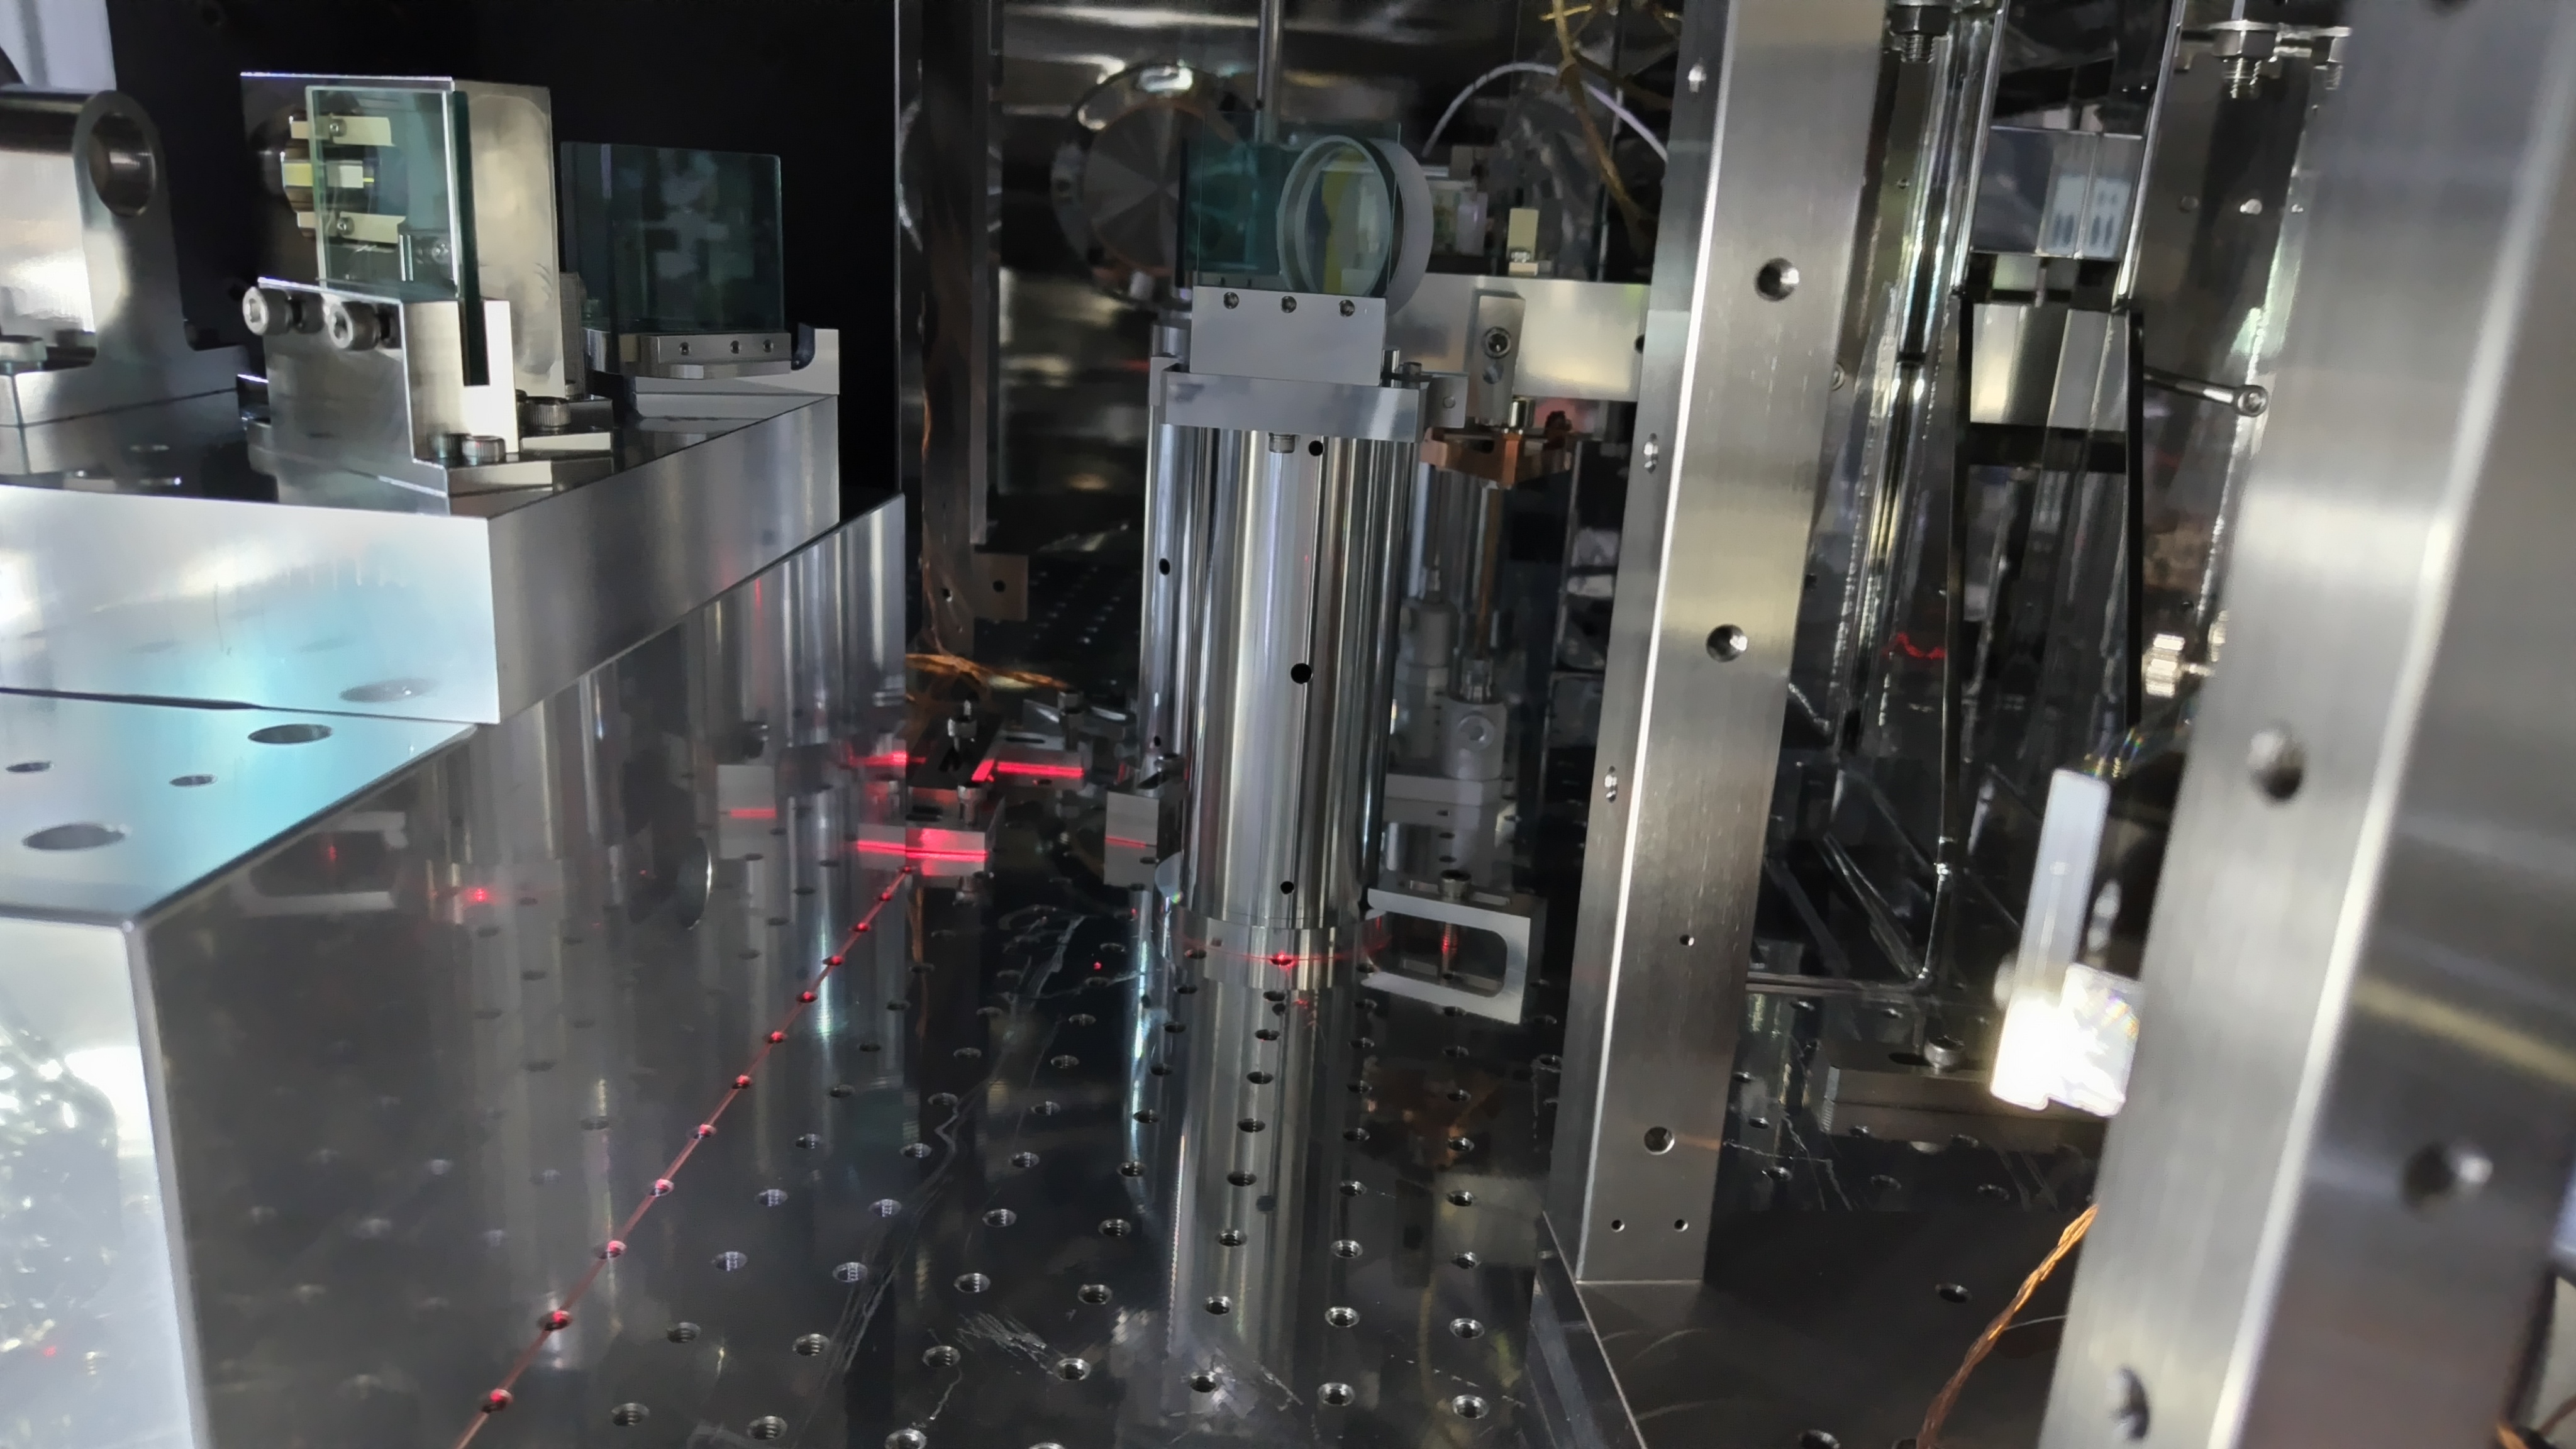
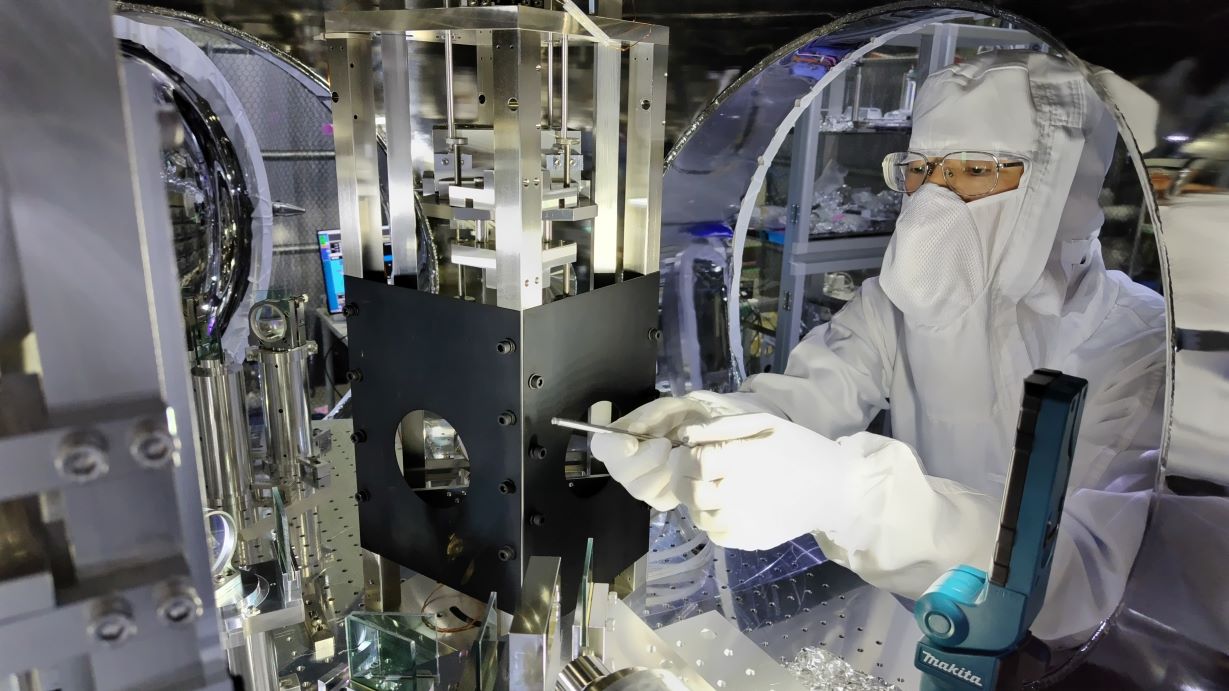
Optical Bench
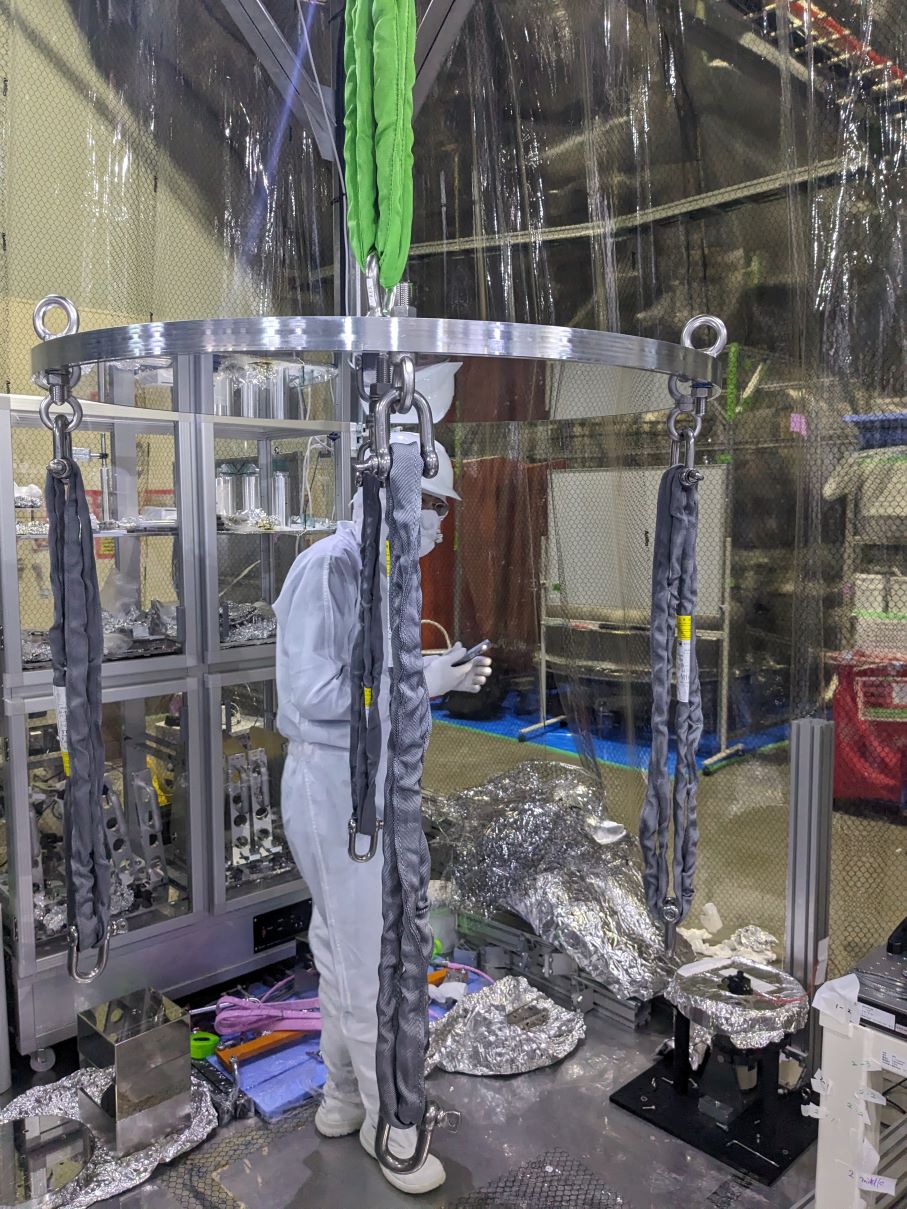
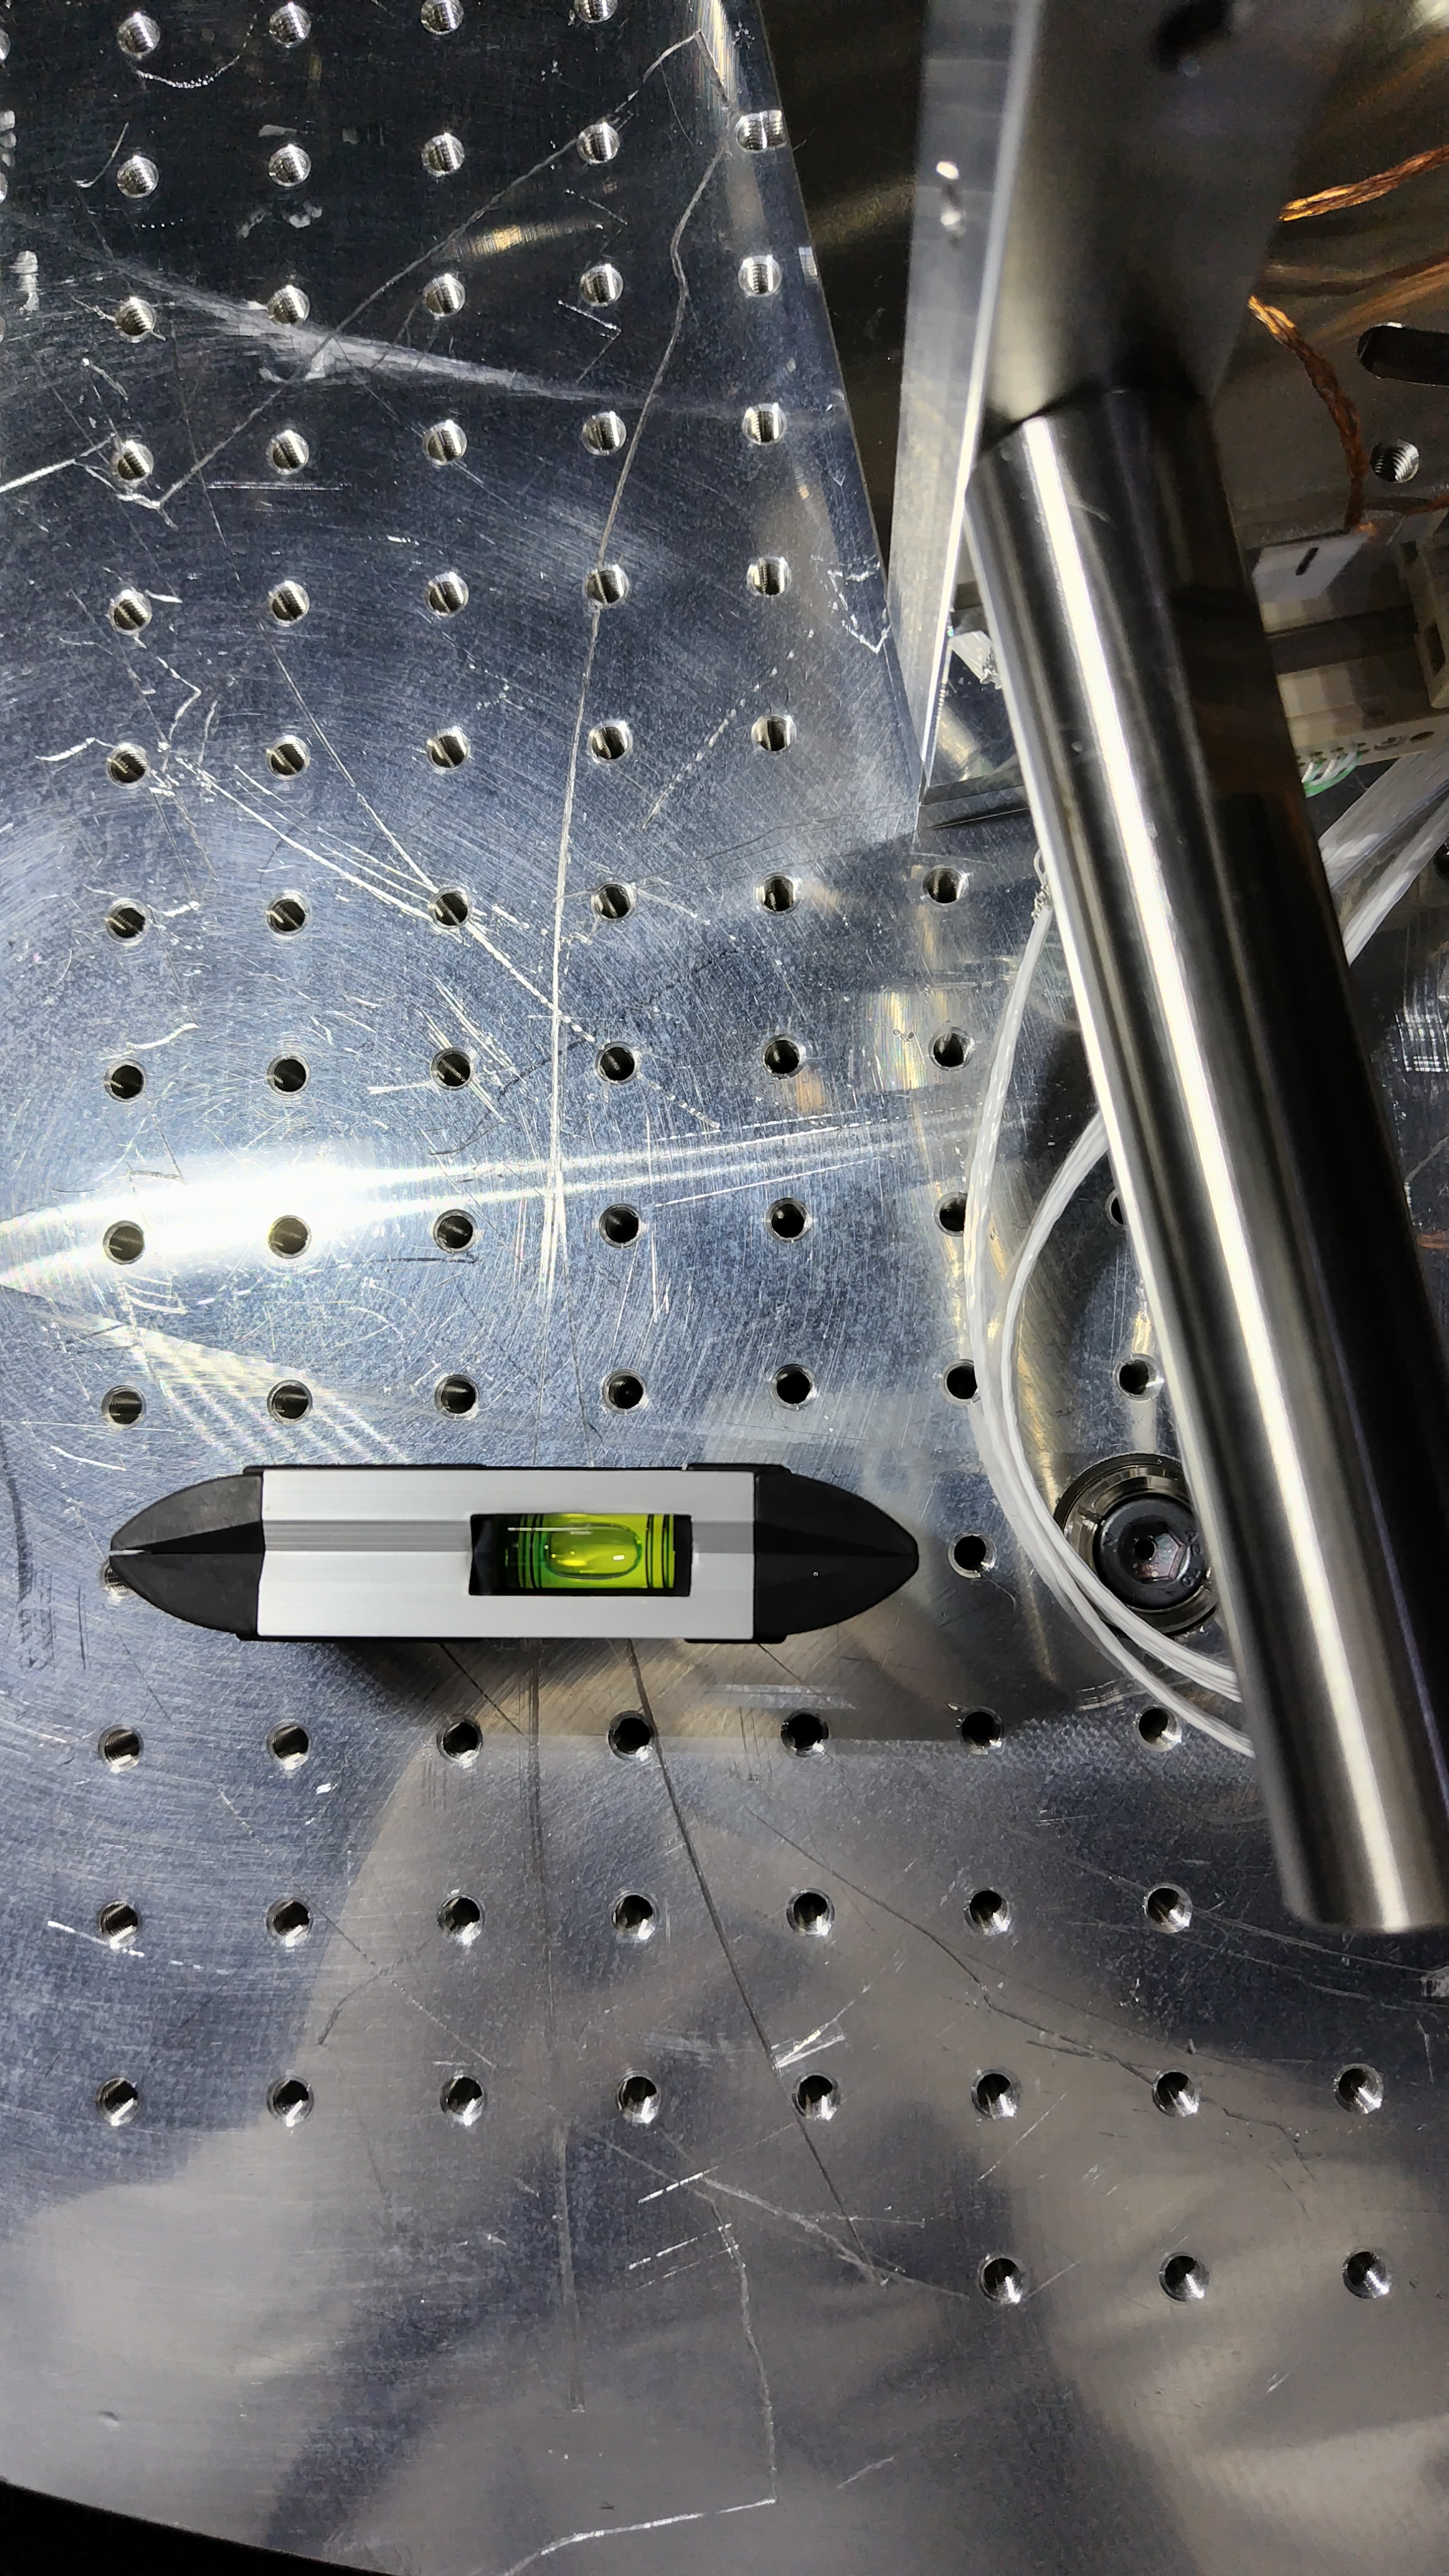
- Attached the disk balance suspended from the crane to the optical bench.
- Hung the optical bench a little. The bench was almost balanced.
- Hung the optical bench up so that the bench could clear the chamber wall.
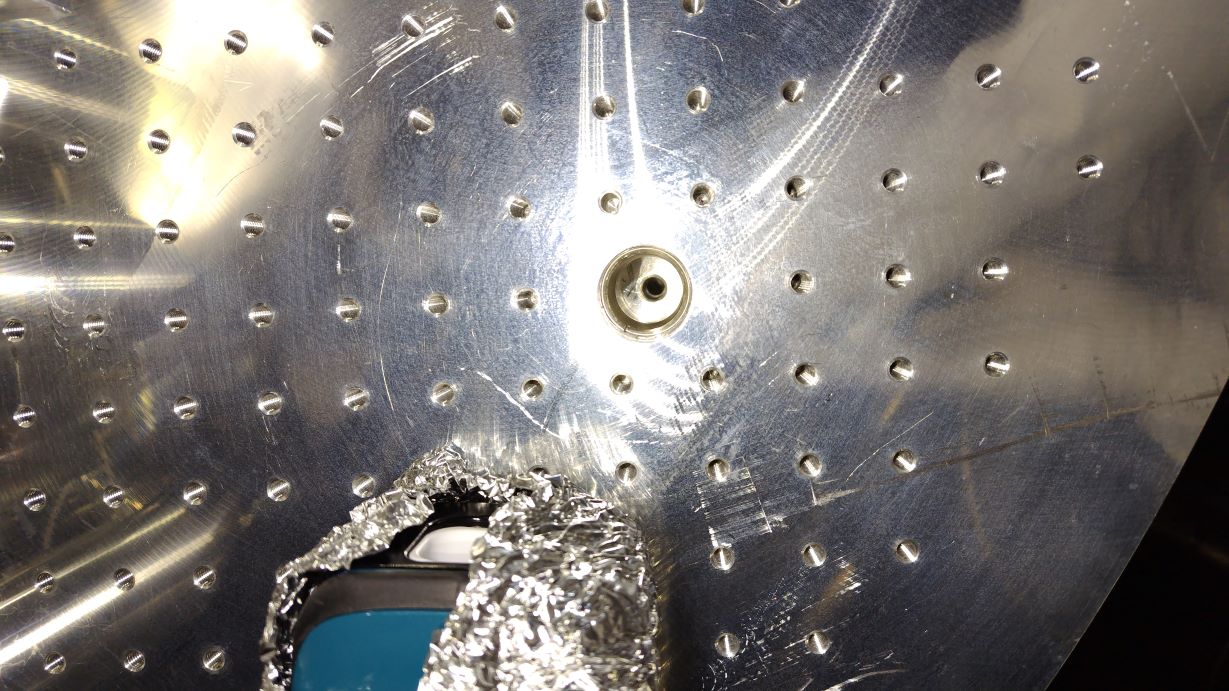
- Moved the bench onto the stack legs. M10 bolts were inserted into the center of the stack leg.
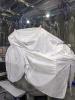
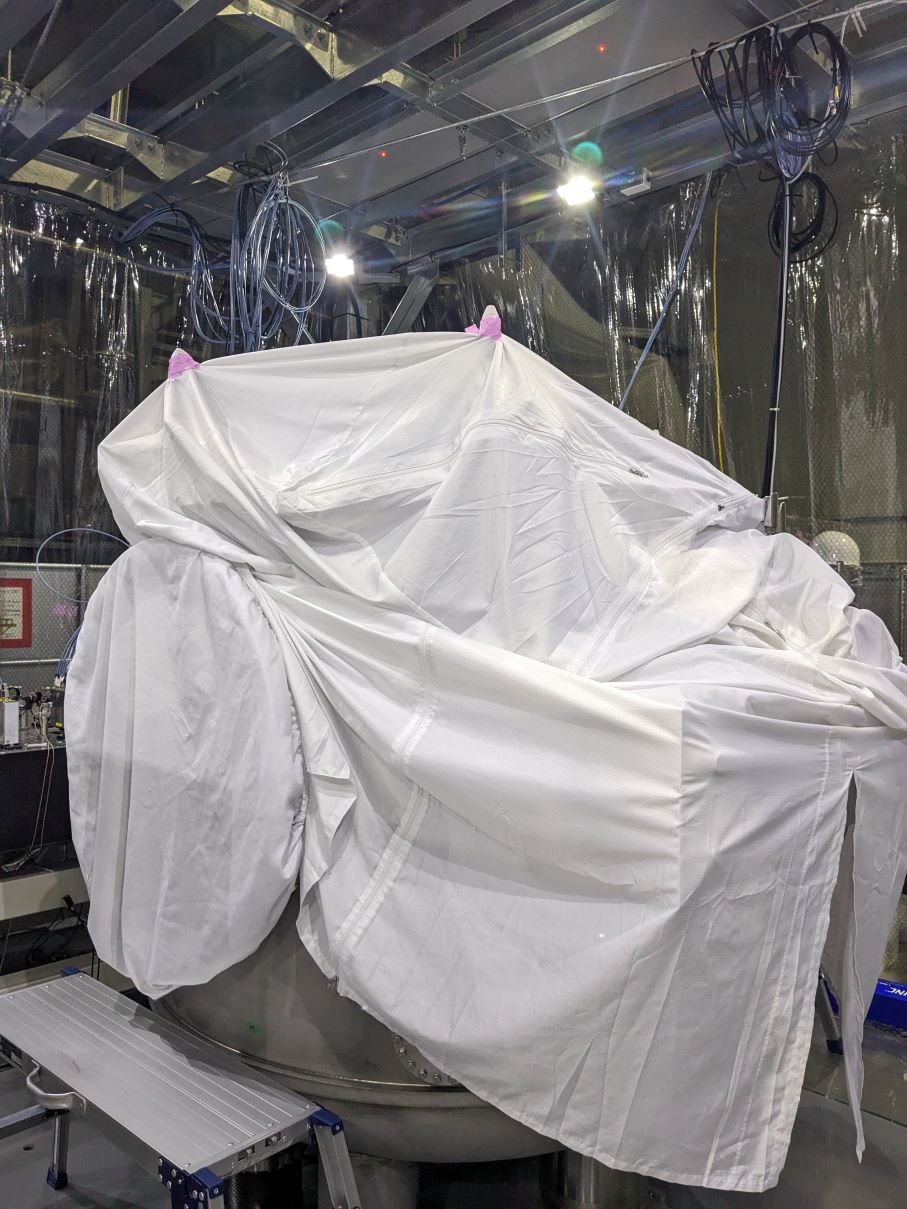
- Covered the chamber with a clean bag.


