Reports 1-1 of 1 Clear search Modify search
MIR (EY)
yoichi.aso - 19:13 Tuesday 22 June 2021 (17219) Print this report
ETMY mirror cleaning started

Marc, Yuhang, Michael, Aso

Summary

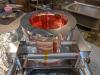
Today, we started the cleaning process of ETMY.

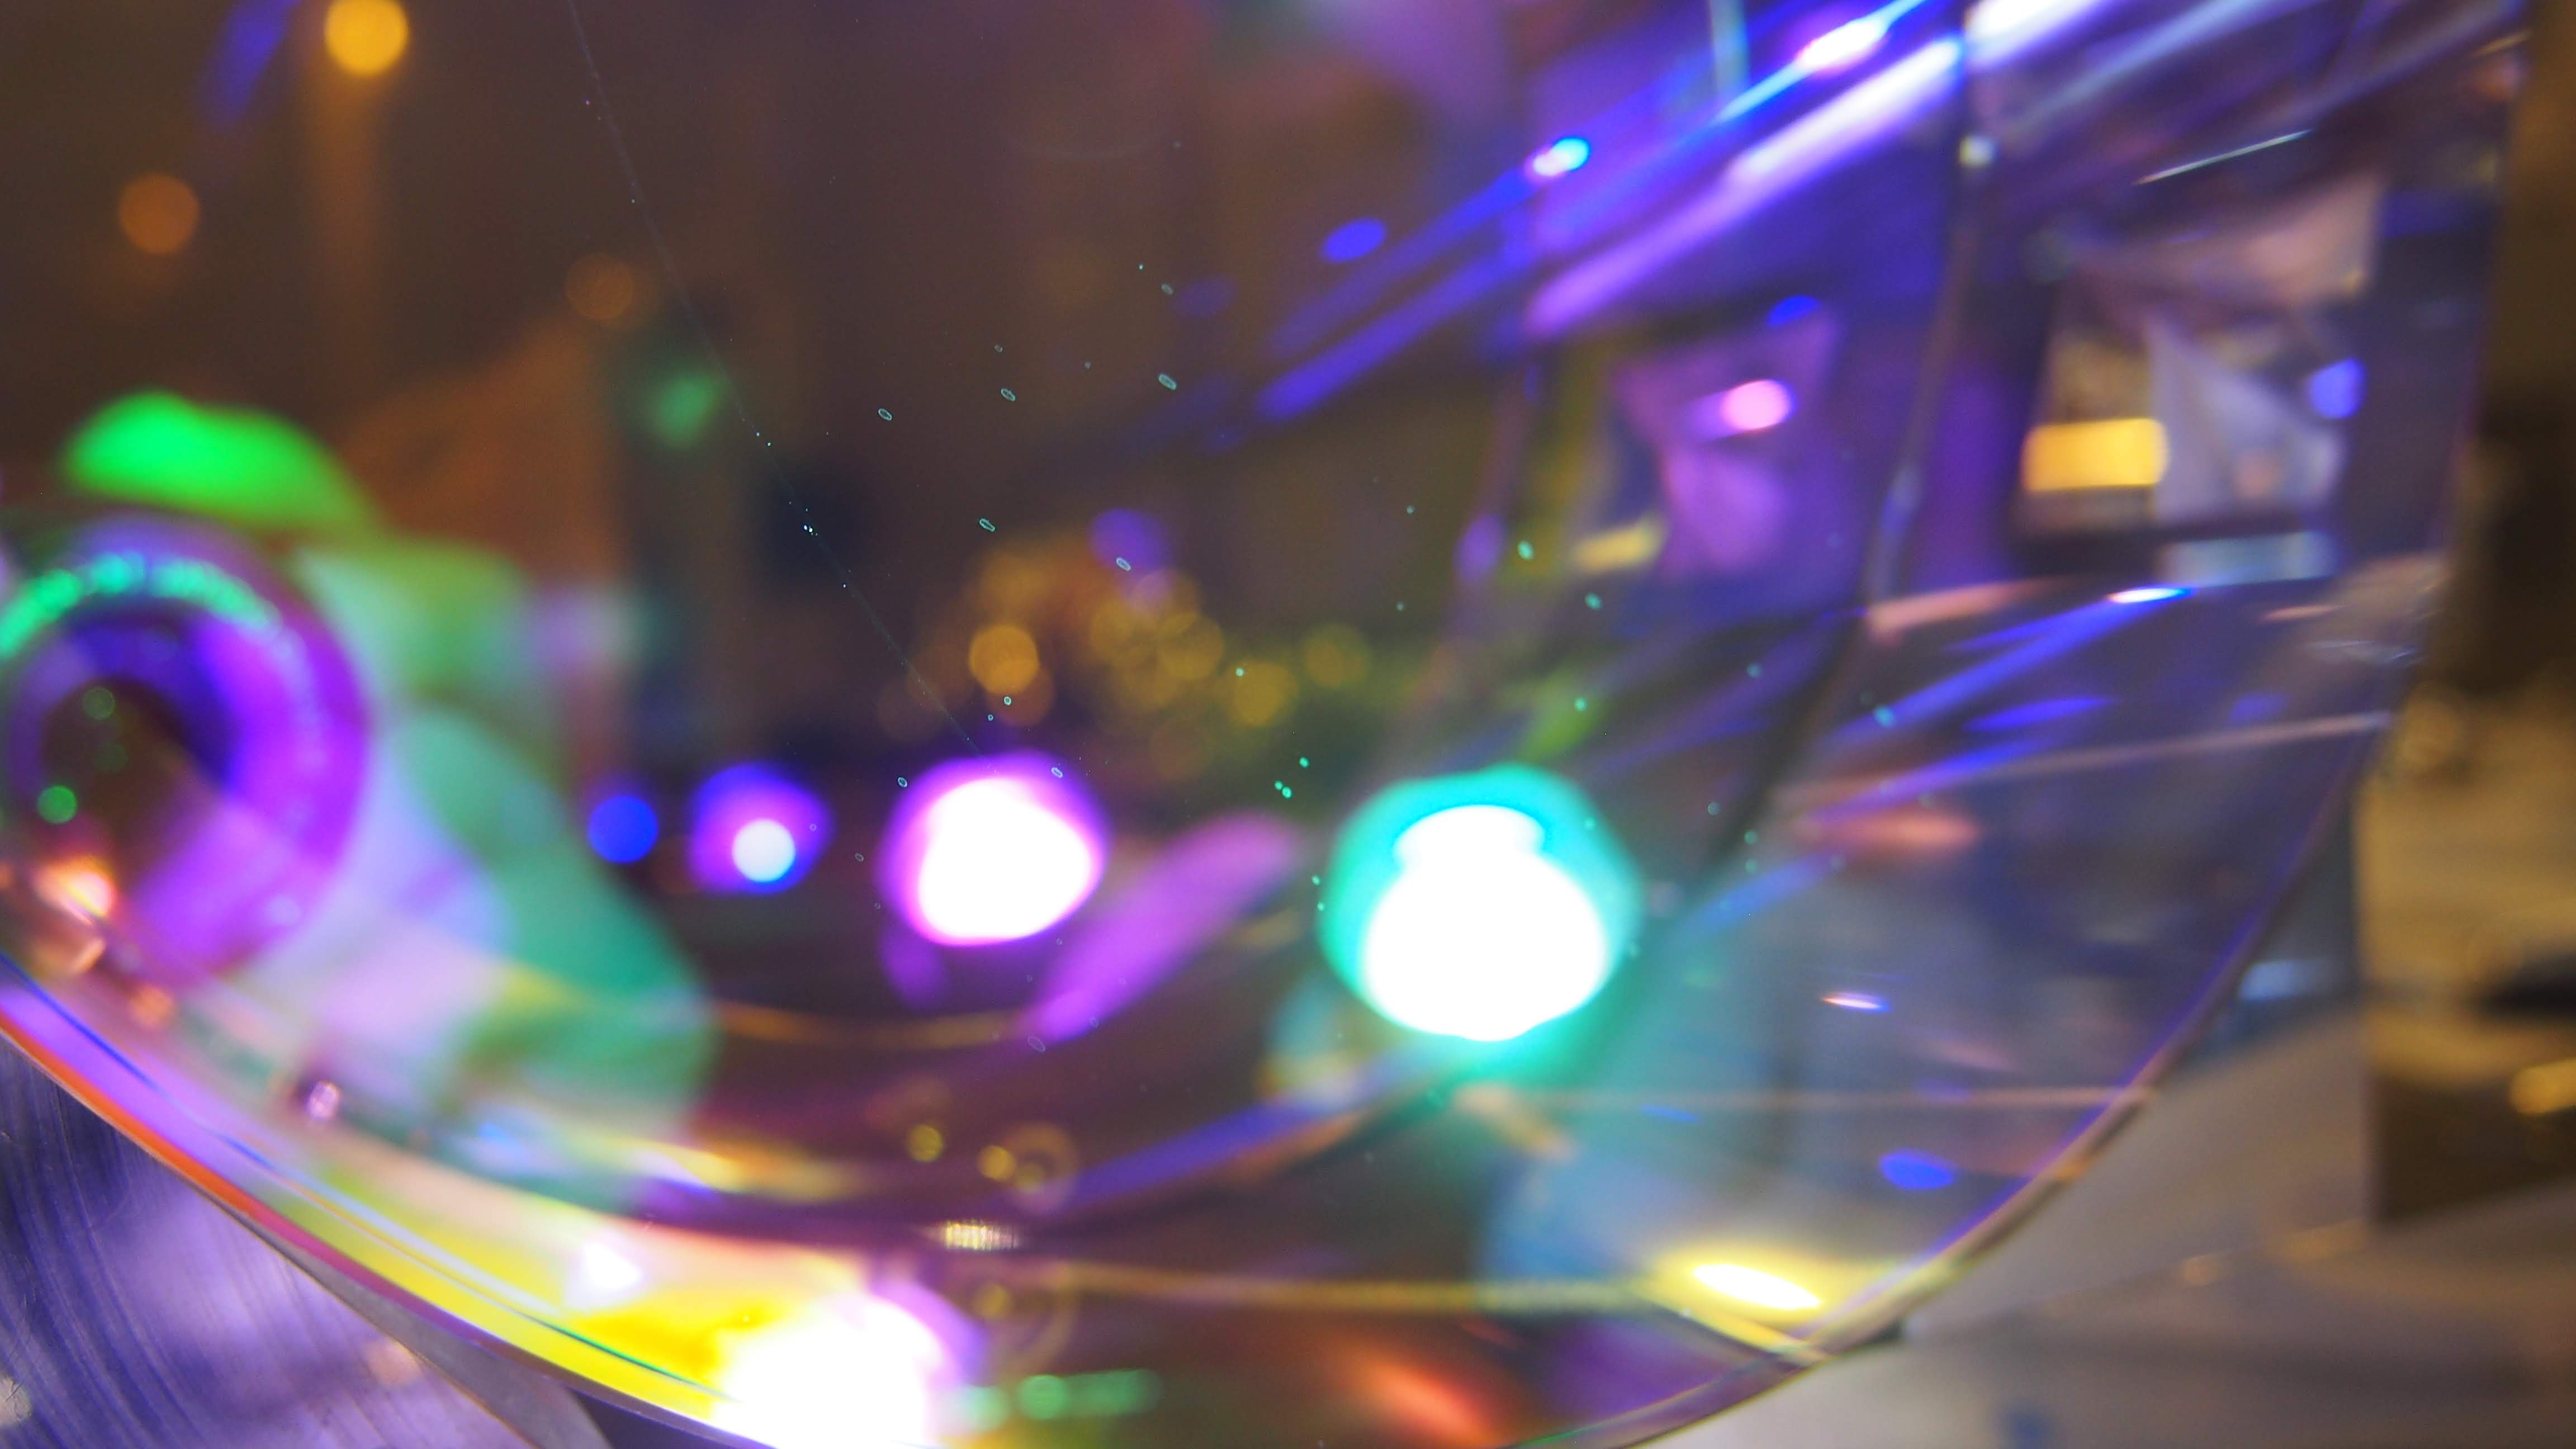
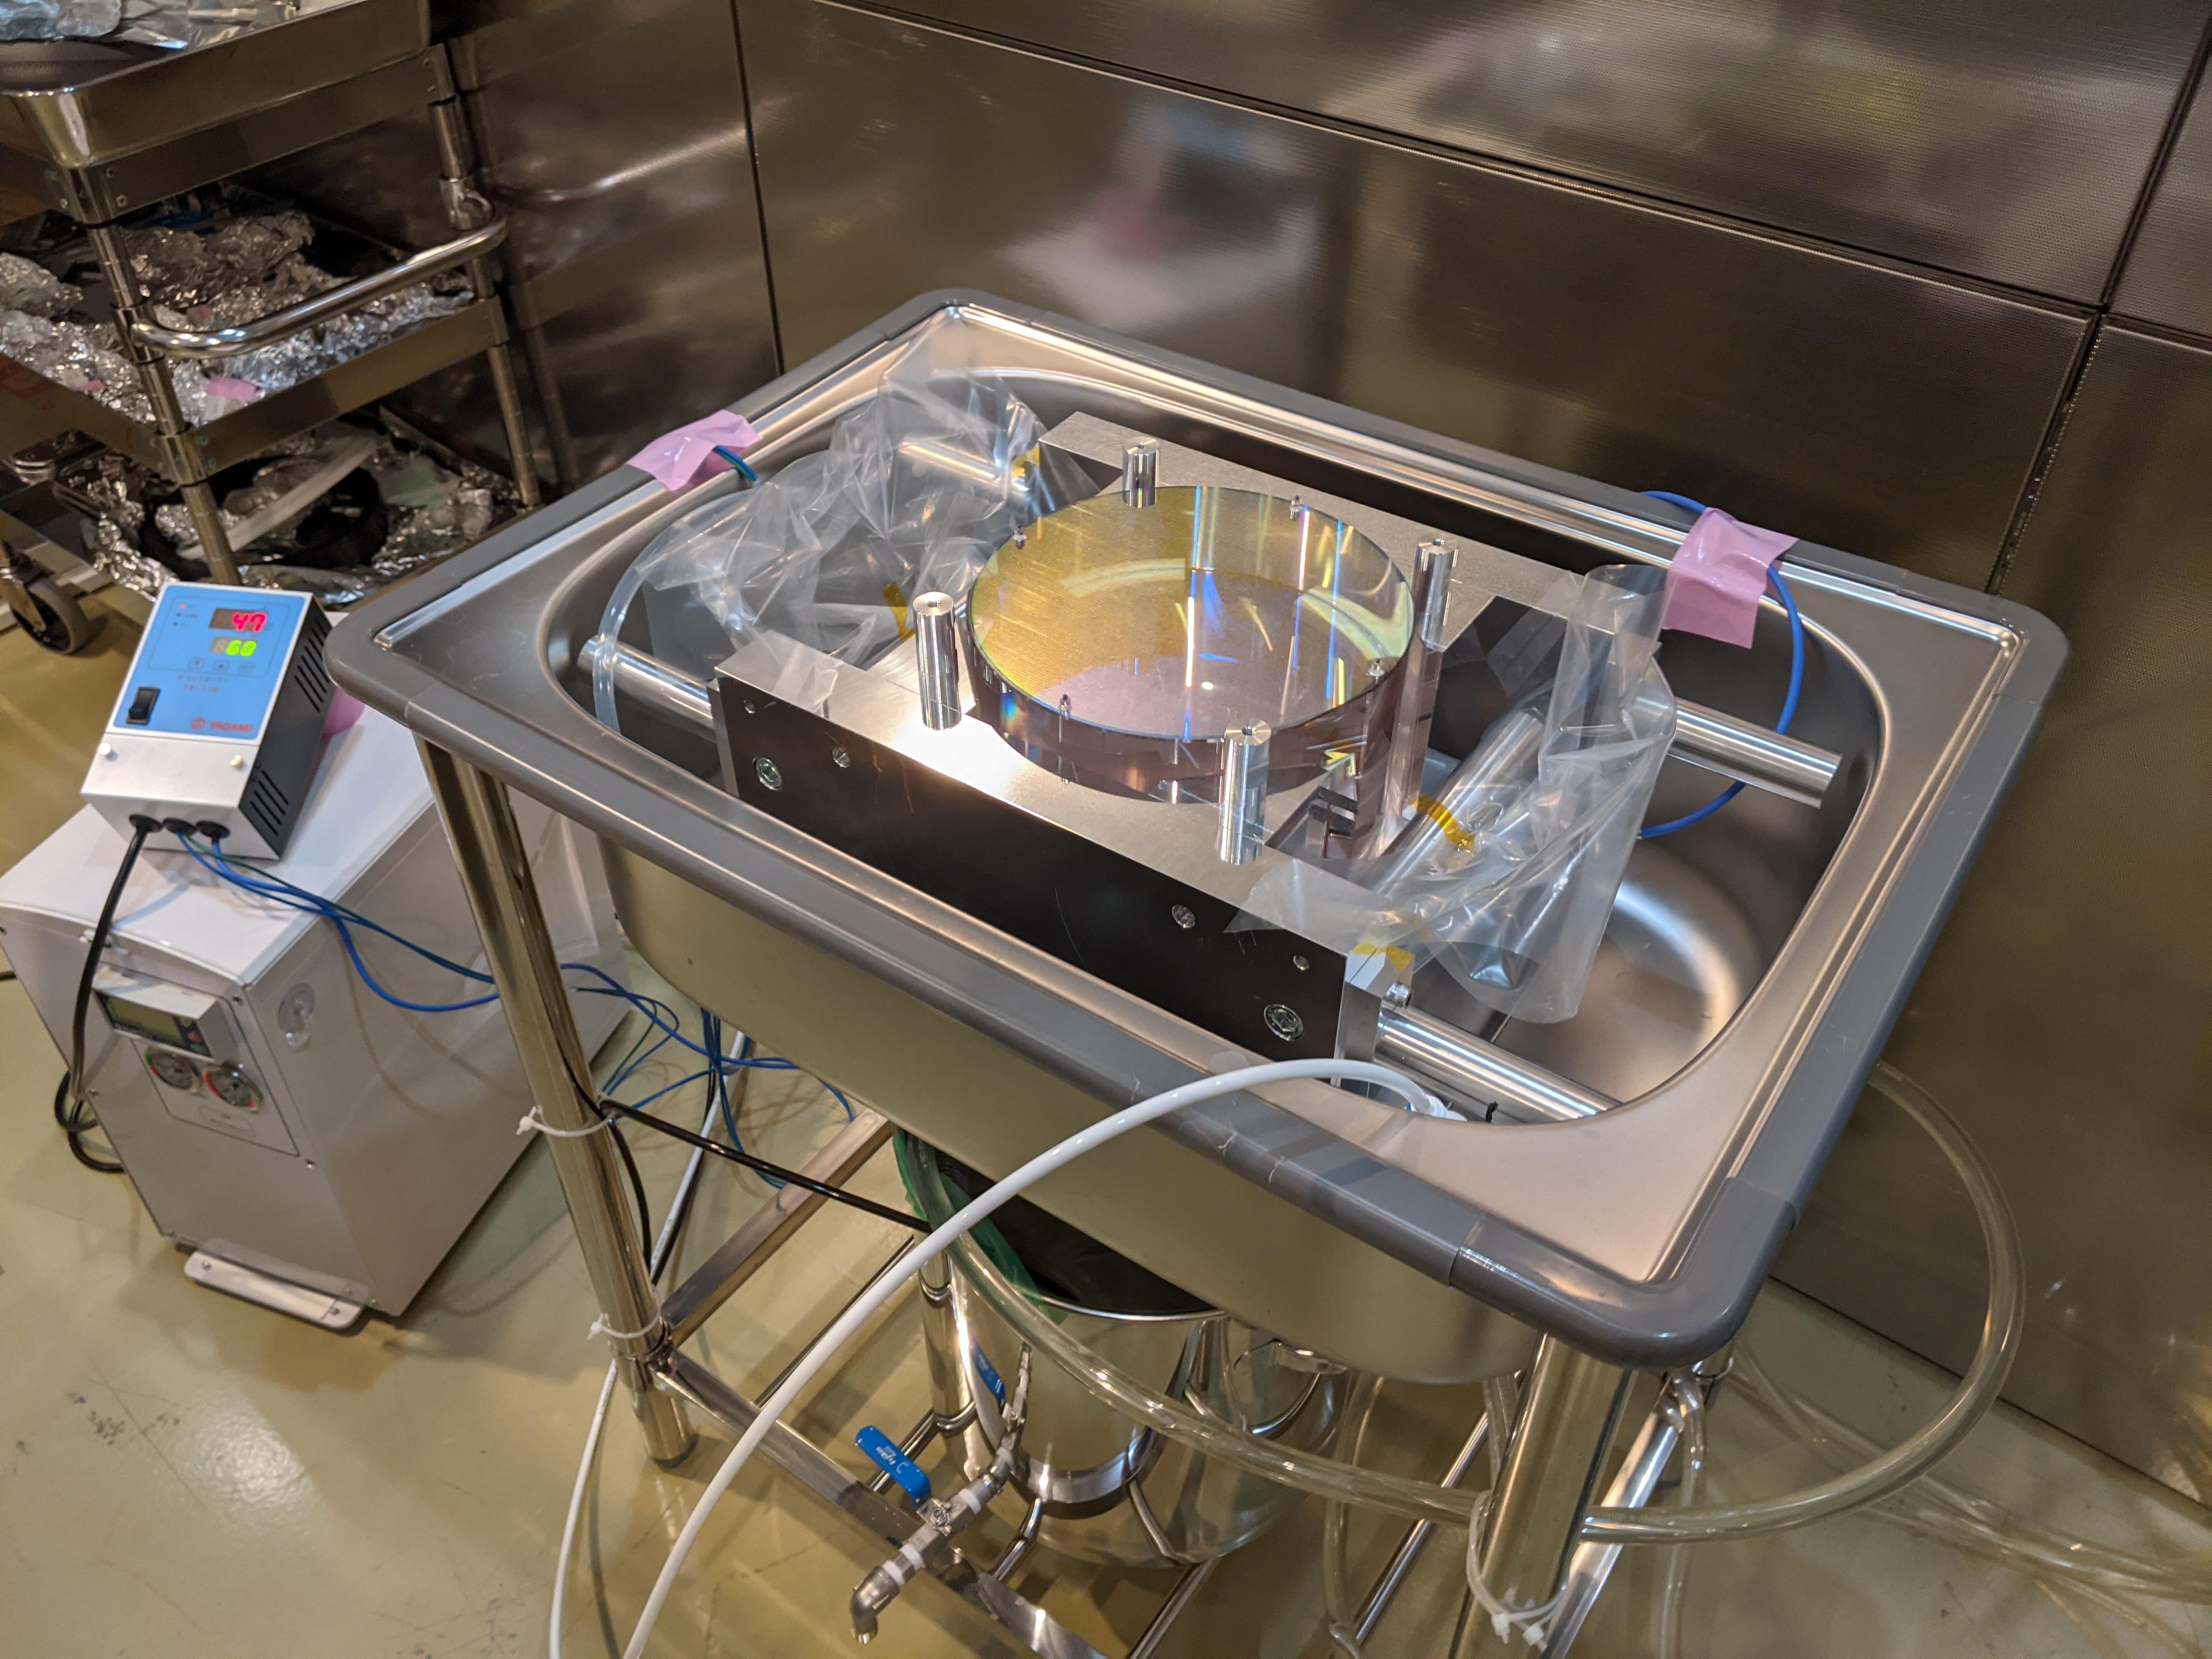
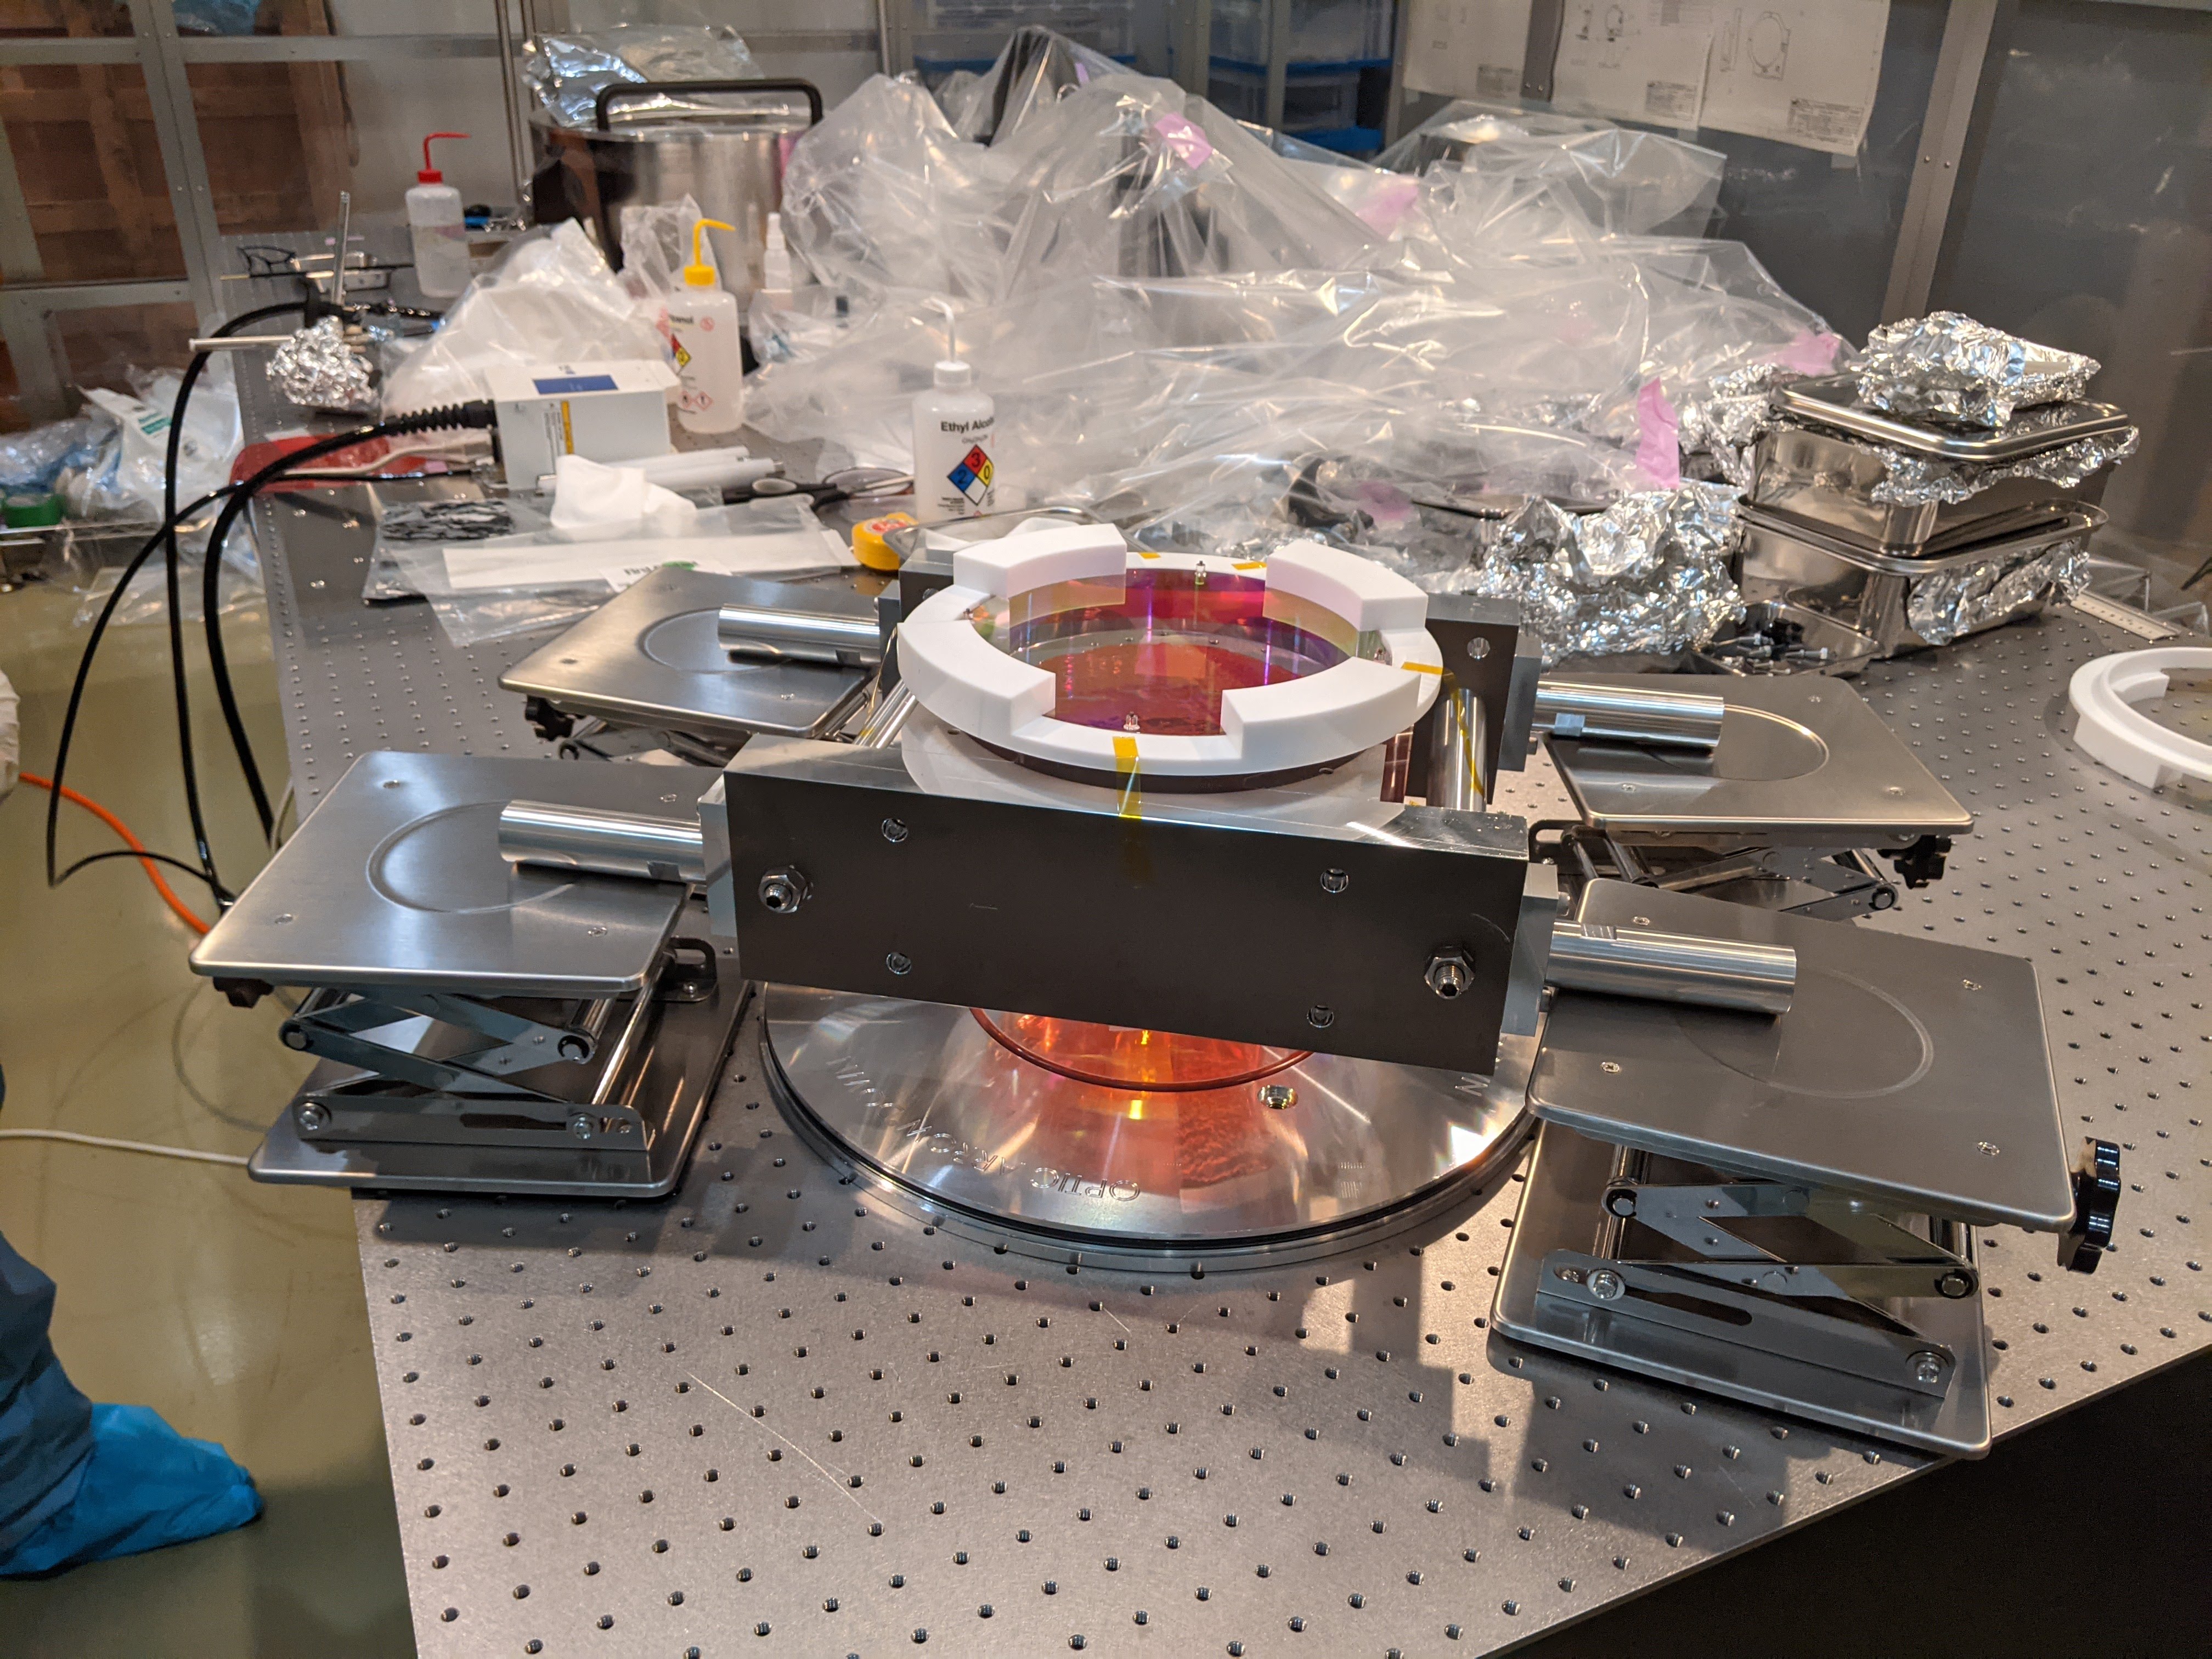
First, we successfully assembled the newly designed handling jig and mounted it on the mirror.
Using the jig, we held the mirror upright and inspected the HR and AR surfaces closely.
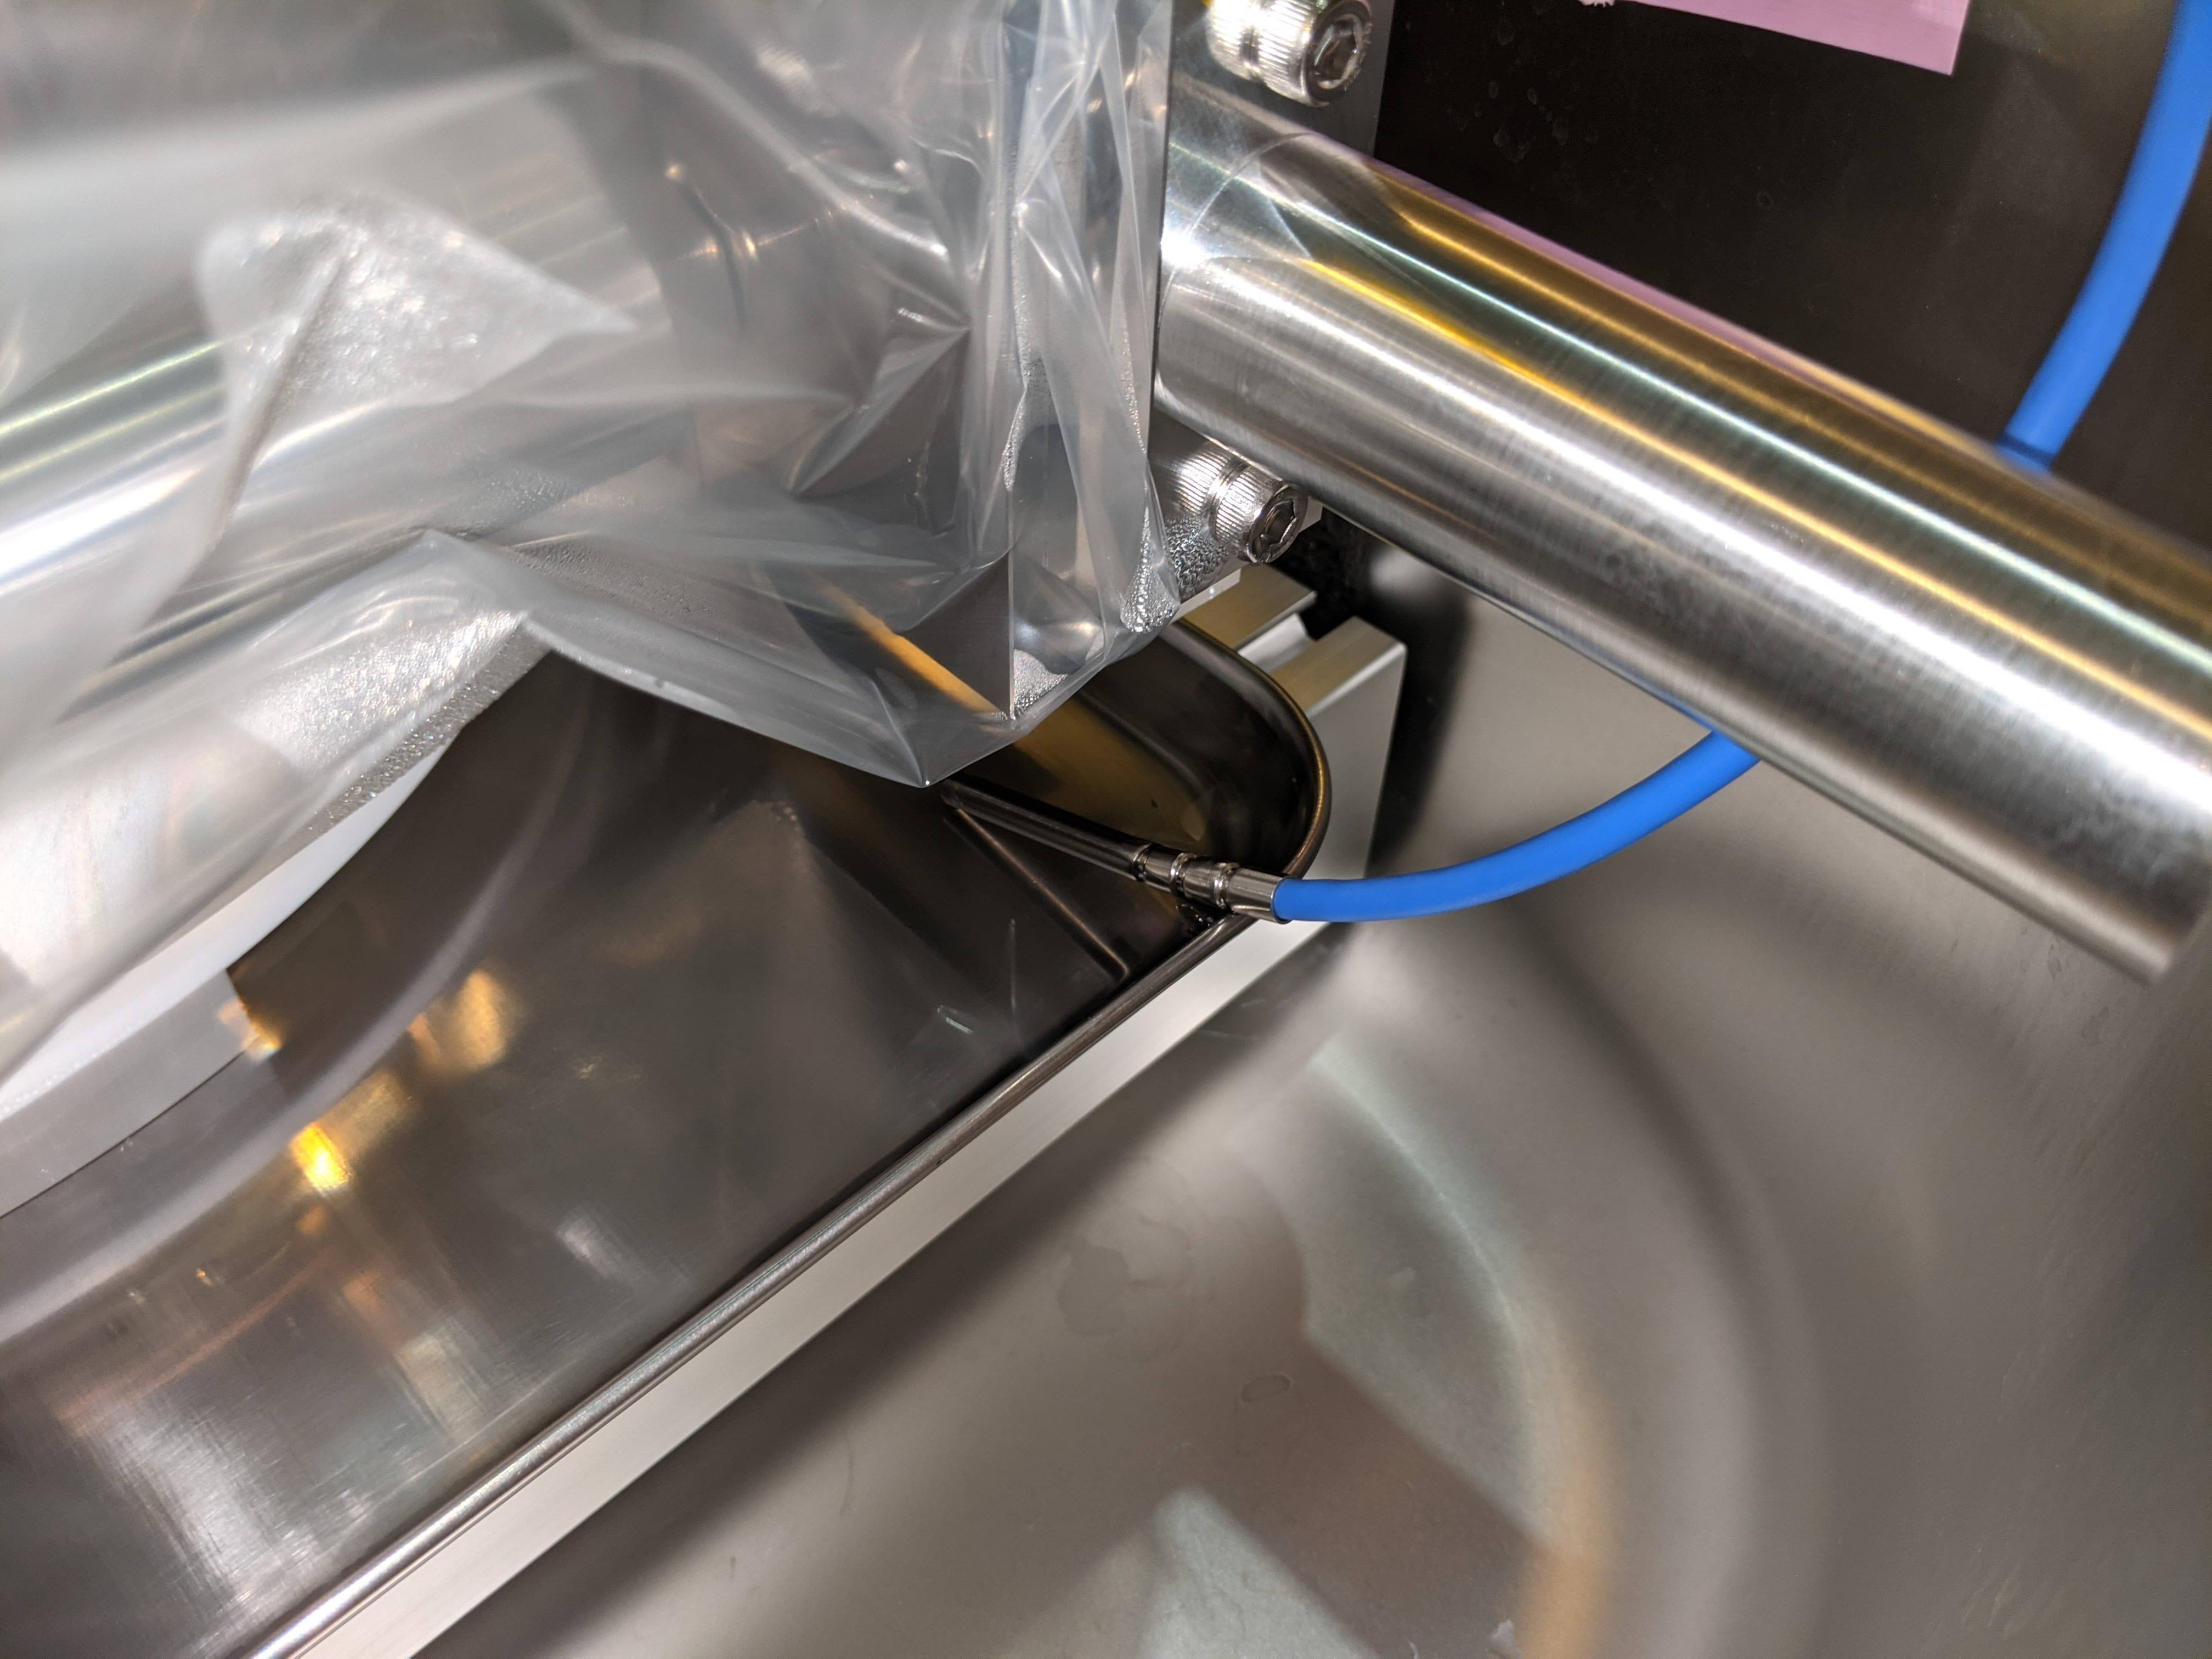
After the inspection, we put the mirror in the water bath and started the ultra-pure water circulation.
We will continue the cleaning process until the morning of Thursday.
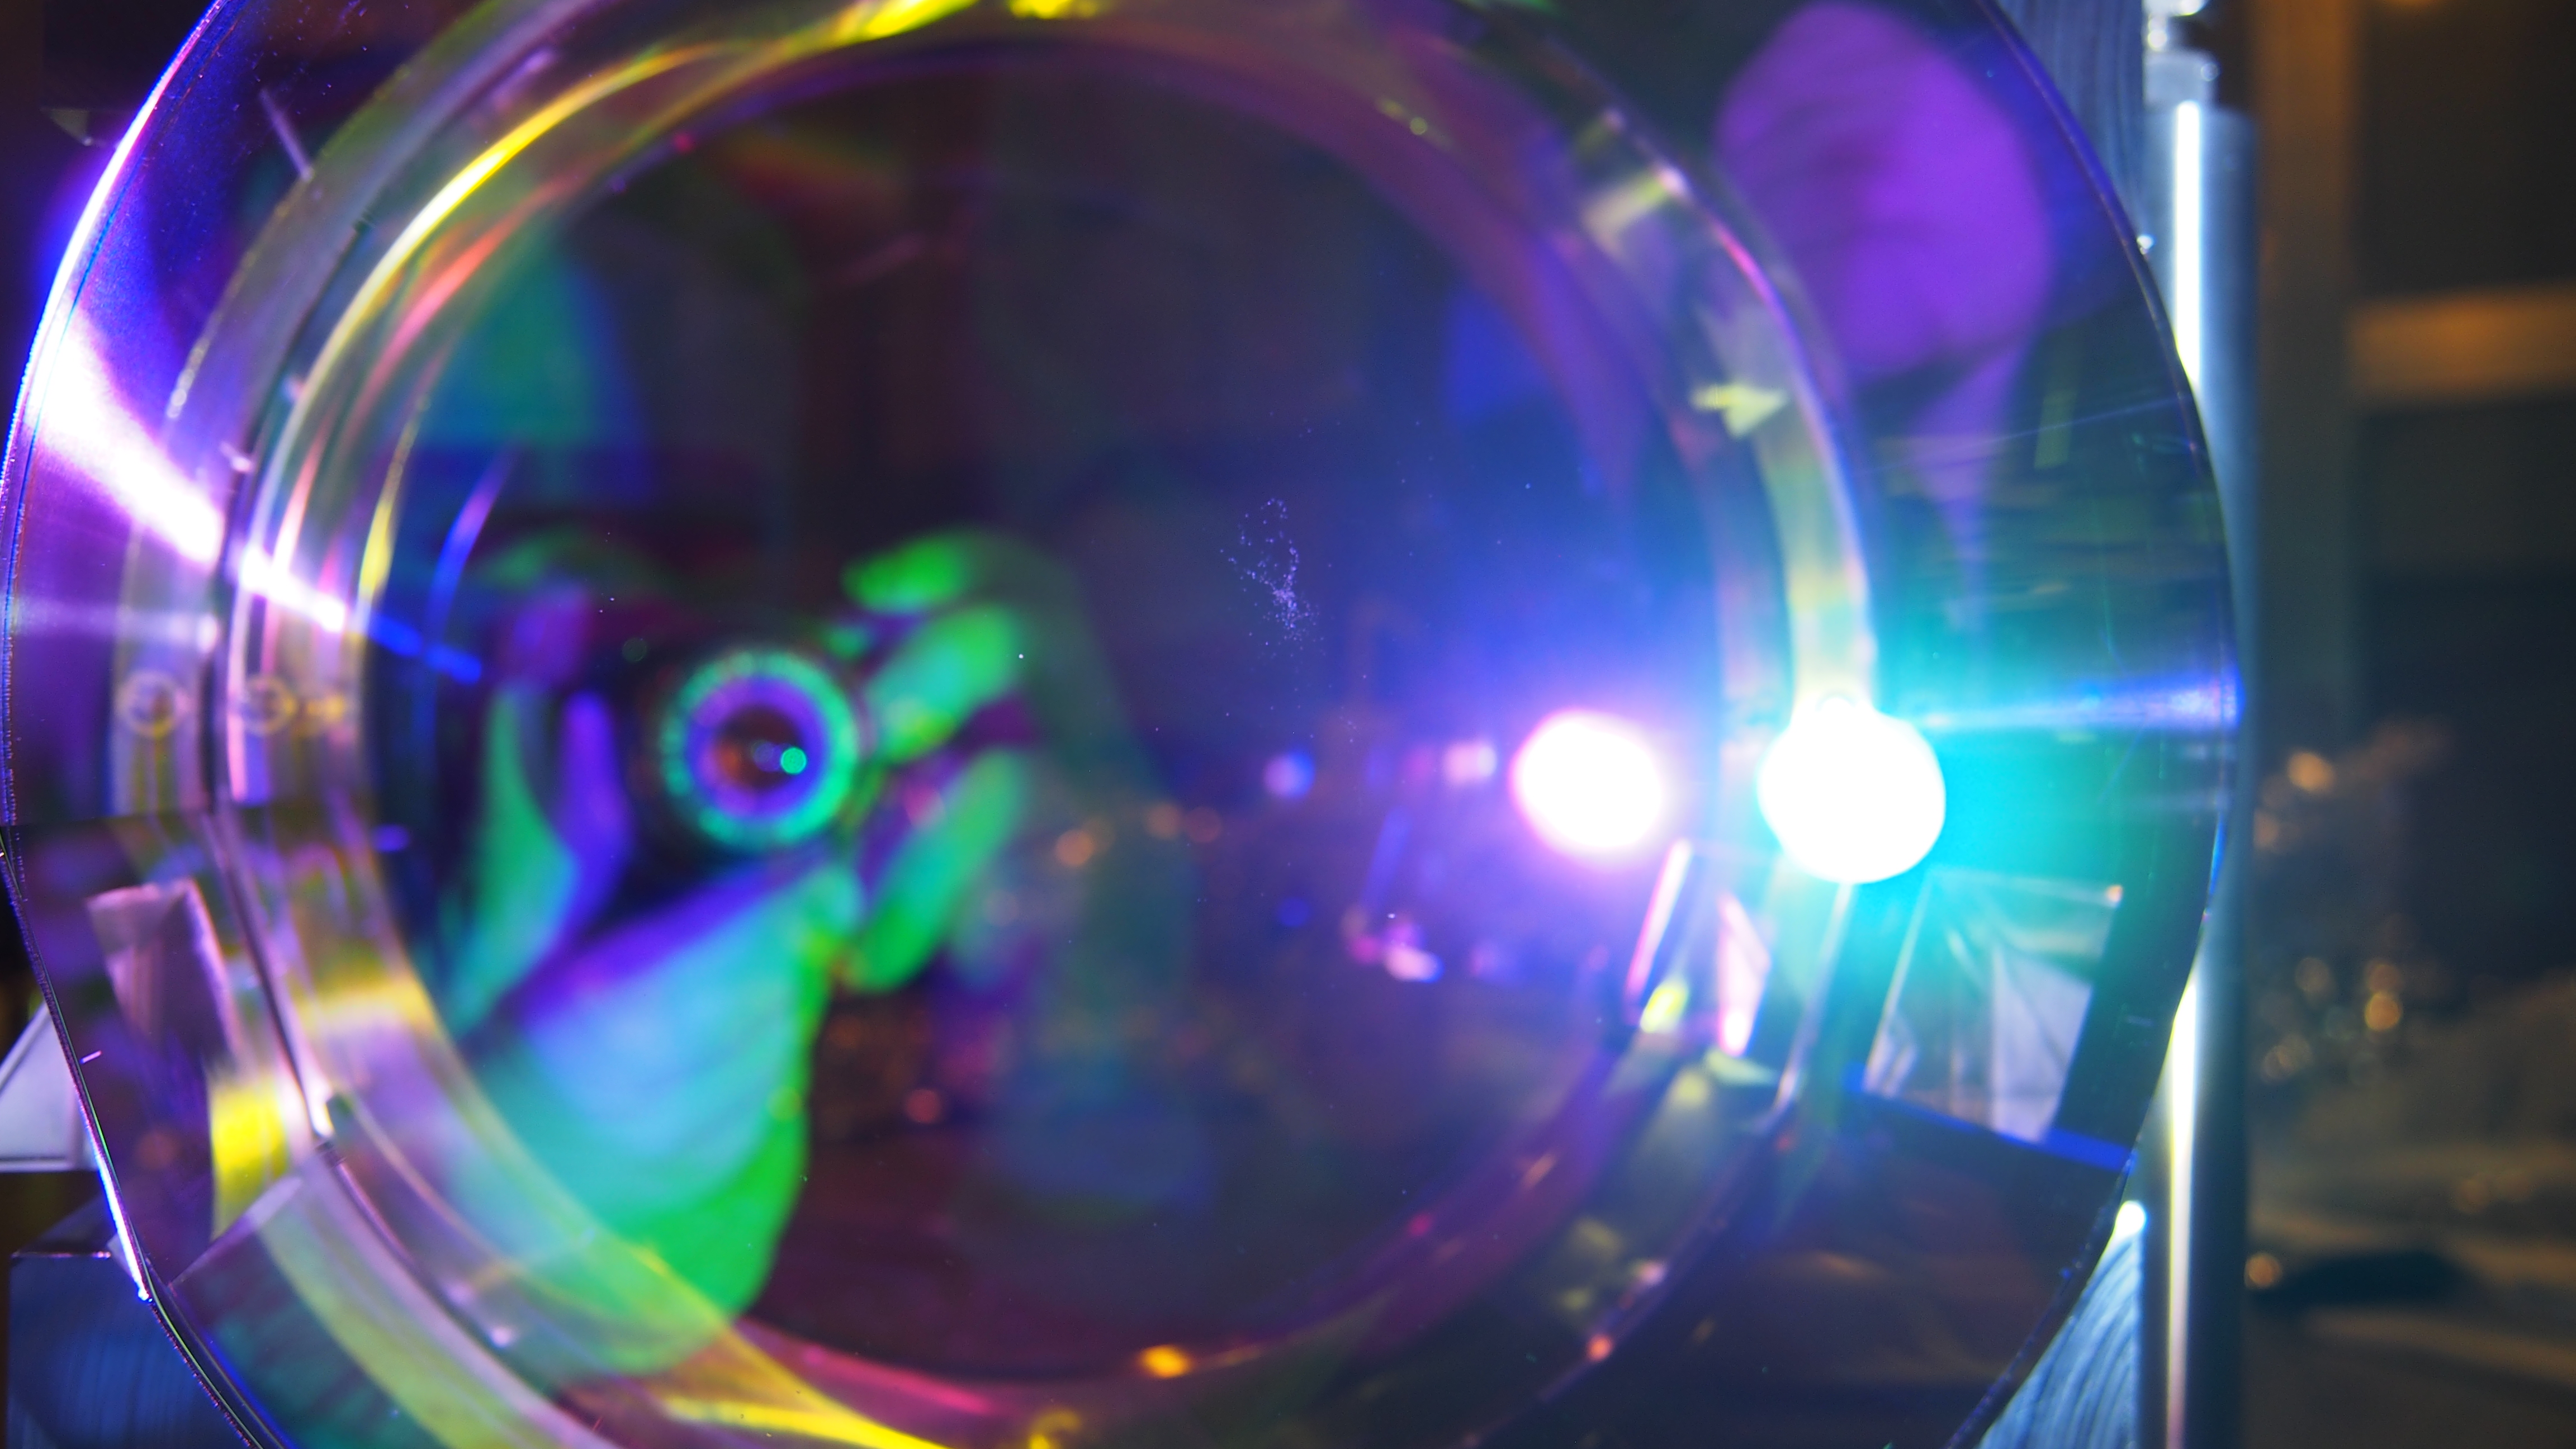
Surface inspection

You can find the photos here (all the mirror photos are of the HR surface):
https://photos.app.goo.gl/Mk2iUe2iTTreHr6BA
(some of the important photos are directly attached to this report)

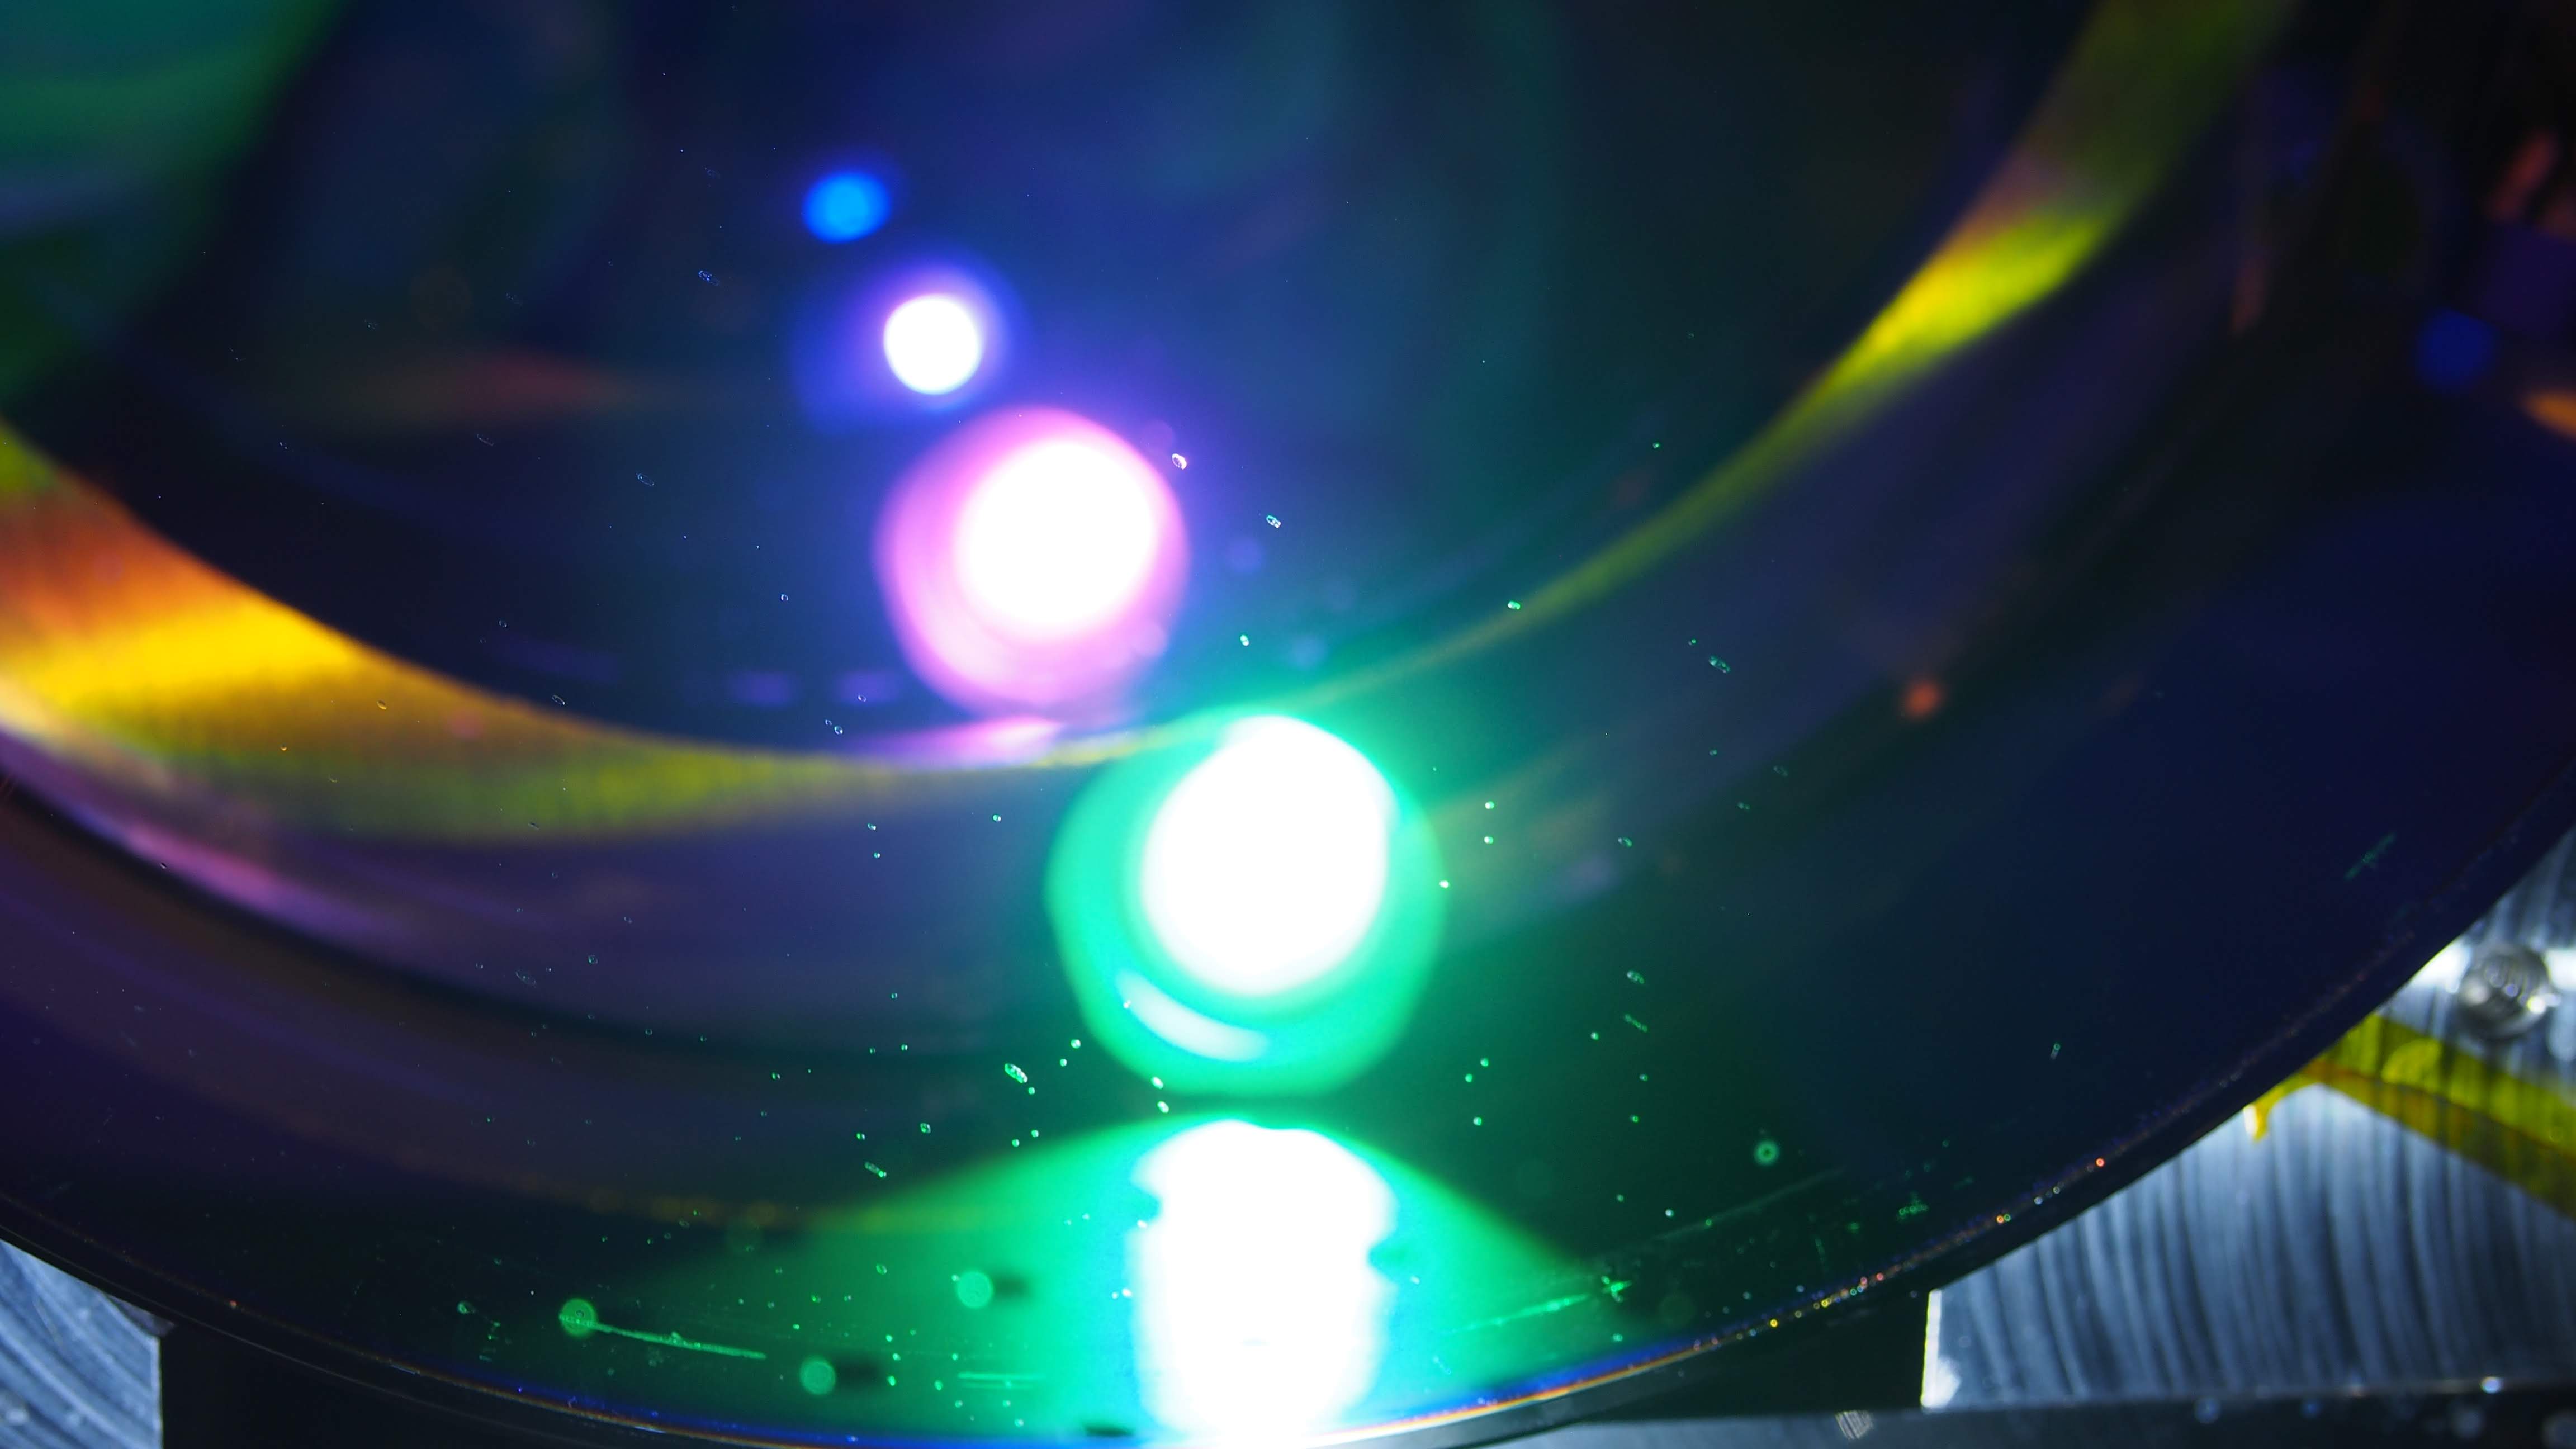
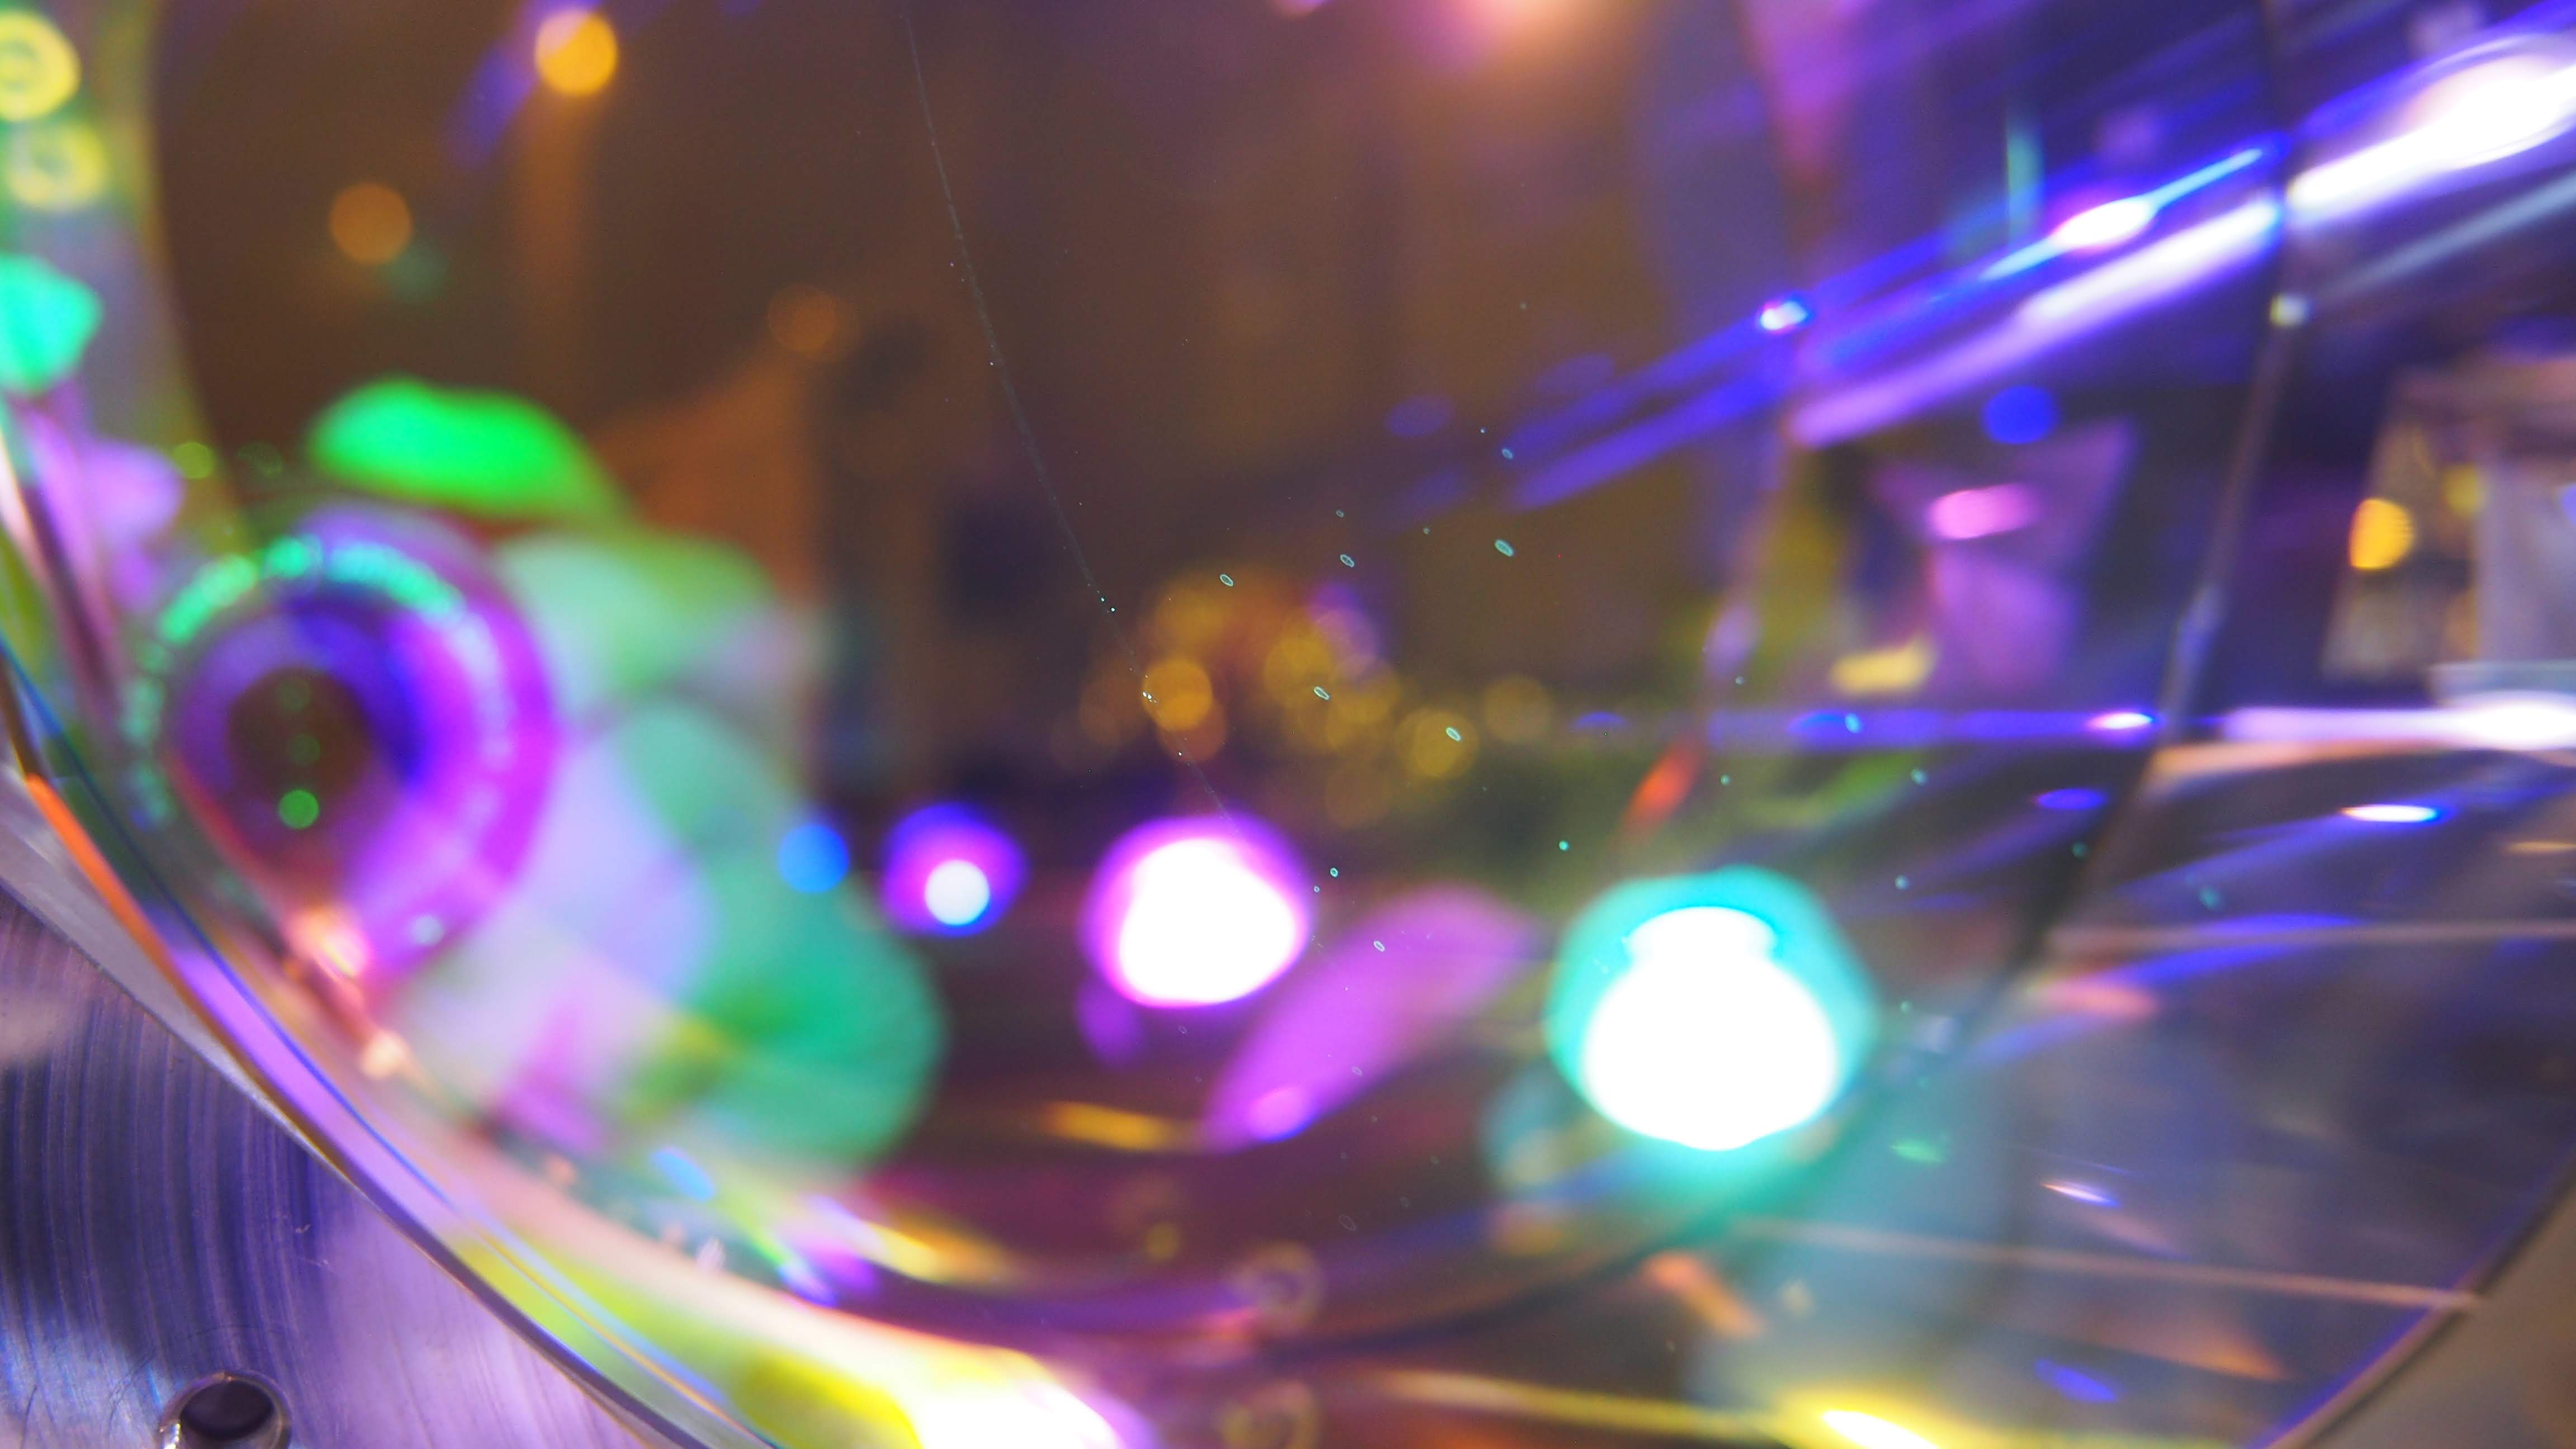
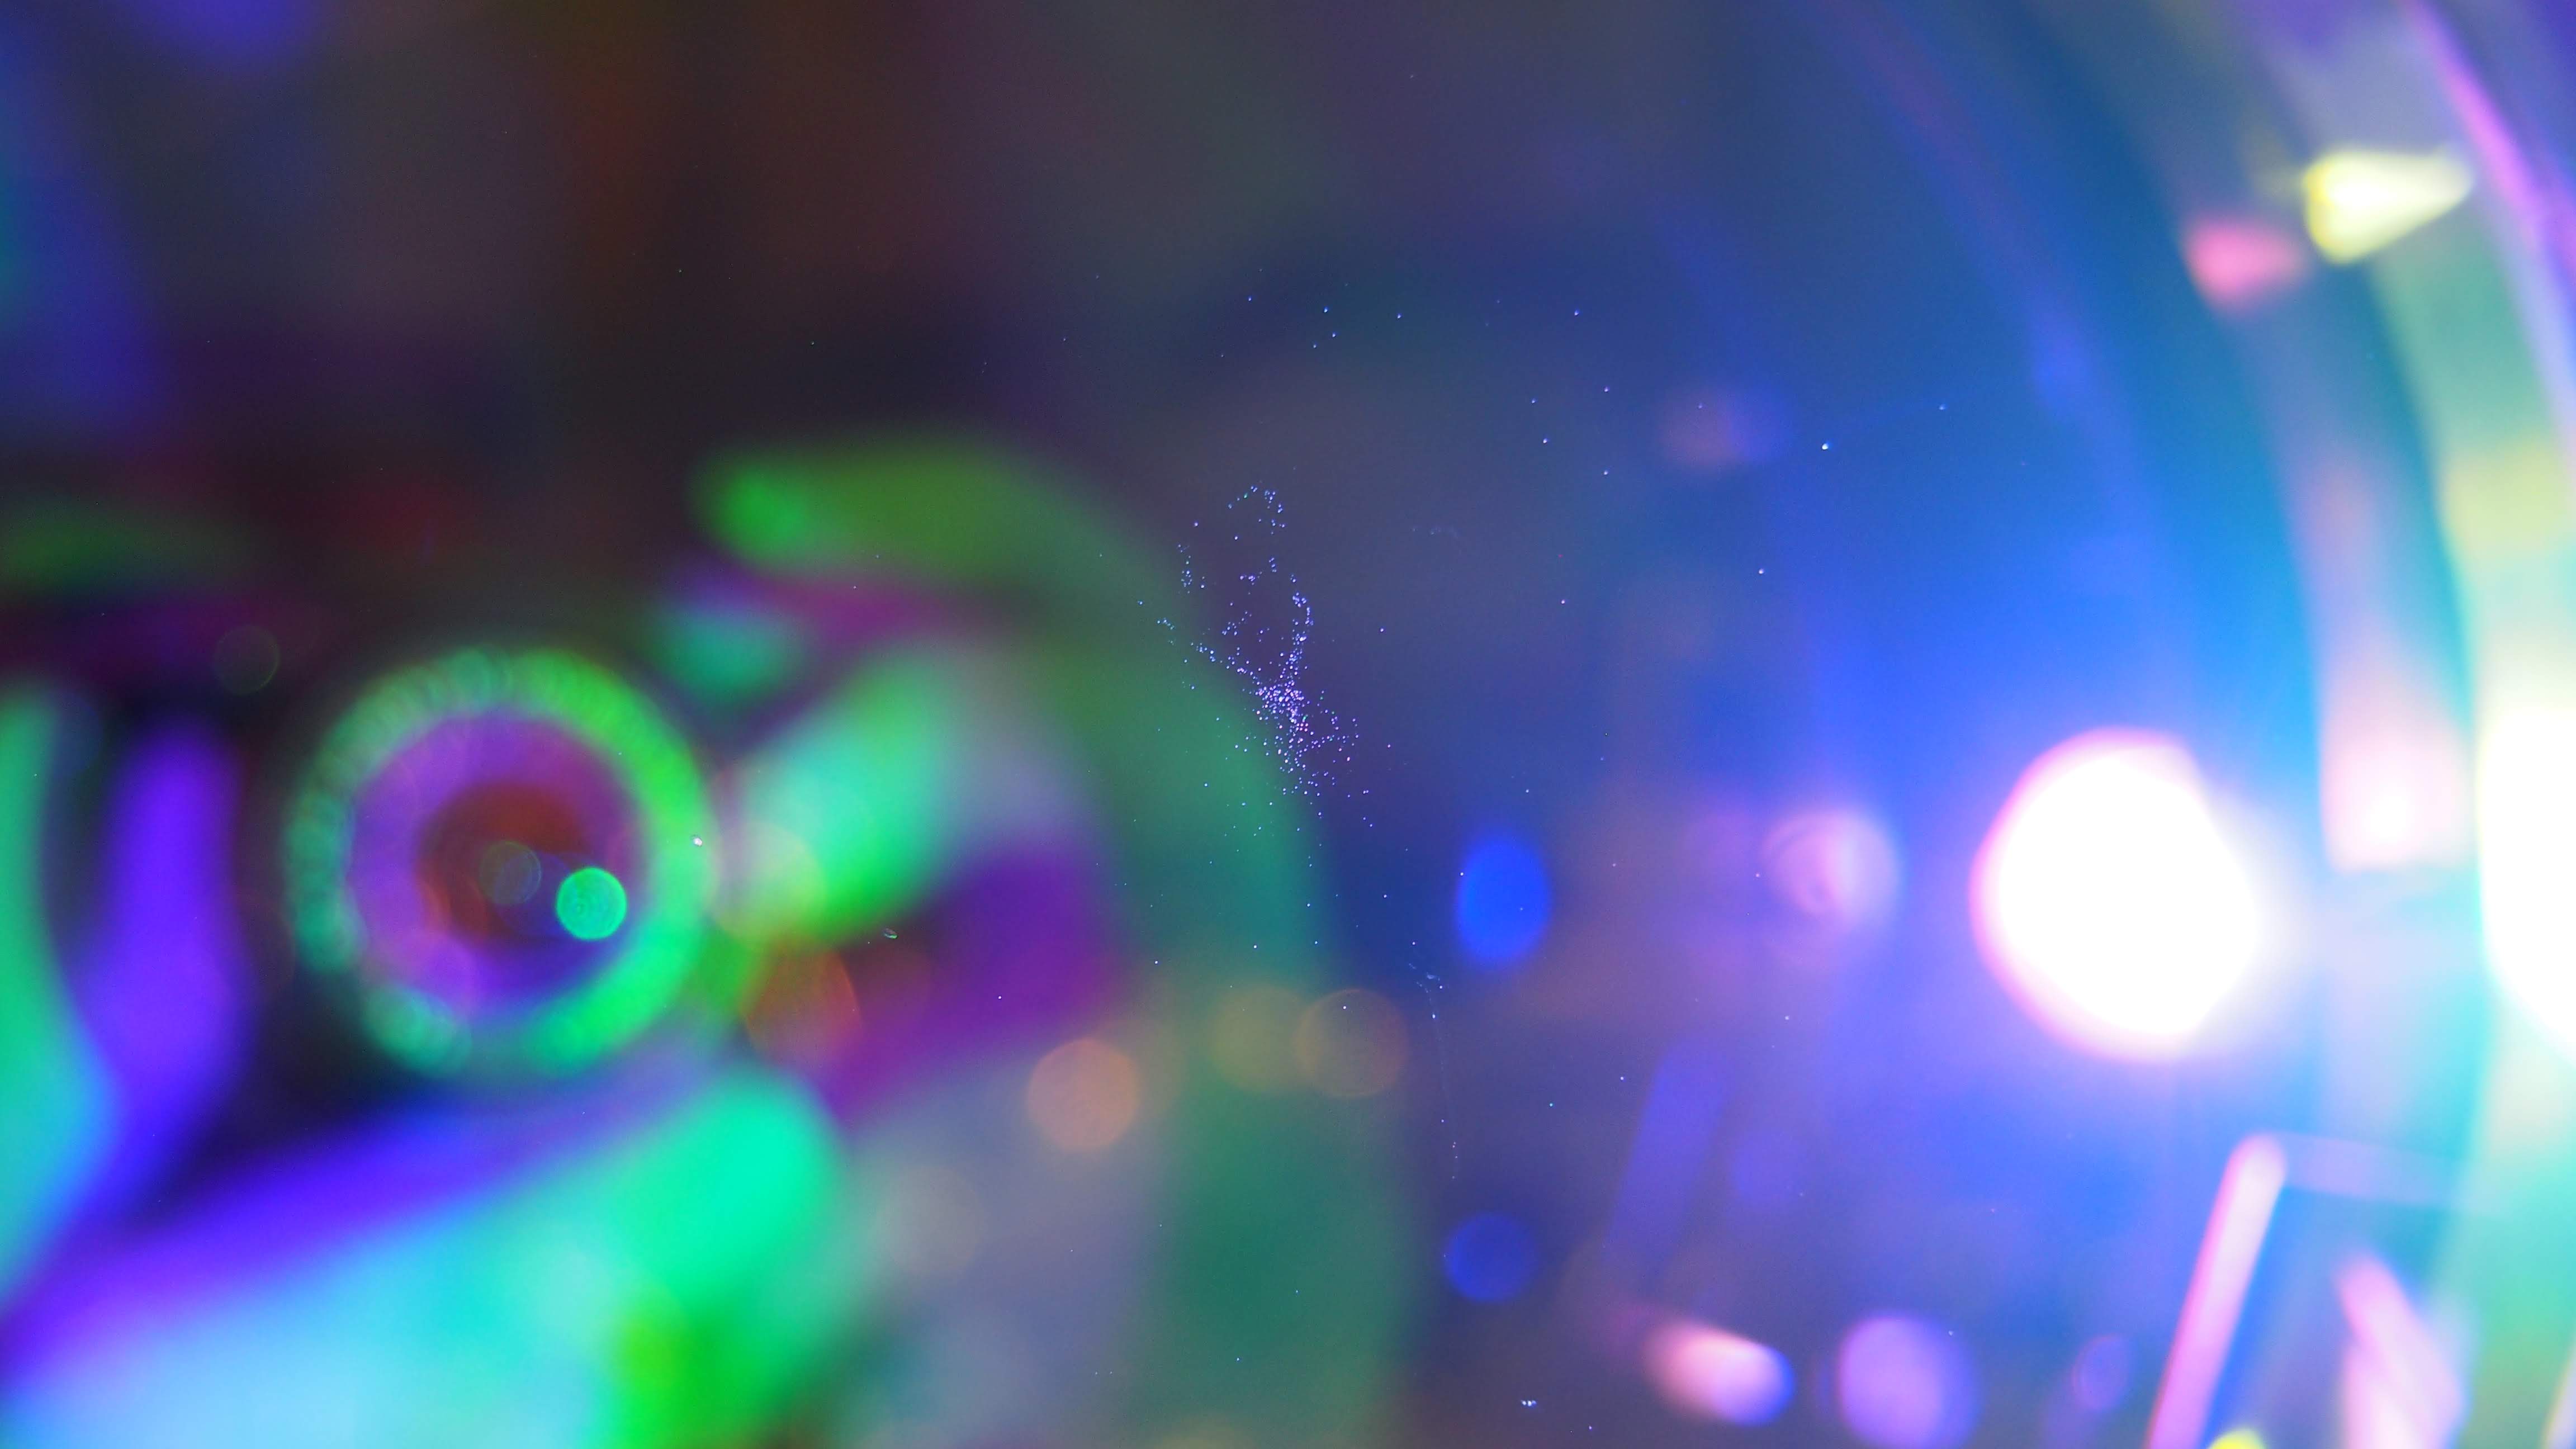
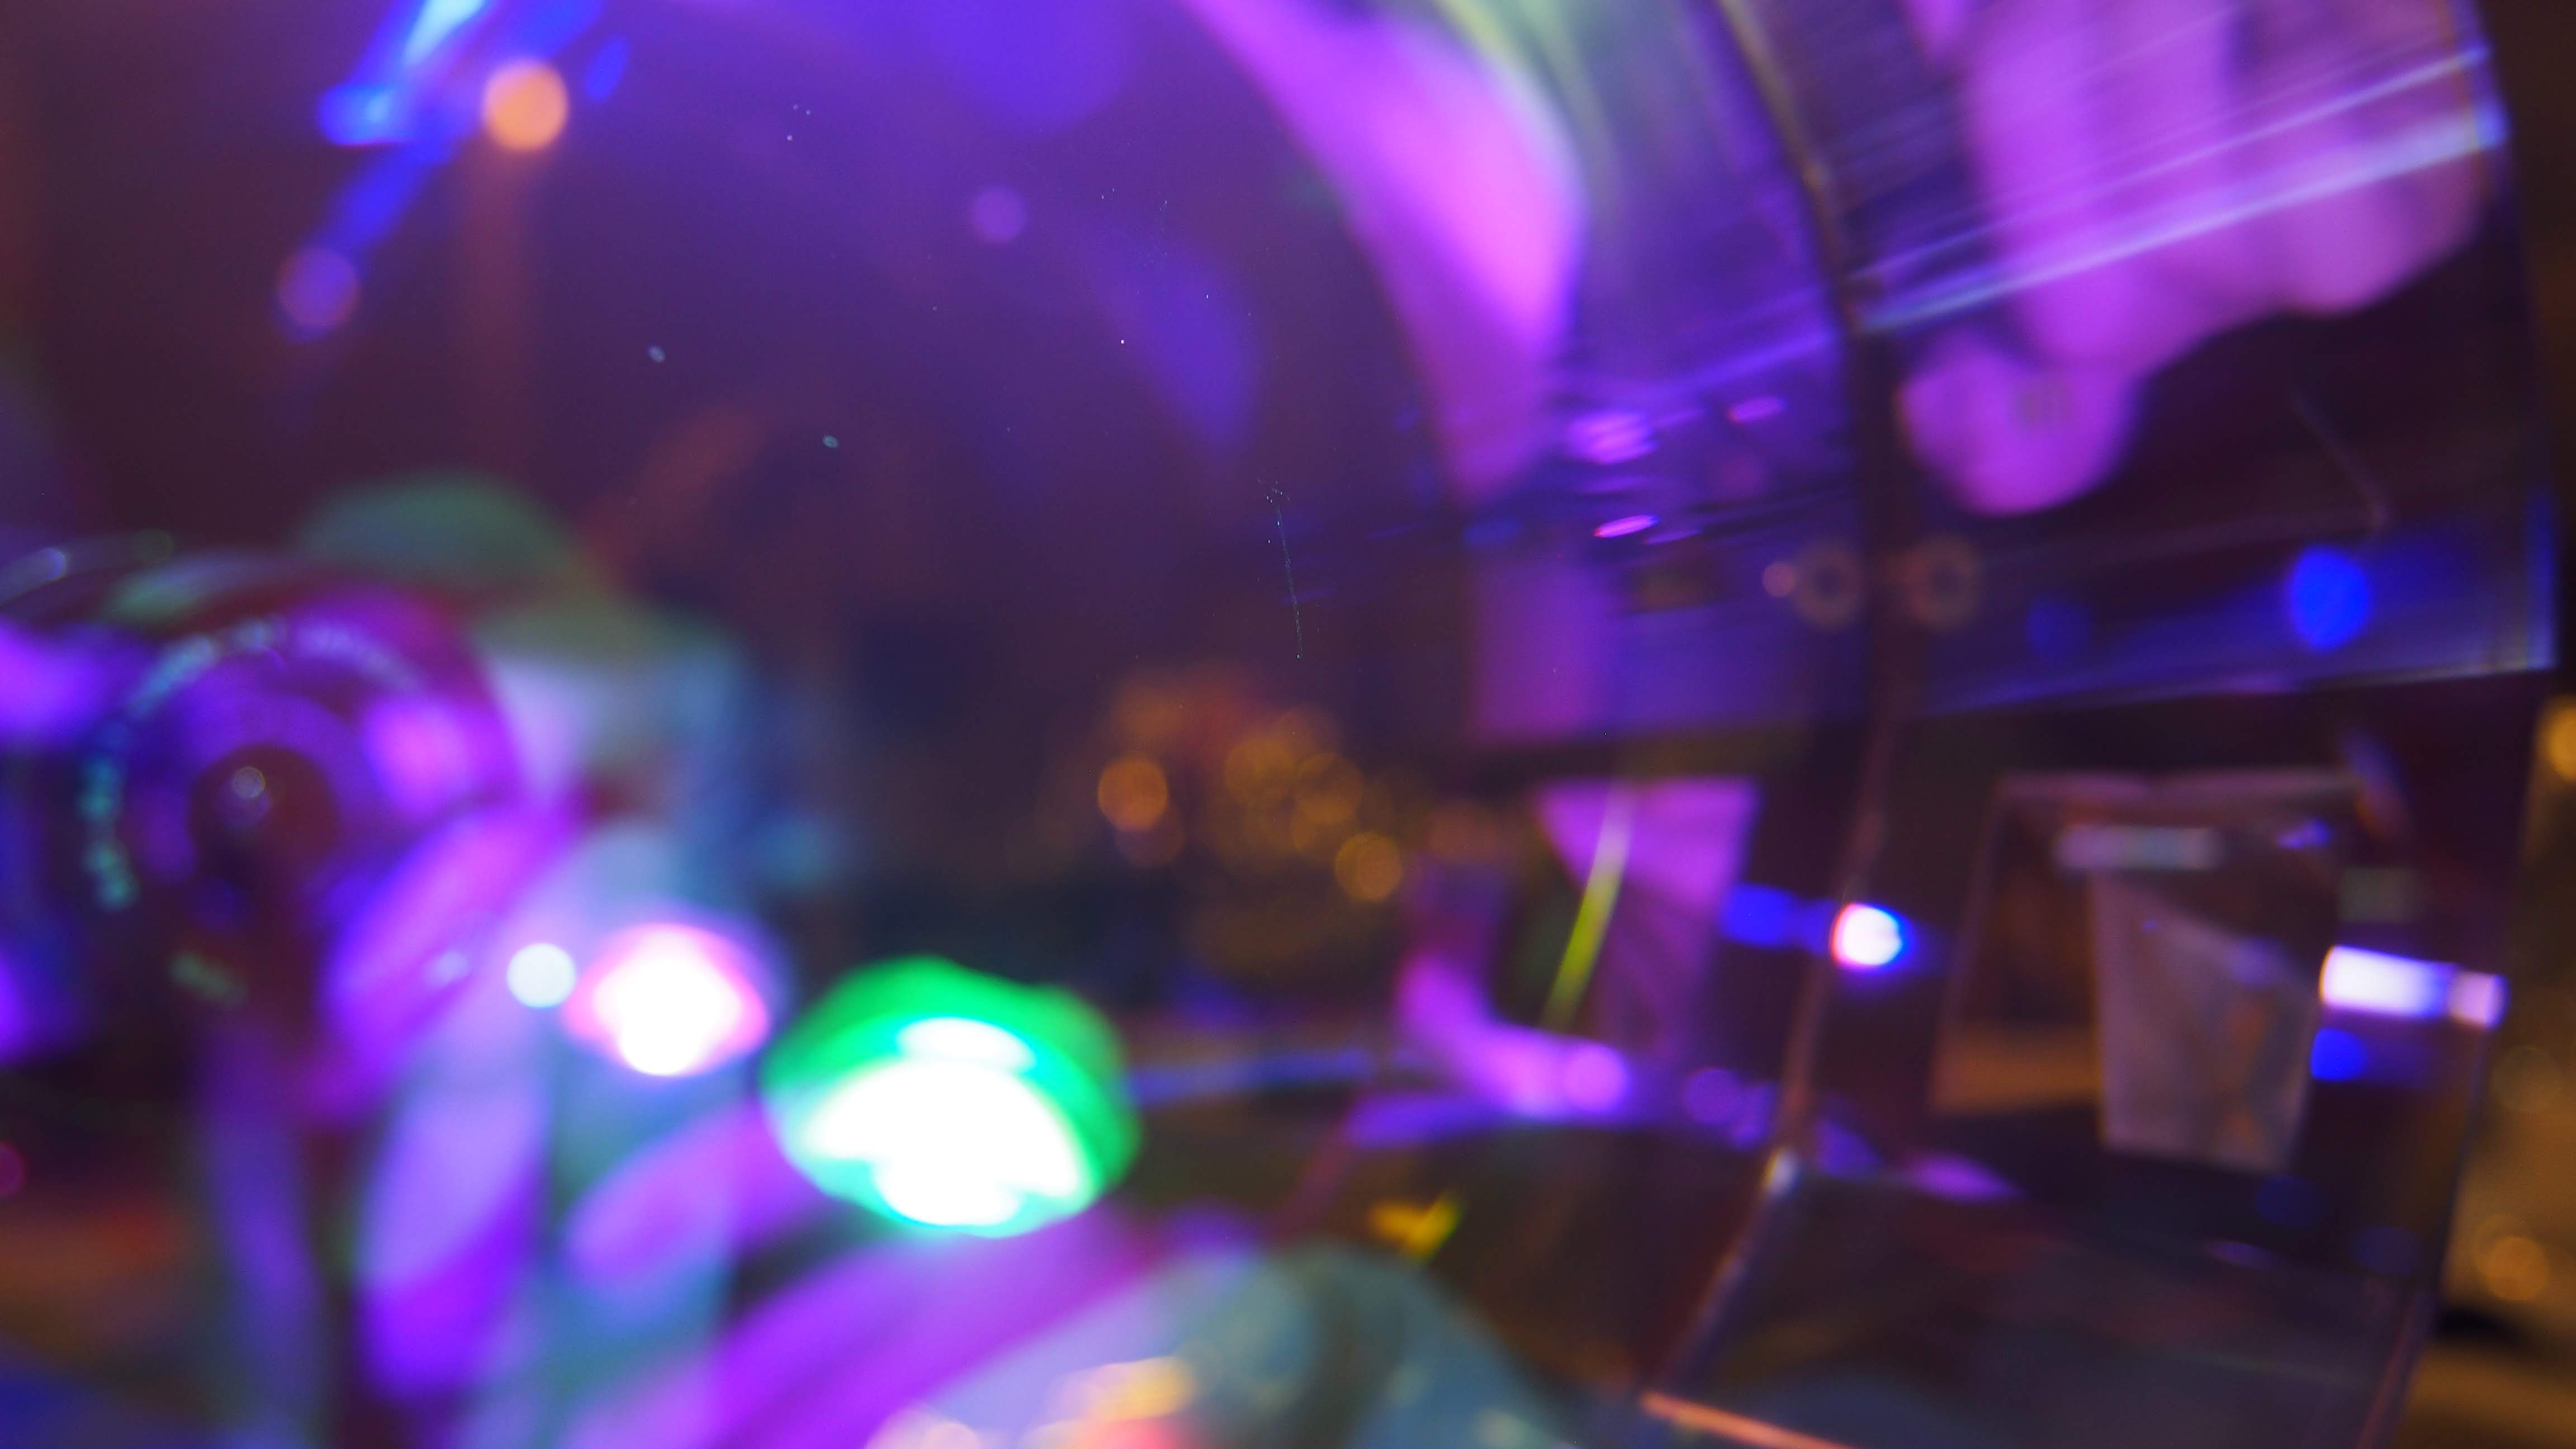
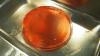
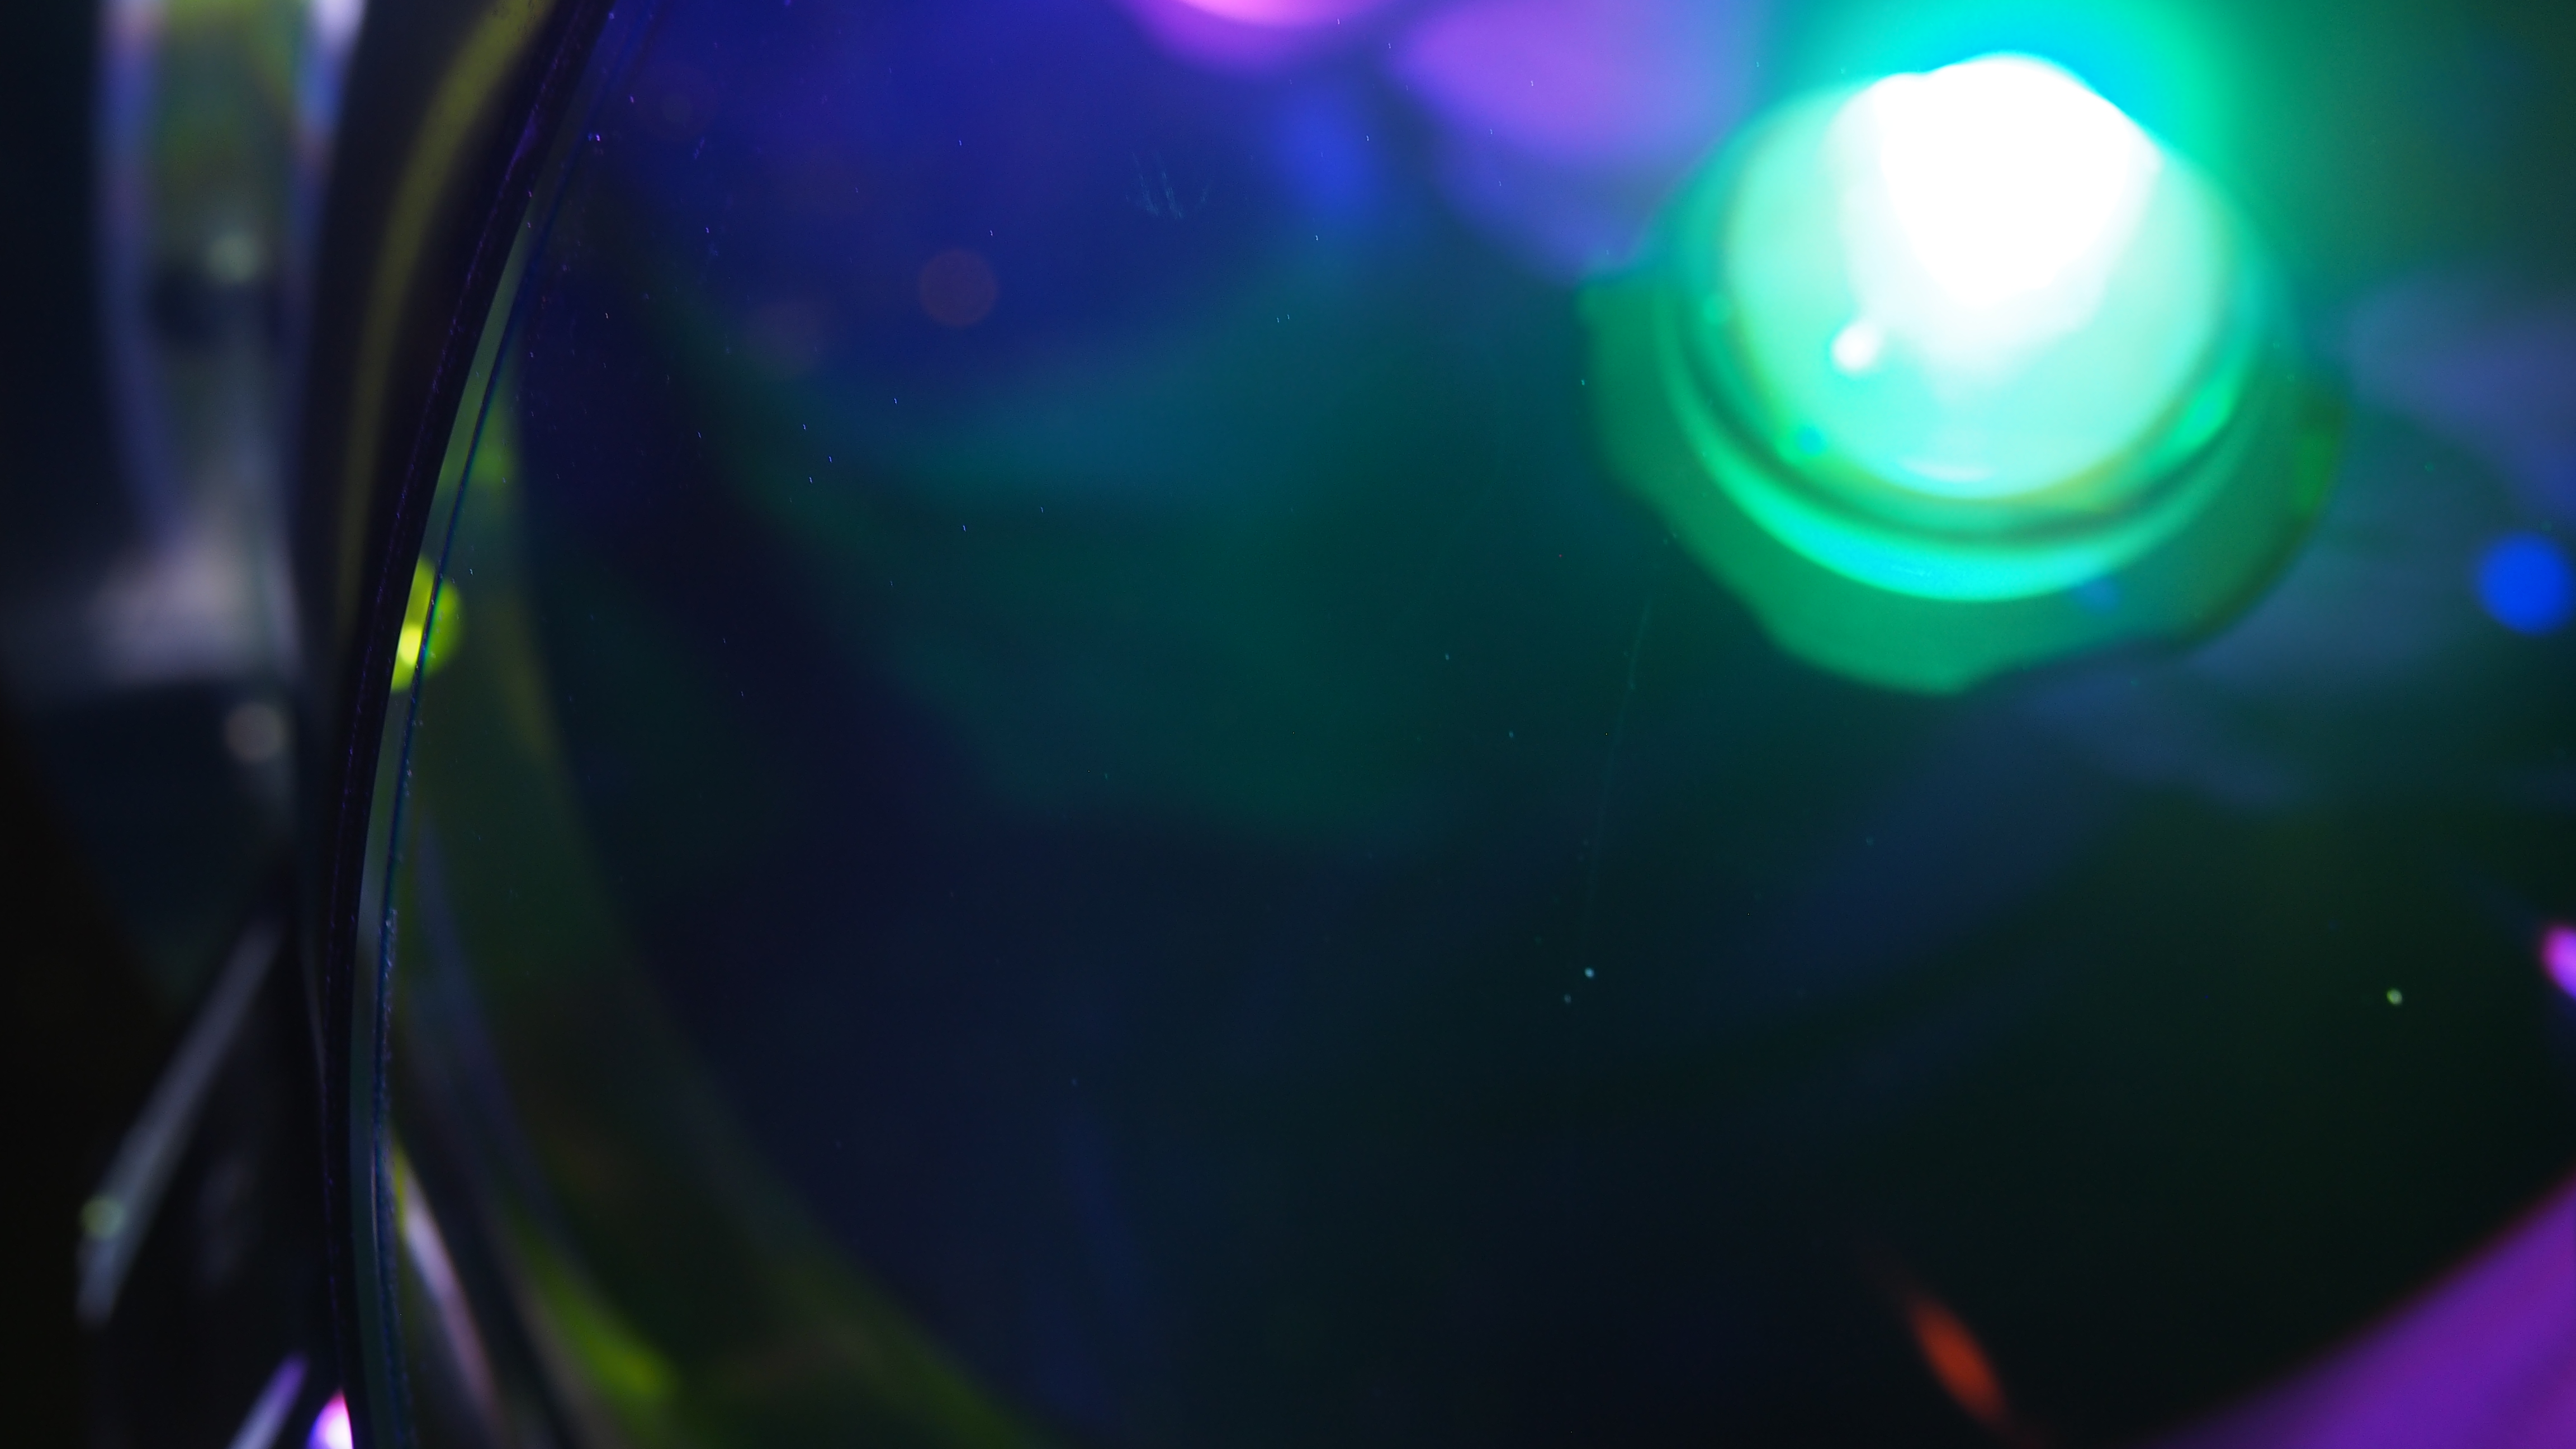
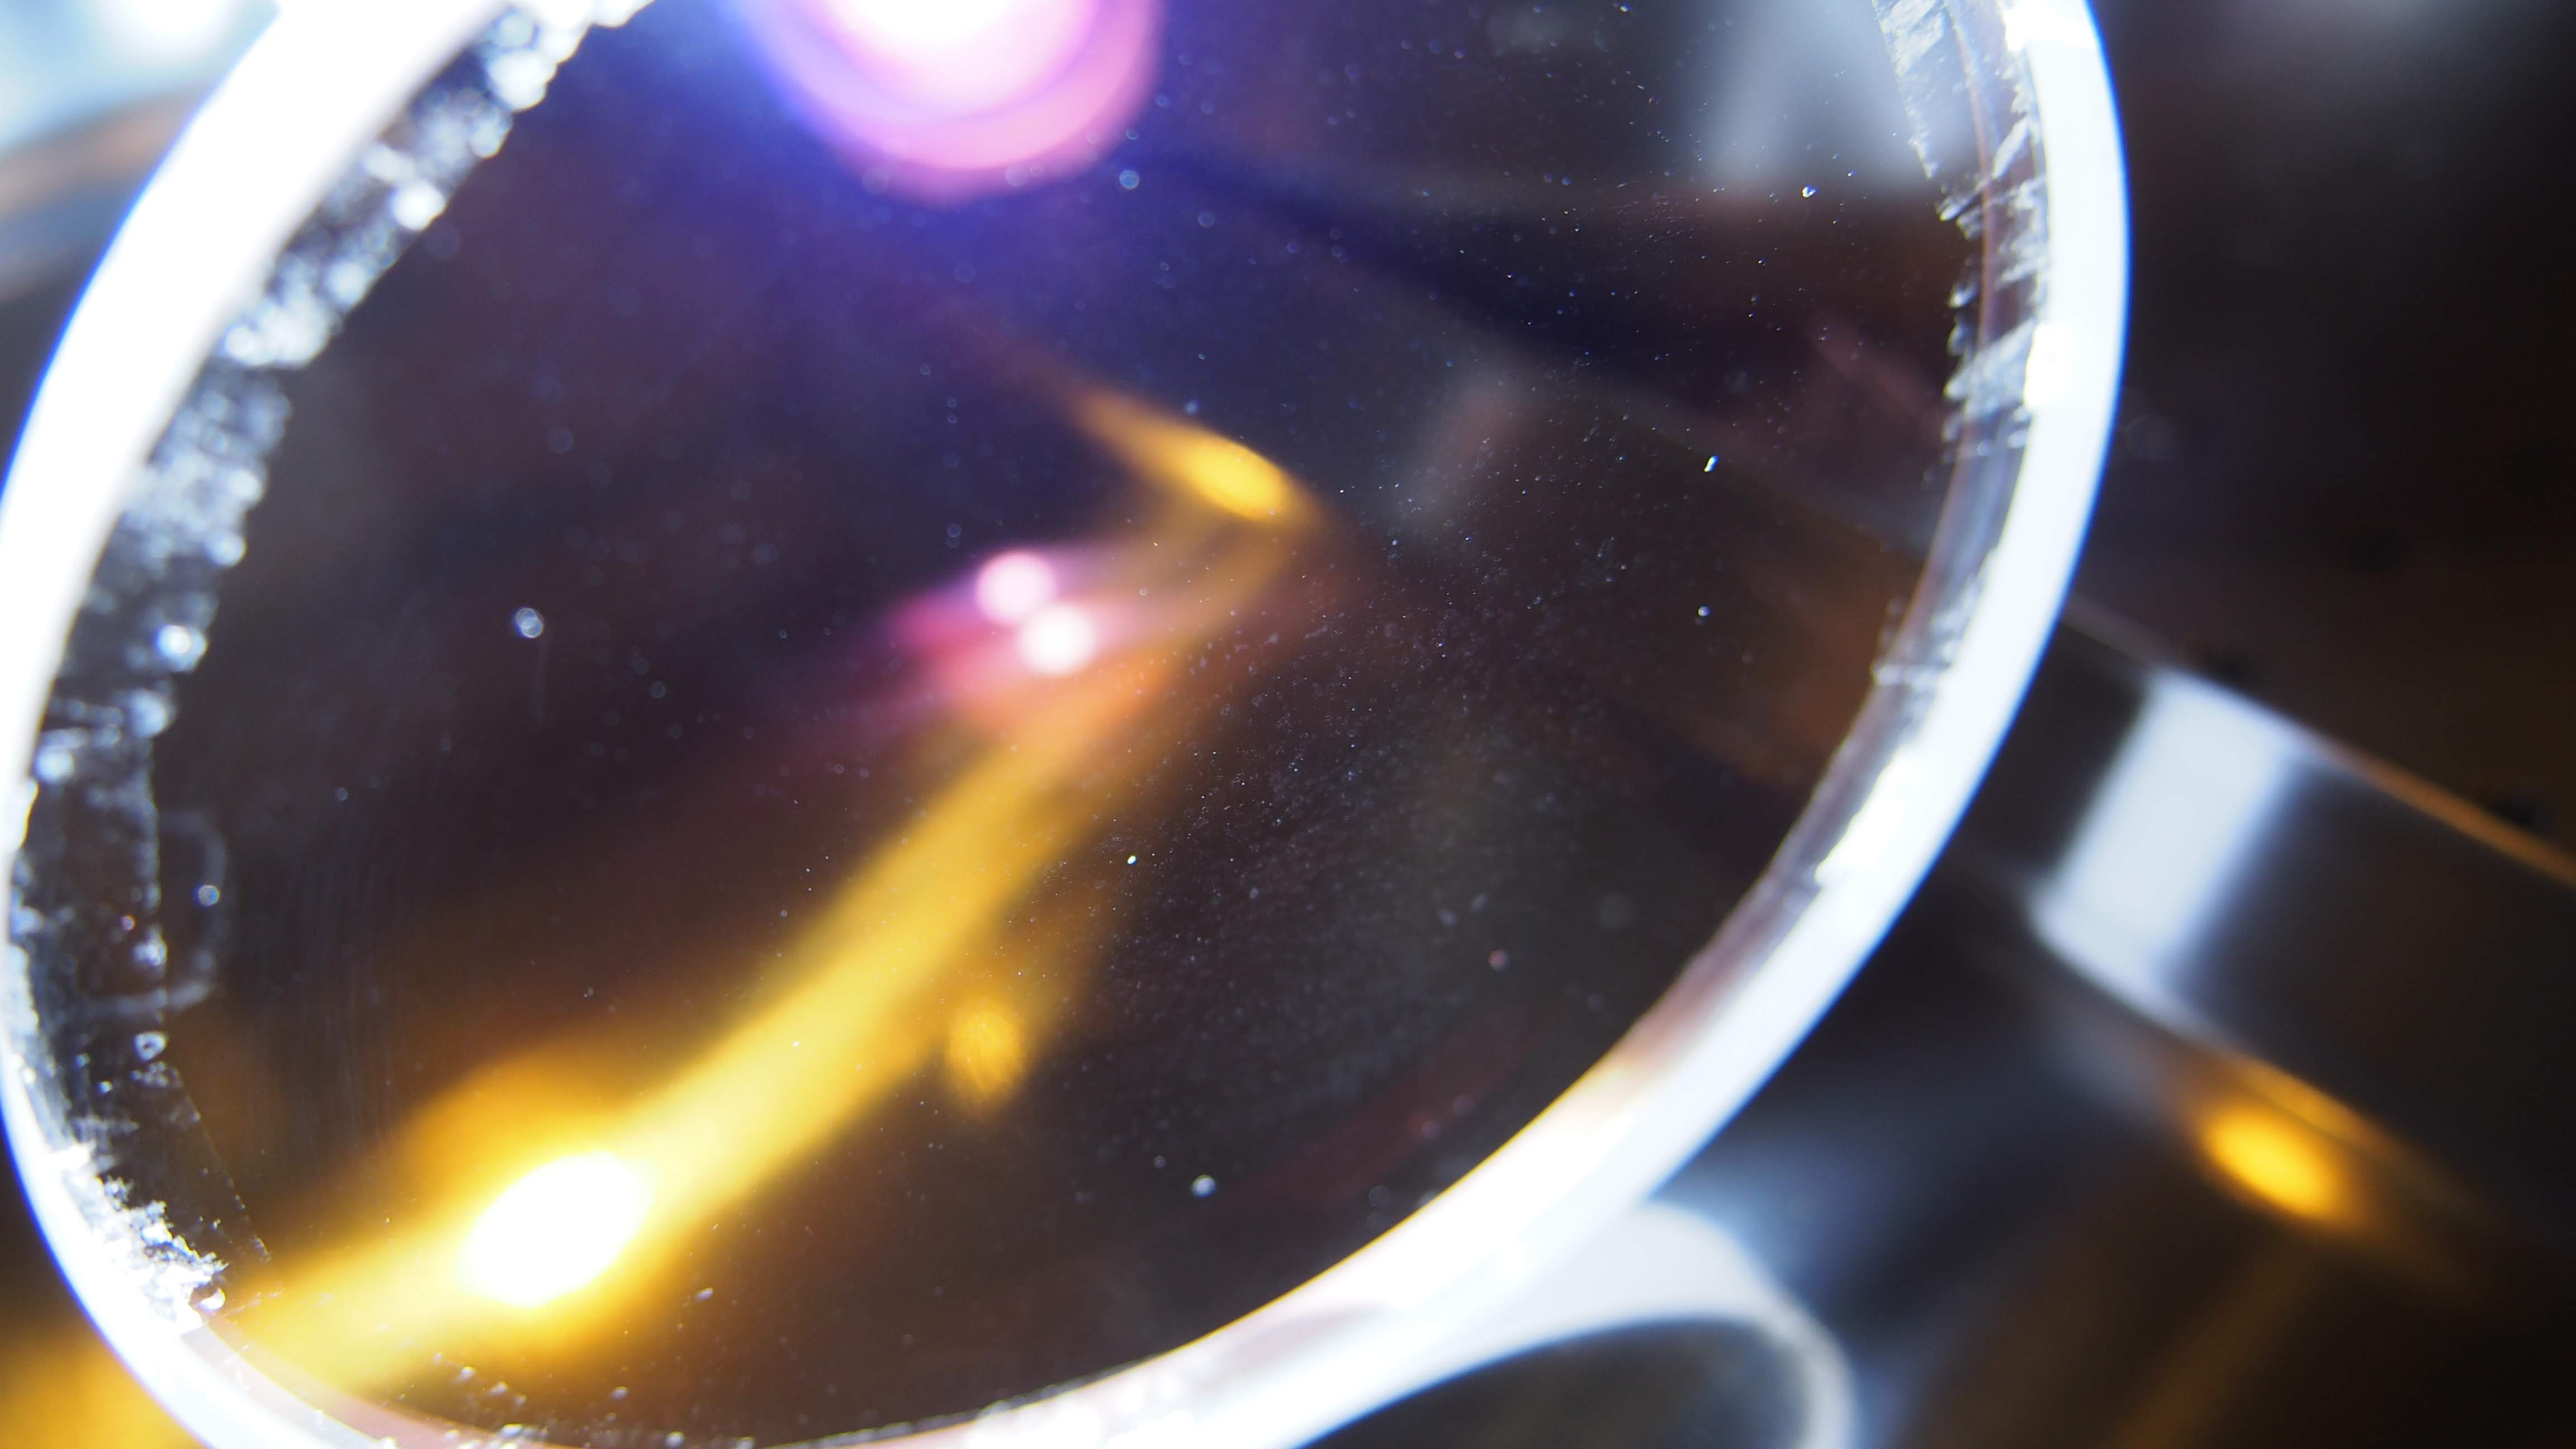
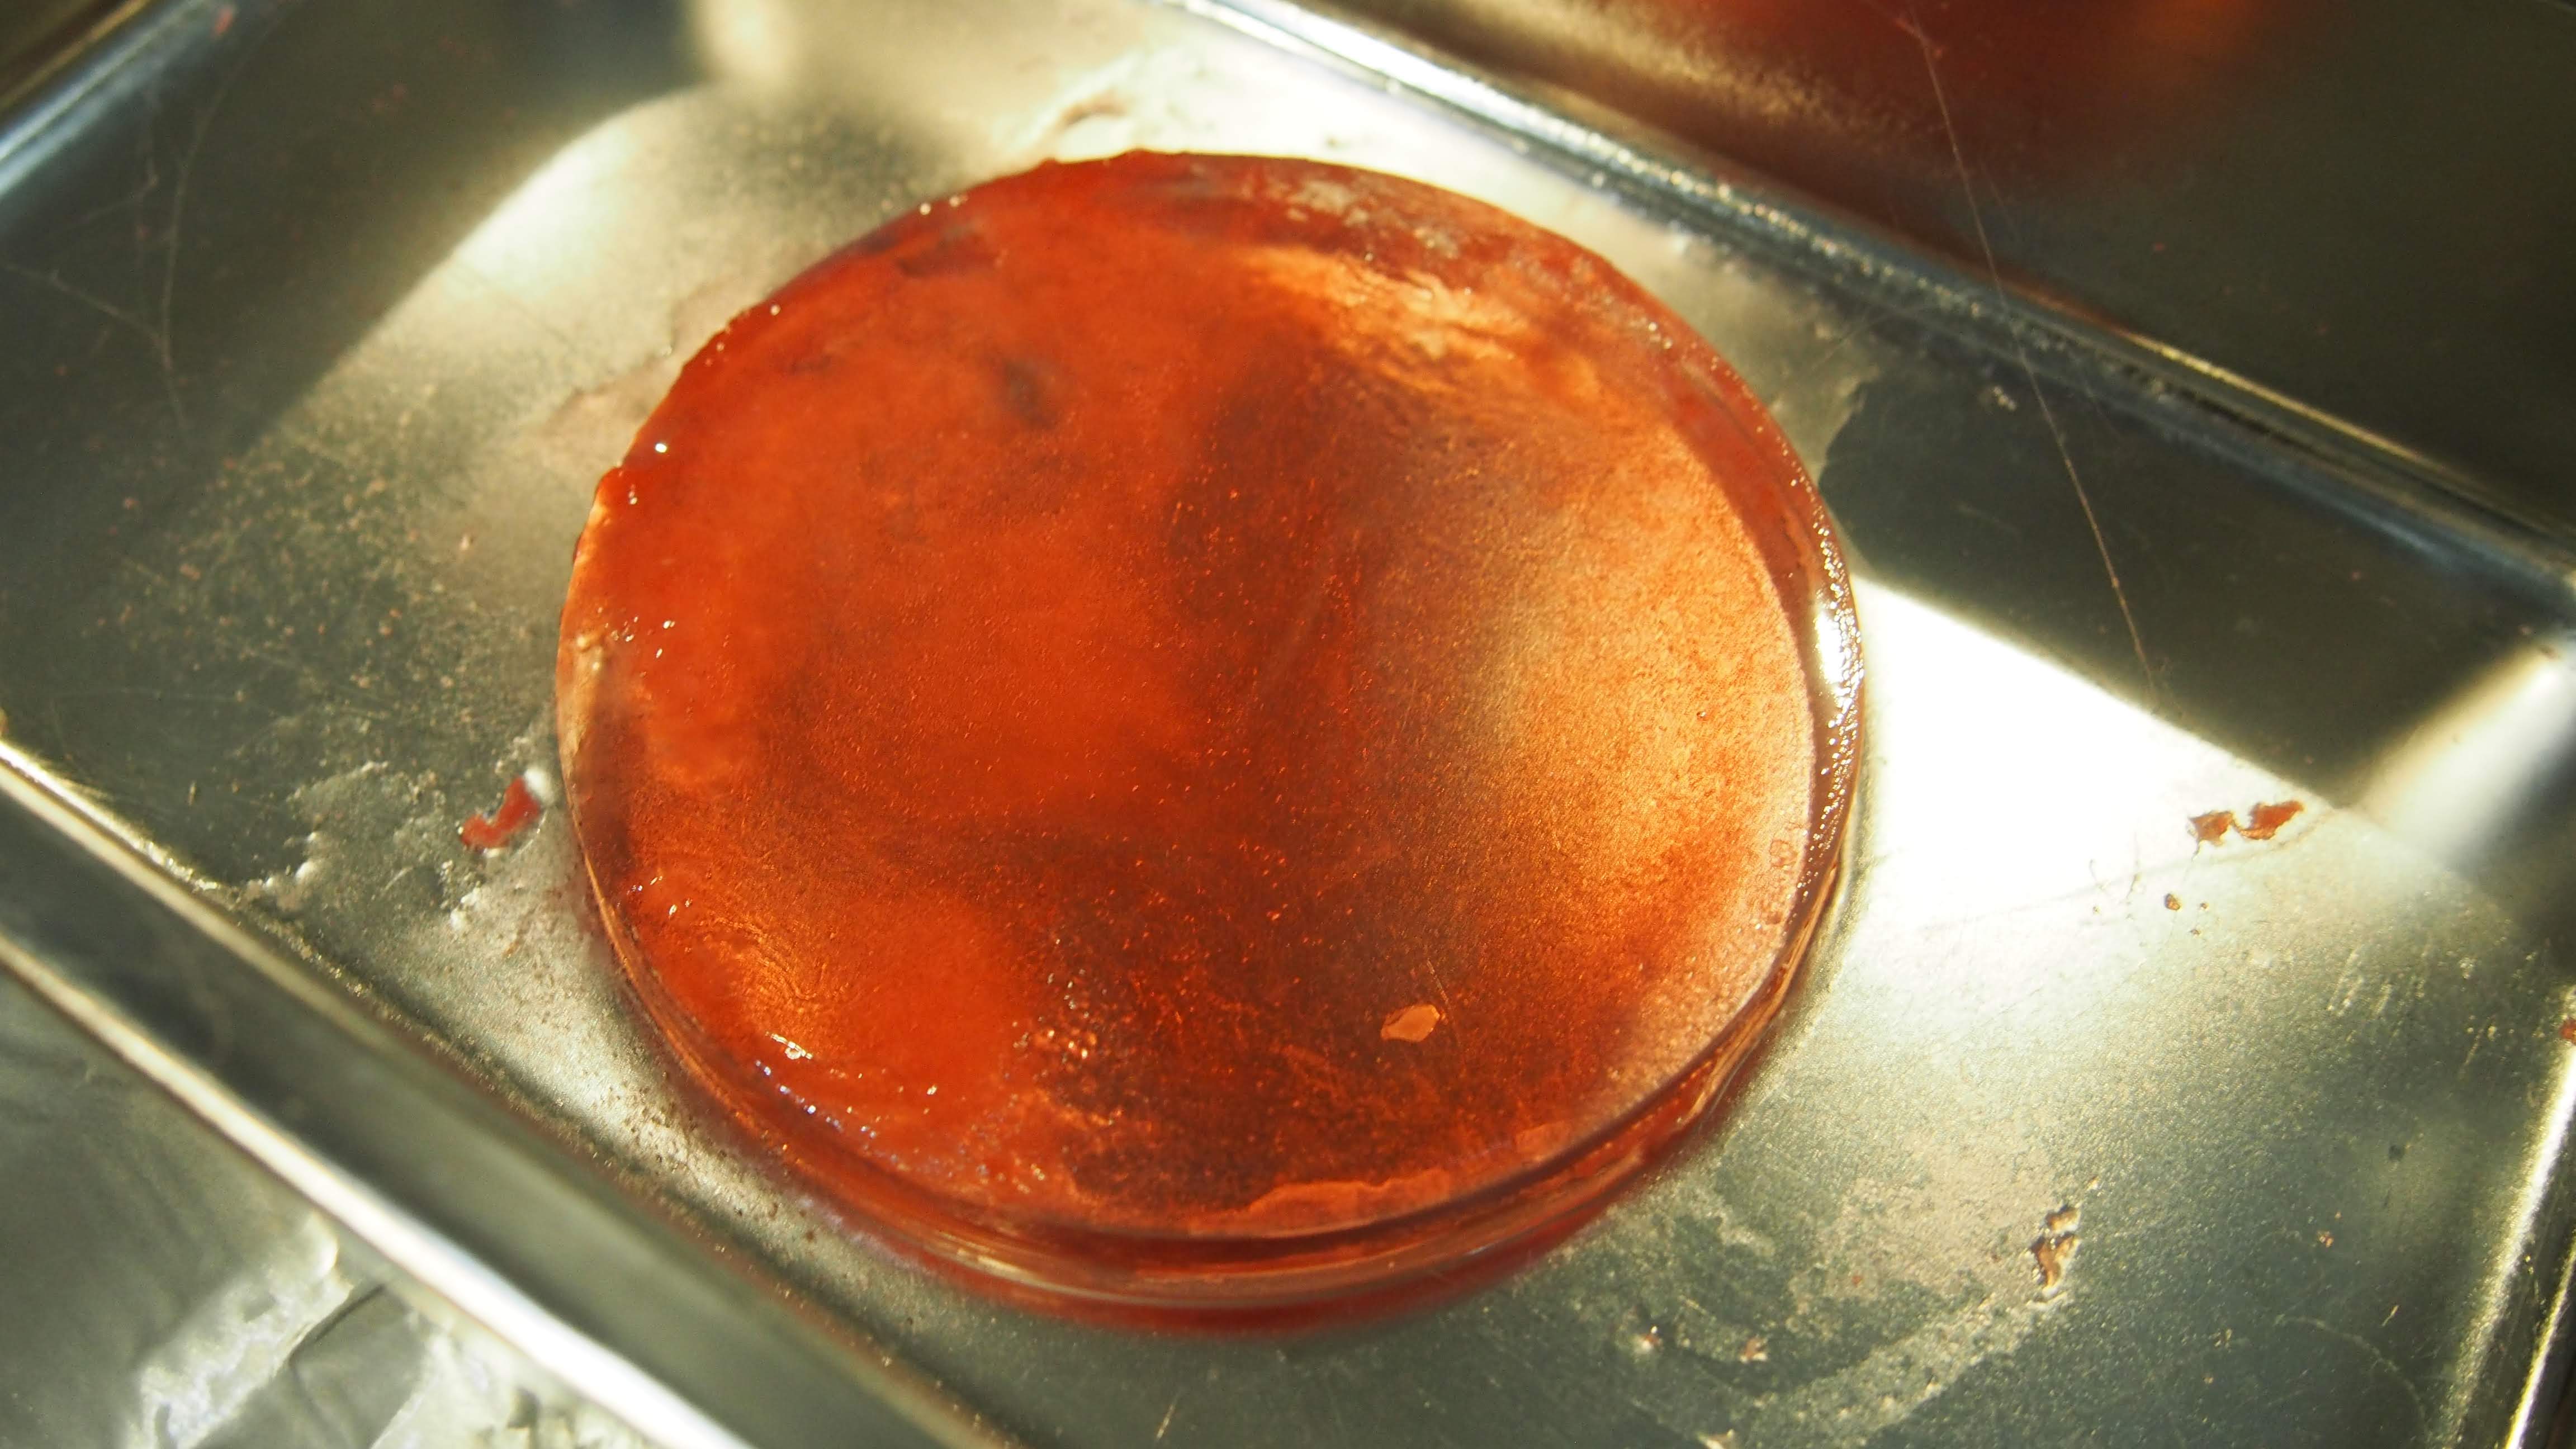
We found many stains on the HR surface.
Scattered raindrop like spots near the bottom of the mirror look similar to the stains on the contaminated viewports.
There are other stains which do not look like the same origin as the viewport stains.
Because of the splash like nature of the contamination this time, spatially extended faint stains are probably from different origins.
There is a big stain near the center of the mirror, which also do not look like the same origin as the VP stains.

On the AR surface (we did not take any picture of AR this time), we did not find any extended stain in the central area (within 15cm diameter or so). Only tiny spots are present there. We think they are dusts.
We did find some large stains near the edge of the AR surface. Some of the stains look like the stains of the VP. These stains are sufficiently near the edge that I am comfortable to wipe them, or even leave them as is.

Images attached to this report
Comments to this report:
yoichi.aso - 22:30 Thursday 24 June 2021 (17271) Print this report

Marc, Yuhang, Michael, Aso

This morning, we took the mirror out of the water bath. Then we dried it with an ion gun.

We inspected the HR surface and found that stains get much fainter but still there. Therefore, we decided to continue the cleaning for another 24 hours.

Example1: splash like stains near the bottom of the mirror

Before cleaning

After cleaning

Example2: a stain near the center

Before cleaning

After cleaning

Some stains such as an arc like stain seen in the 2nd photo remain almost intact.
I hope we can remove such stains with first contact.

If it was not possible to completely remove the remaining stains with the ultra-pure water system, we need to try something else.

One possibility is to use the water spot pretreatment (WSP) with first contact.
http://www.photoniccleaning.com/product-p/wsp1.htm

I'm asking for quotation of this product now.


Images attached to this comment
yoichi.aso - 22:32 Friday 25 June 2021 (17292) Print this report

Tomaru, Marc, Yuhang, Michael, Aso

We inspected the HR surface of the mirror after two rounds of 24h cleaning.

Unfortunately, the stains were still there. They may have gotten a bit fainter, but not so much.
We decided to continue the cleaning over the weekend.

In the meantime, I tested the following procedure on the contaminated VP to clean the stains with FC.

  1. I poured ultra-pure-water on the surface of the VP. Then I also sprayed isopropanol on the surface. This is to mimic the solution of Clarity lens cleaner.
  2. Then I sprayed first contact on top of the wet surface.
  3. I will dry it over the weekend and peel it on Monday.

The photos of the stains on the VP surface and the FC covered VP are attached.

If this procedure successfully remove the remaining stains, we will apply this to the sapphire mirror too.

Images attached to this comment
yoichi.aso - 19:03 Monday 28 June 2021 (17311) Print this report

Marc, Yuhang, Michael, Aso

After the continuous cleaning over the weekend, we inspected the mirror surface.

The stains are still there.
However, we have an impression that they became fainter.
Although it is very difficult to tell, here are photos before and after.

Before the weekend cleaning

After the weekend cleaning

We are preparing to install heater to use hot water for cleaning, hoping to remove the stains faster.

In the meantime, we are continuing the cleaning process with cold water.

Images attached to this comment
yoichi.aso - 23:34 Wednesday 30 June 2021 (17348) Print this report

Onsen for ETMY

Marc, Yuhang, Michael and Aso

We started to clean the ETMY mirror with hot water.

We attached a silicon-rubber heater (180W) on the bottom of the shallow stainless-steel container for mirror cleaning using a heat resistant silicon compound.
The heater is connected to a PID temperature controller with a Pt100 temperature sensor.
Today, we did not circulate the water because we do not have a water cooler delivered yet. Instead, we filled the container with ultra-pure water and stopped the water supply.
We then set the set point of the temperature controller to 60C. After about 2 hours, the temperature of the water became 49C. I guess if we wait more, the temperature could rise 55C or so, but may be not up to 60C.

In order to prevent condensation of vapor on the mirror side, especially around the ears, we blocked the vapor from hitting ears with plastic sheets. This seemed to work well.
We also removed the protection ring for magnets on the AR side, to avoid condensation on this ring.

For tonight, we stopped the heater and started circulating the water.
From tomorrow morning, we will restart the hot water cleaning and on Friday morning, we will check the cleaning result.

Overview:

Cables for the heater:

Temperature sensor:

Plastic sheets to protect the ears from vapor:

Images attached to this comment
yoichi.aso - 16:41 Monday 05 July 2021 (17397) Print this report

Marc, Michael, Abe, Aso

Unfortunately, the Onsen treatment of ETMY did not remove the stains.
So, we decided to move on to the absorption measurement.

First contact cleaning

Before moving the mirror, we decided to clean the surface, for the first time after the contamination, with first contact.

Surface inspection after FC cleaning

We inspected the HR surface after the FC cleaning and took a bunch of pictures.

https://photos.app.goo.gl/sJKAhizVC5jD4iK18

There are still a lot of stains on the surface. Some of the stains, such as the one stretching long, may have different origin from the spot like stains of this time.

Note that these stains are extremely faint, and you cannot see them under normal condition. Only with a military grade LED light with 3500 Lumens, and seen from a proper angle, you can see these stains.
We will see how these stains contribute to the surface absorption of the mirror.

FC again

Before putting the mirror into the mirror box, we applied FC again within the central 190mm diameter.
Then we put the mirror face down onto the bottom plate of the mirror box using 4 jacks.

Mirror box cannot be closed

After sitting the mirror nicely at the center of the base plate, we assembled the mirror box.
Then we noticed that we cannot close the top lid of the box.
This is because of the following reason:

  • On the AR surface of the mirror, we have a protection ring to prevent magnets from touching the lid.
  • Because of this ring, the effective diameter of the mirror is slightly enlarged (by 2mm).
  • This makes the three poles (to support the mirror from the side) to lean slightly outward.
  • Then the screw holes at the top of the poles no longer align with the holes on the top lid, making it impossible to put screws.

In order to avoid this problem, we decided to put shallow grooves on the sleeves of the poles so that poles can stand straight even with the protection ring.

The modification will be finished by 3PM tomorrow. So we will continue the work after that. 

Images attached to this comment
yoichi.aso - 22:05 Tuesday 06 July 2021 (17409) Print this report

Marc, Michael, Abe, Aso

ETMY moved to the absorption measurement setup

Mirror box problem

As reported yesterday, we had a problem with closing the top lid of the mirror box.

Shown below is the magnet protection ring and a vertical pole of the mirror box. The pole was pushed outward by the protection ring making the position of the tapped hole on the top of the pole not aligned with the holes on the top lid.
Now, the sleeve of the pole has a thinner part so that the protection ring does not push the pole. With this modification, we can nicely close the mirror box now.

The thin part of the pole is 2mm thinner in diameter from the other part. The thickness of the sleeve wall was 3mm. With the reduced diameter, the wall thickness is now 2mm.
Fukushima-san of ATC kindly performed this modification quickly.

Preparation of the absorption bench setup

Since the absorption bench is very clouded and our mirror is large, especially when it is mounted on the handling jig, we needed to remove some part of the absorption bench so that we can put the mirror safely on the translation stage. Today, we finished this preparation and we will install the ETMY onto the translation stage tomorrow morning.

Images attached to this comment
Search Help
×

Warning

×