Our intention for today was mainly to lower the baffle by 2mm in order to have it in the nominal room-temperature position, and we succeeded!
This is mainly the last step for the baffle before cooling-down starts. However, still some minor things need to be done (mounting and connecting the 6th temperature sensor, putting a small heat-link to the vertical-translator head,...)
Our steps today were:
-
Fixing the baffle again
-
Do a touching-check for each temperature sensor
We did not take a note initially, so we forgot basically the assignment of each temperature sensor. Anyway, we took the advantage of the situation and checked whether or not the sensors have a sufficient contact with the baffle surface (Yesterday, we did this already with the sensor mounted on the vertical-translator head) -
Fortunately, after tightening the screws with a washer and a spring-washer, all sensors show just a minor response due to touching (~0.2 – 0.5K). So, we assume that the contact surface with the baffle is enough.
-
We checked and tightened the screws and nuts, respectively, for the heaters and the heat-links. We found that the heat-links being on the inner side of the flanges are very hard to reach with a wrench.
Anyway, eventually we succeeded also with this. -
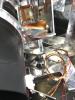
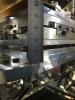
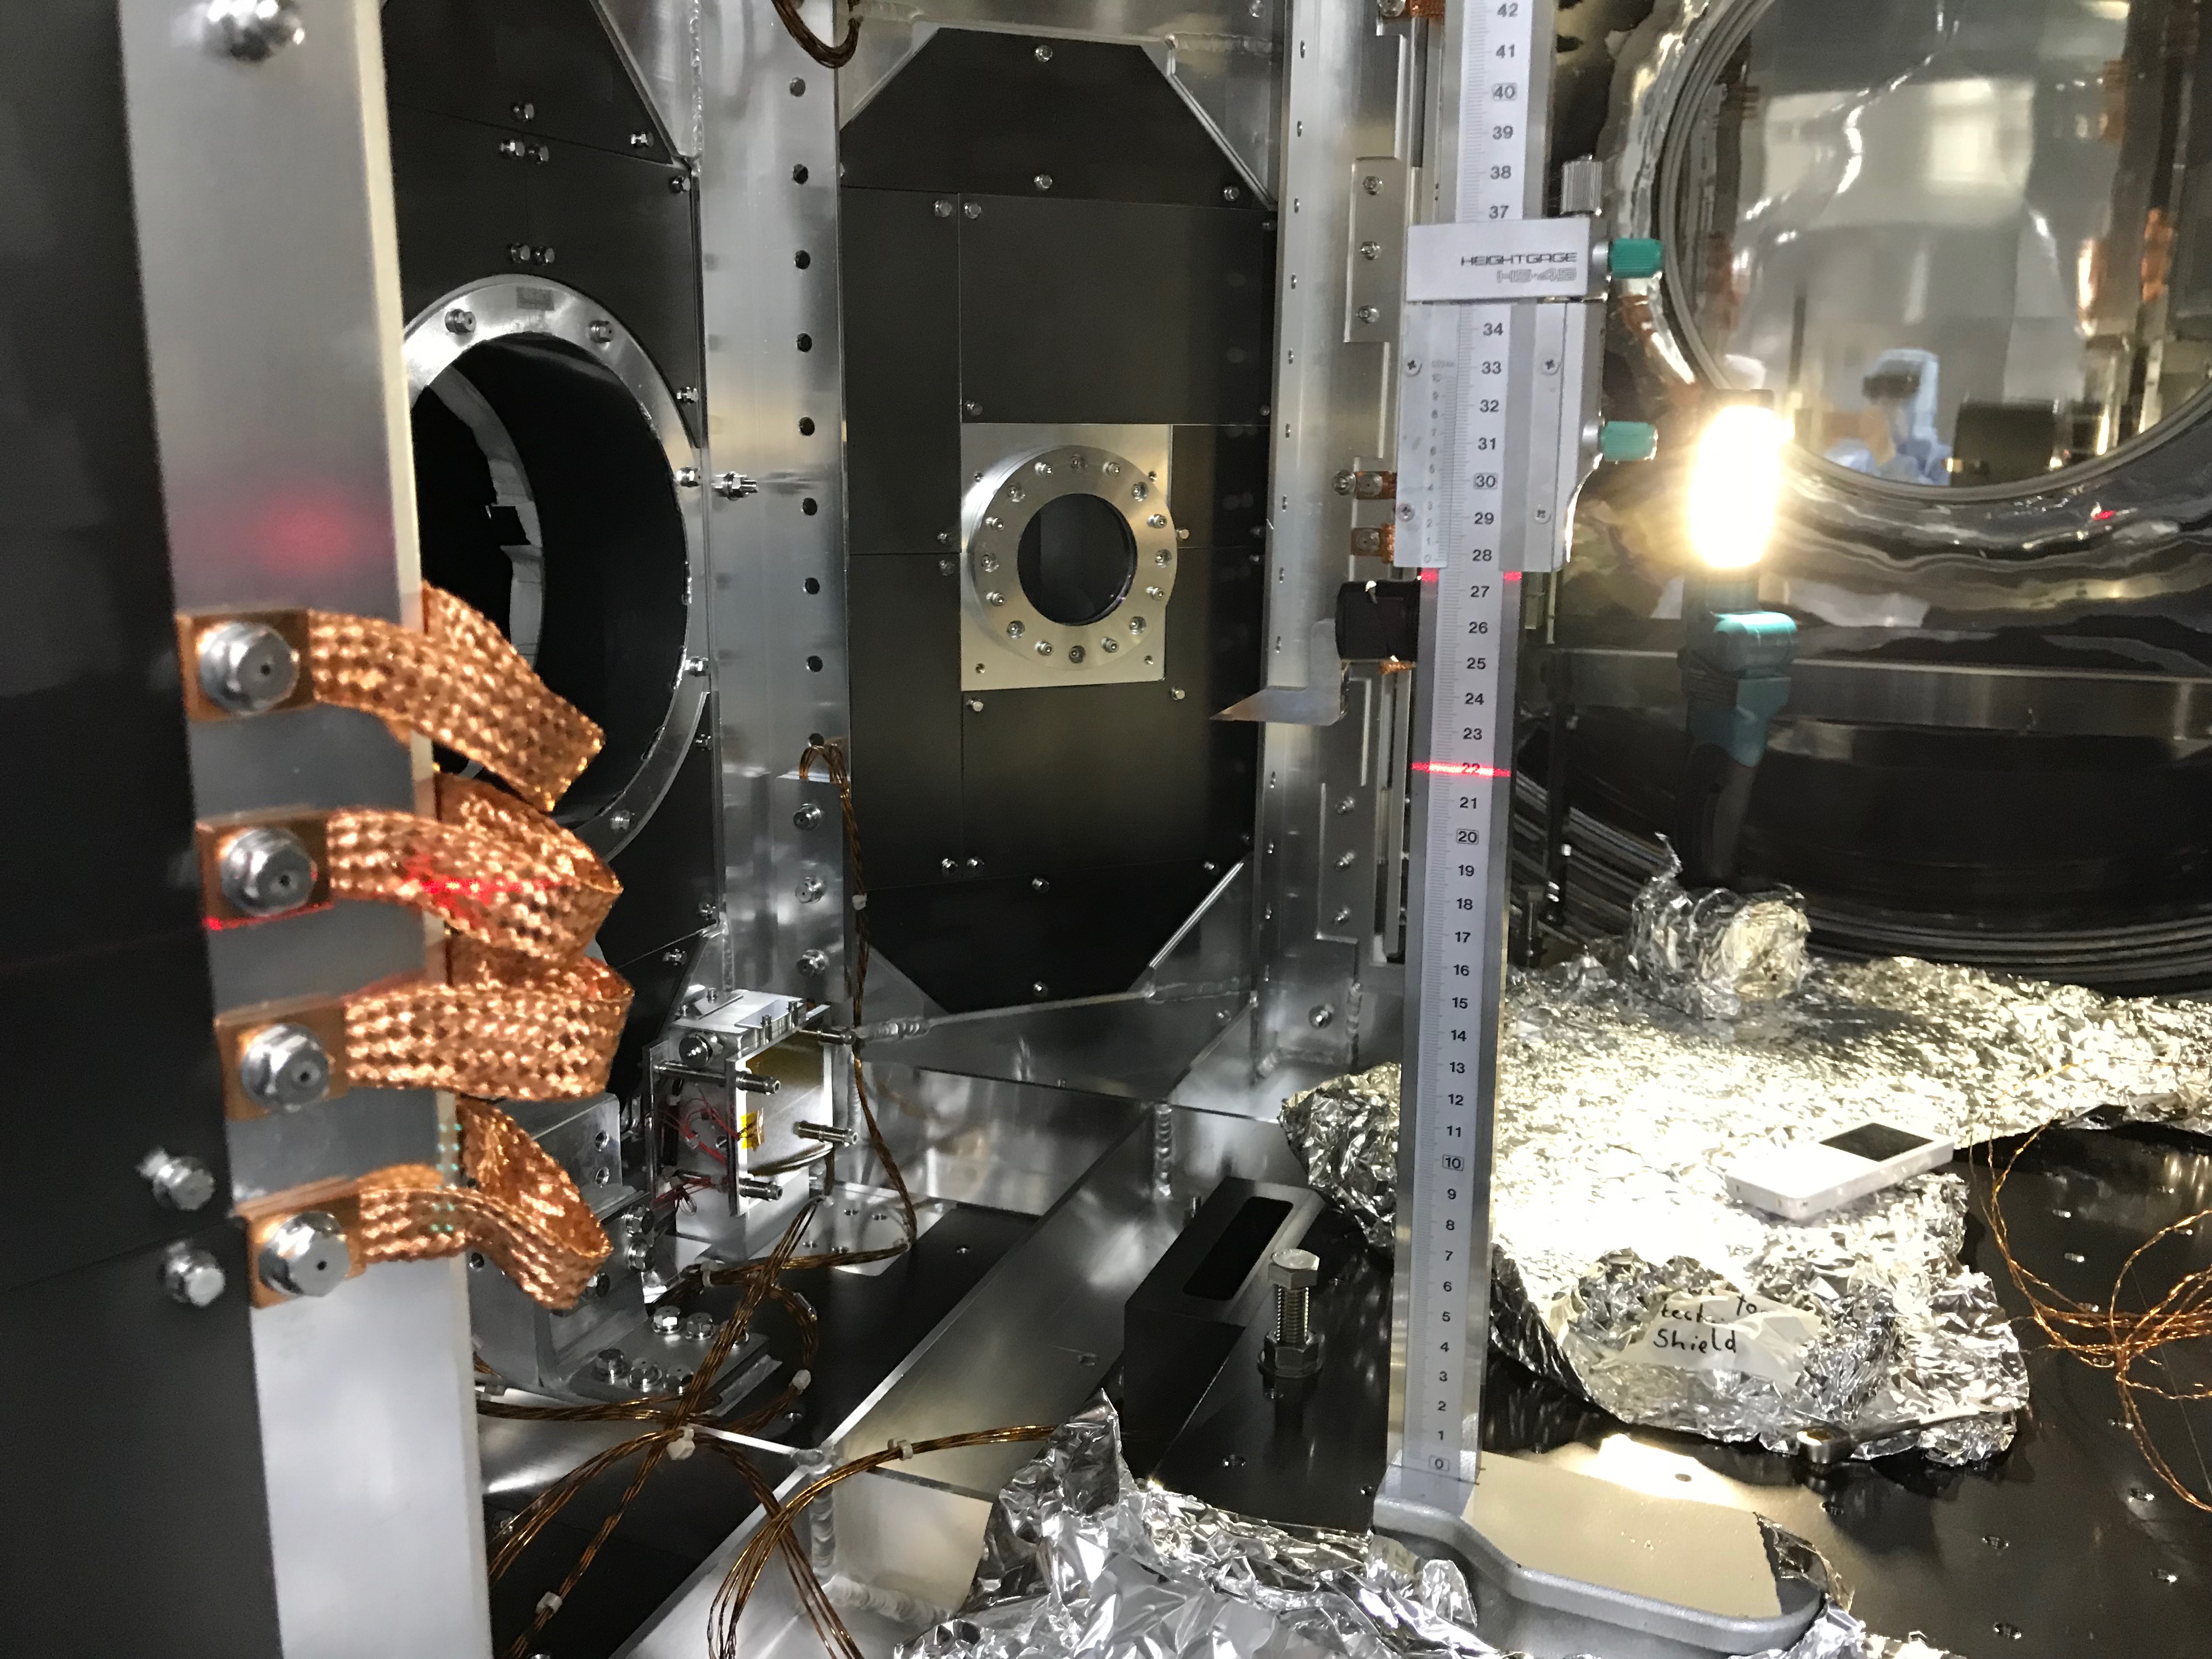
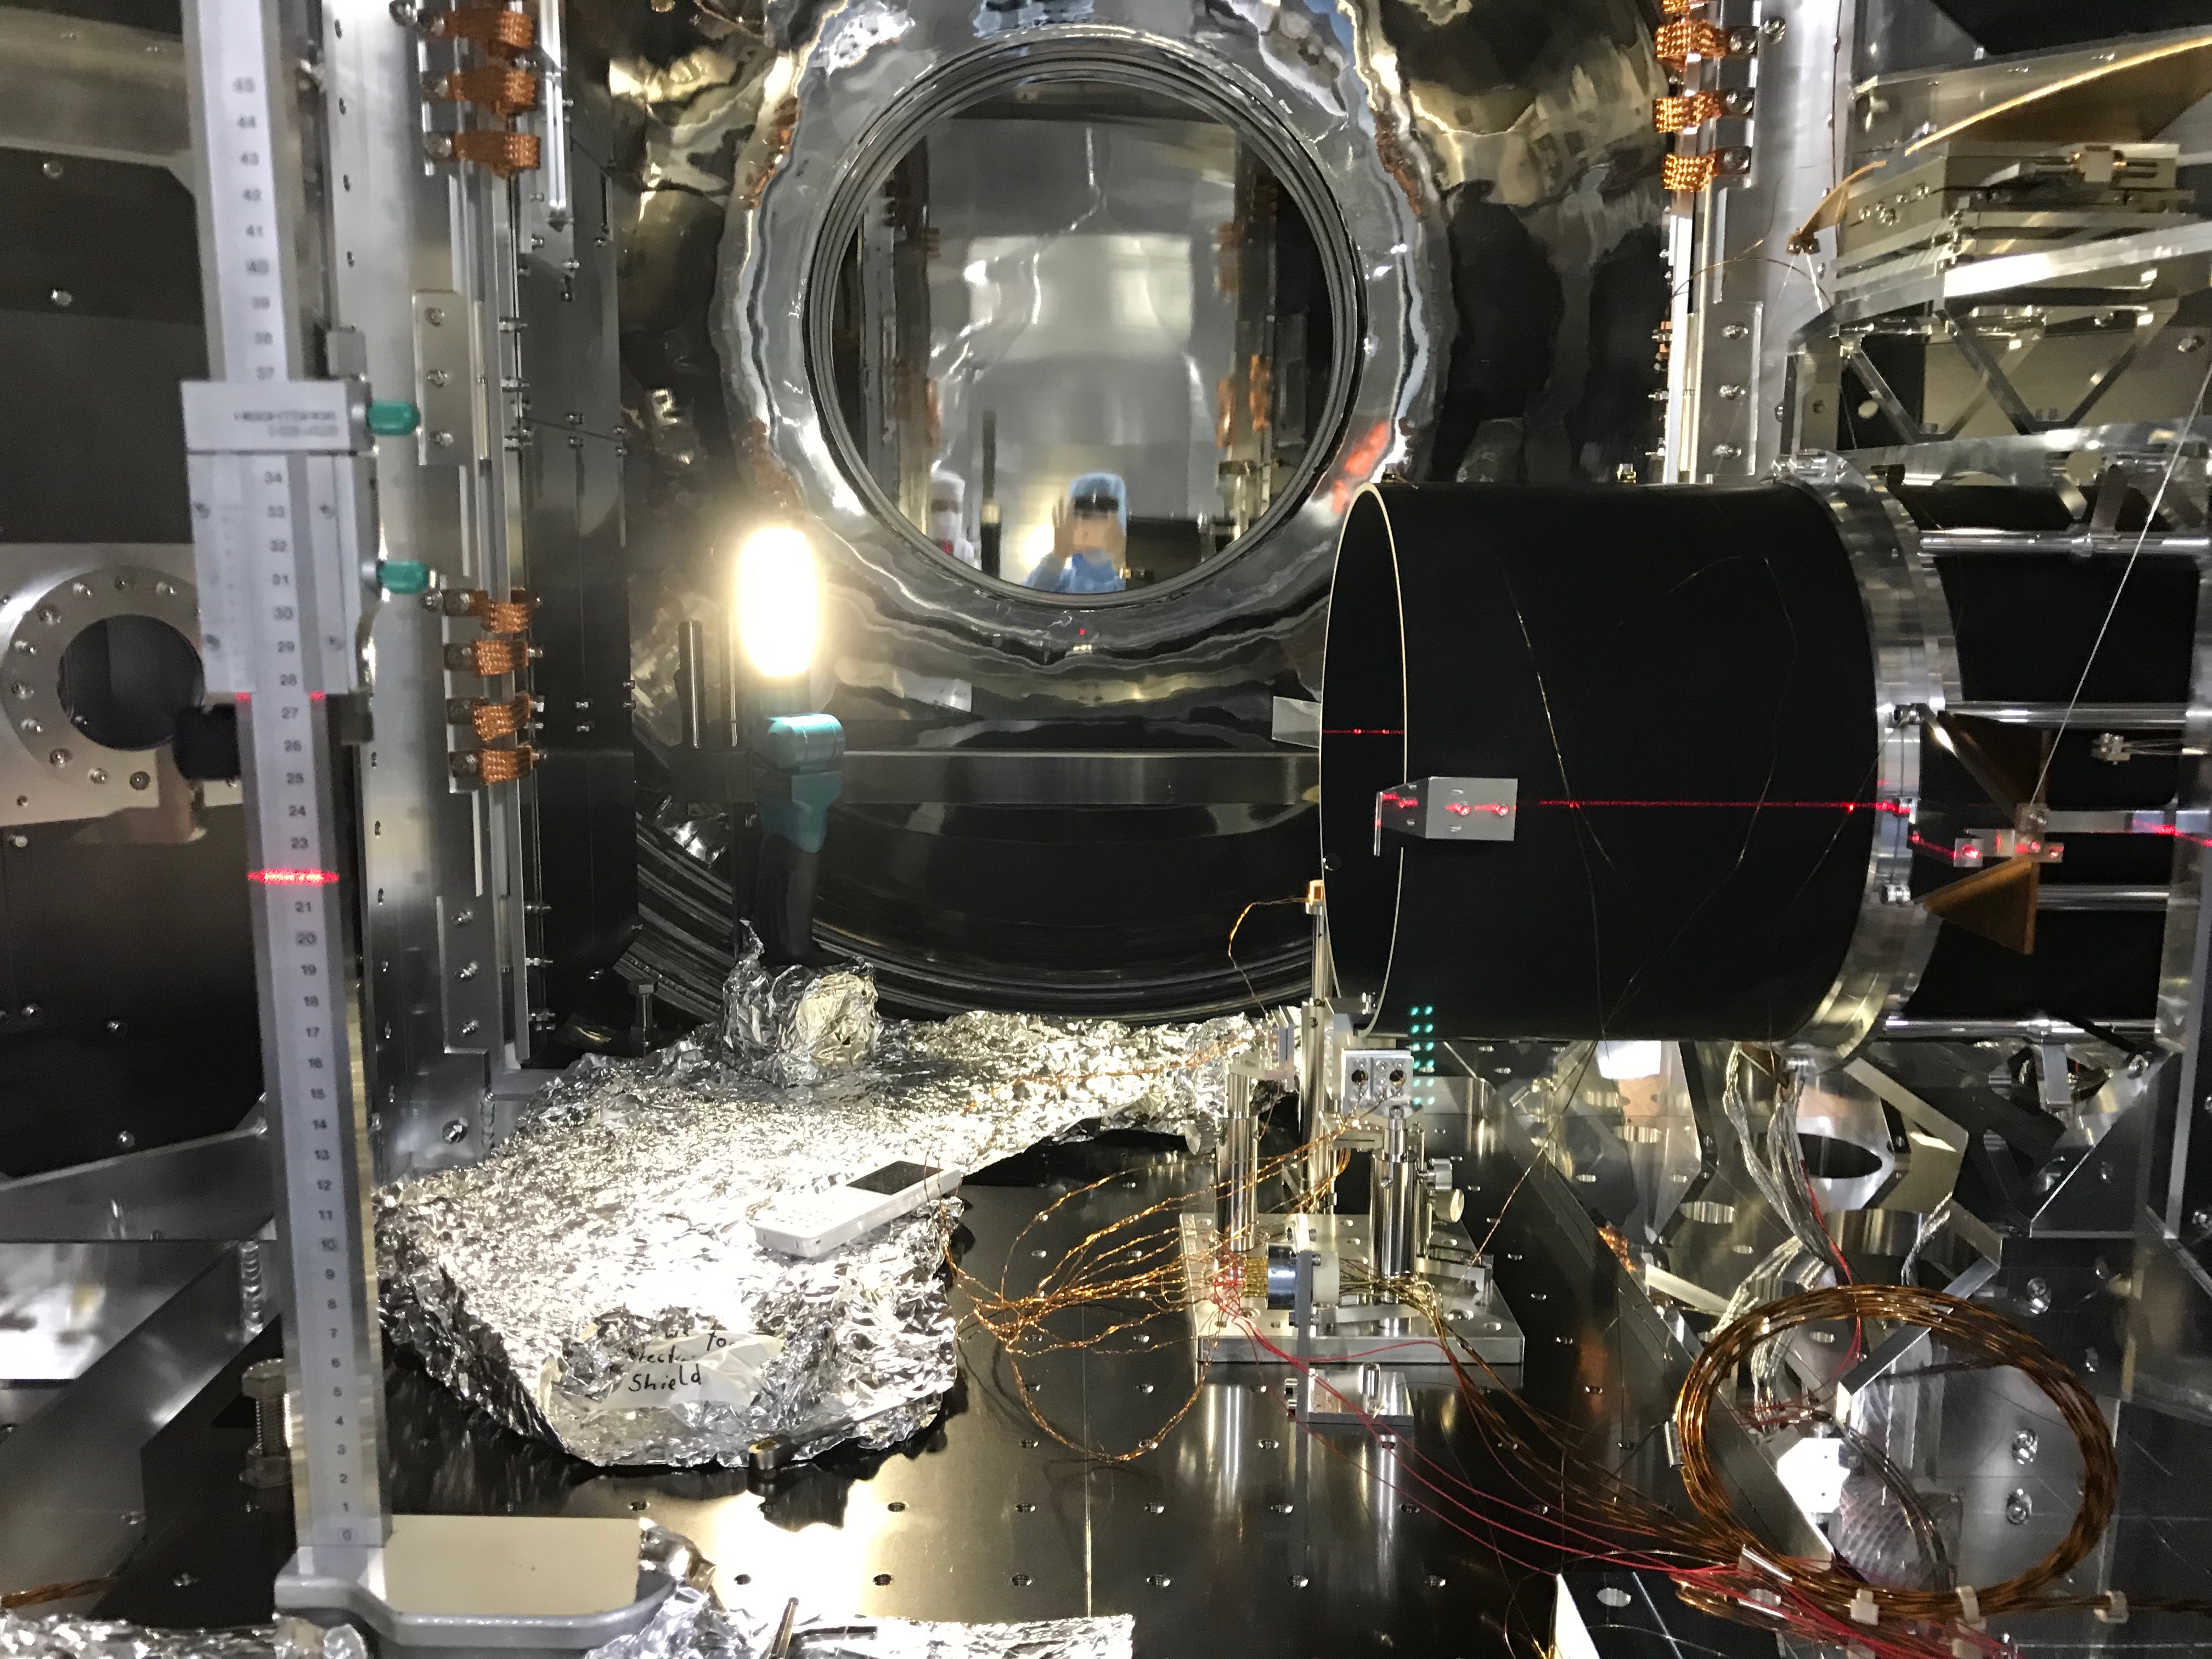
We took note of the actual height of the baffle with the aid of a laser leveler, aiming the screws at the outer side of the baffle-flange wings and the OpLev-mirror holder. (see picture 1) We lowered then first the laser leveler by 2mm (see pictures 7 and 8).
-
Then, we proceeded with lowering the baffle in a procedure suggested by Obuchi-san:
-
First we loosened the M3 screws on both vertical translator plates
-
Then, each of us took a wrench for the vertical screws and turned a screw once (a small indicator on the screw head was guiding us)
-
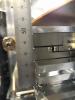
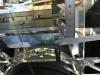
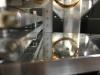
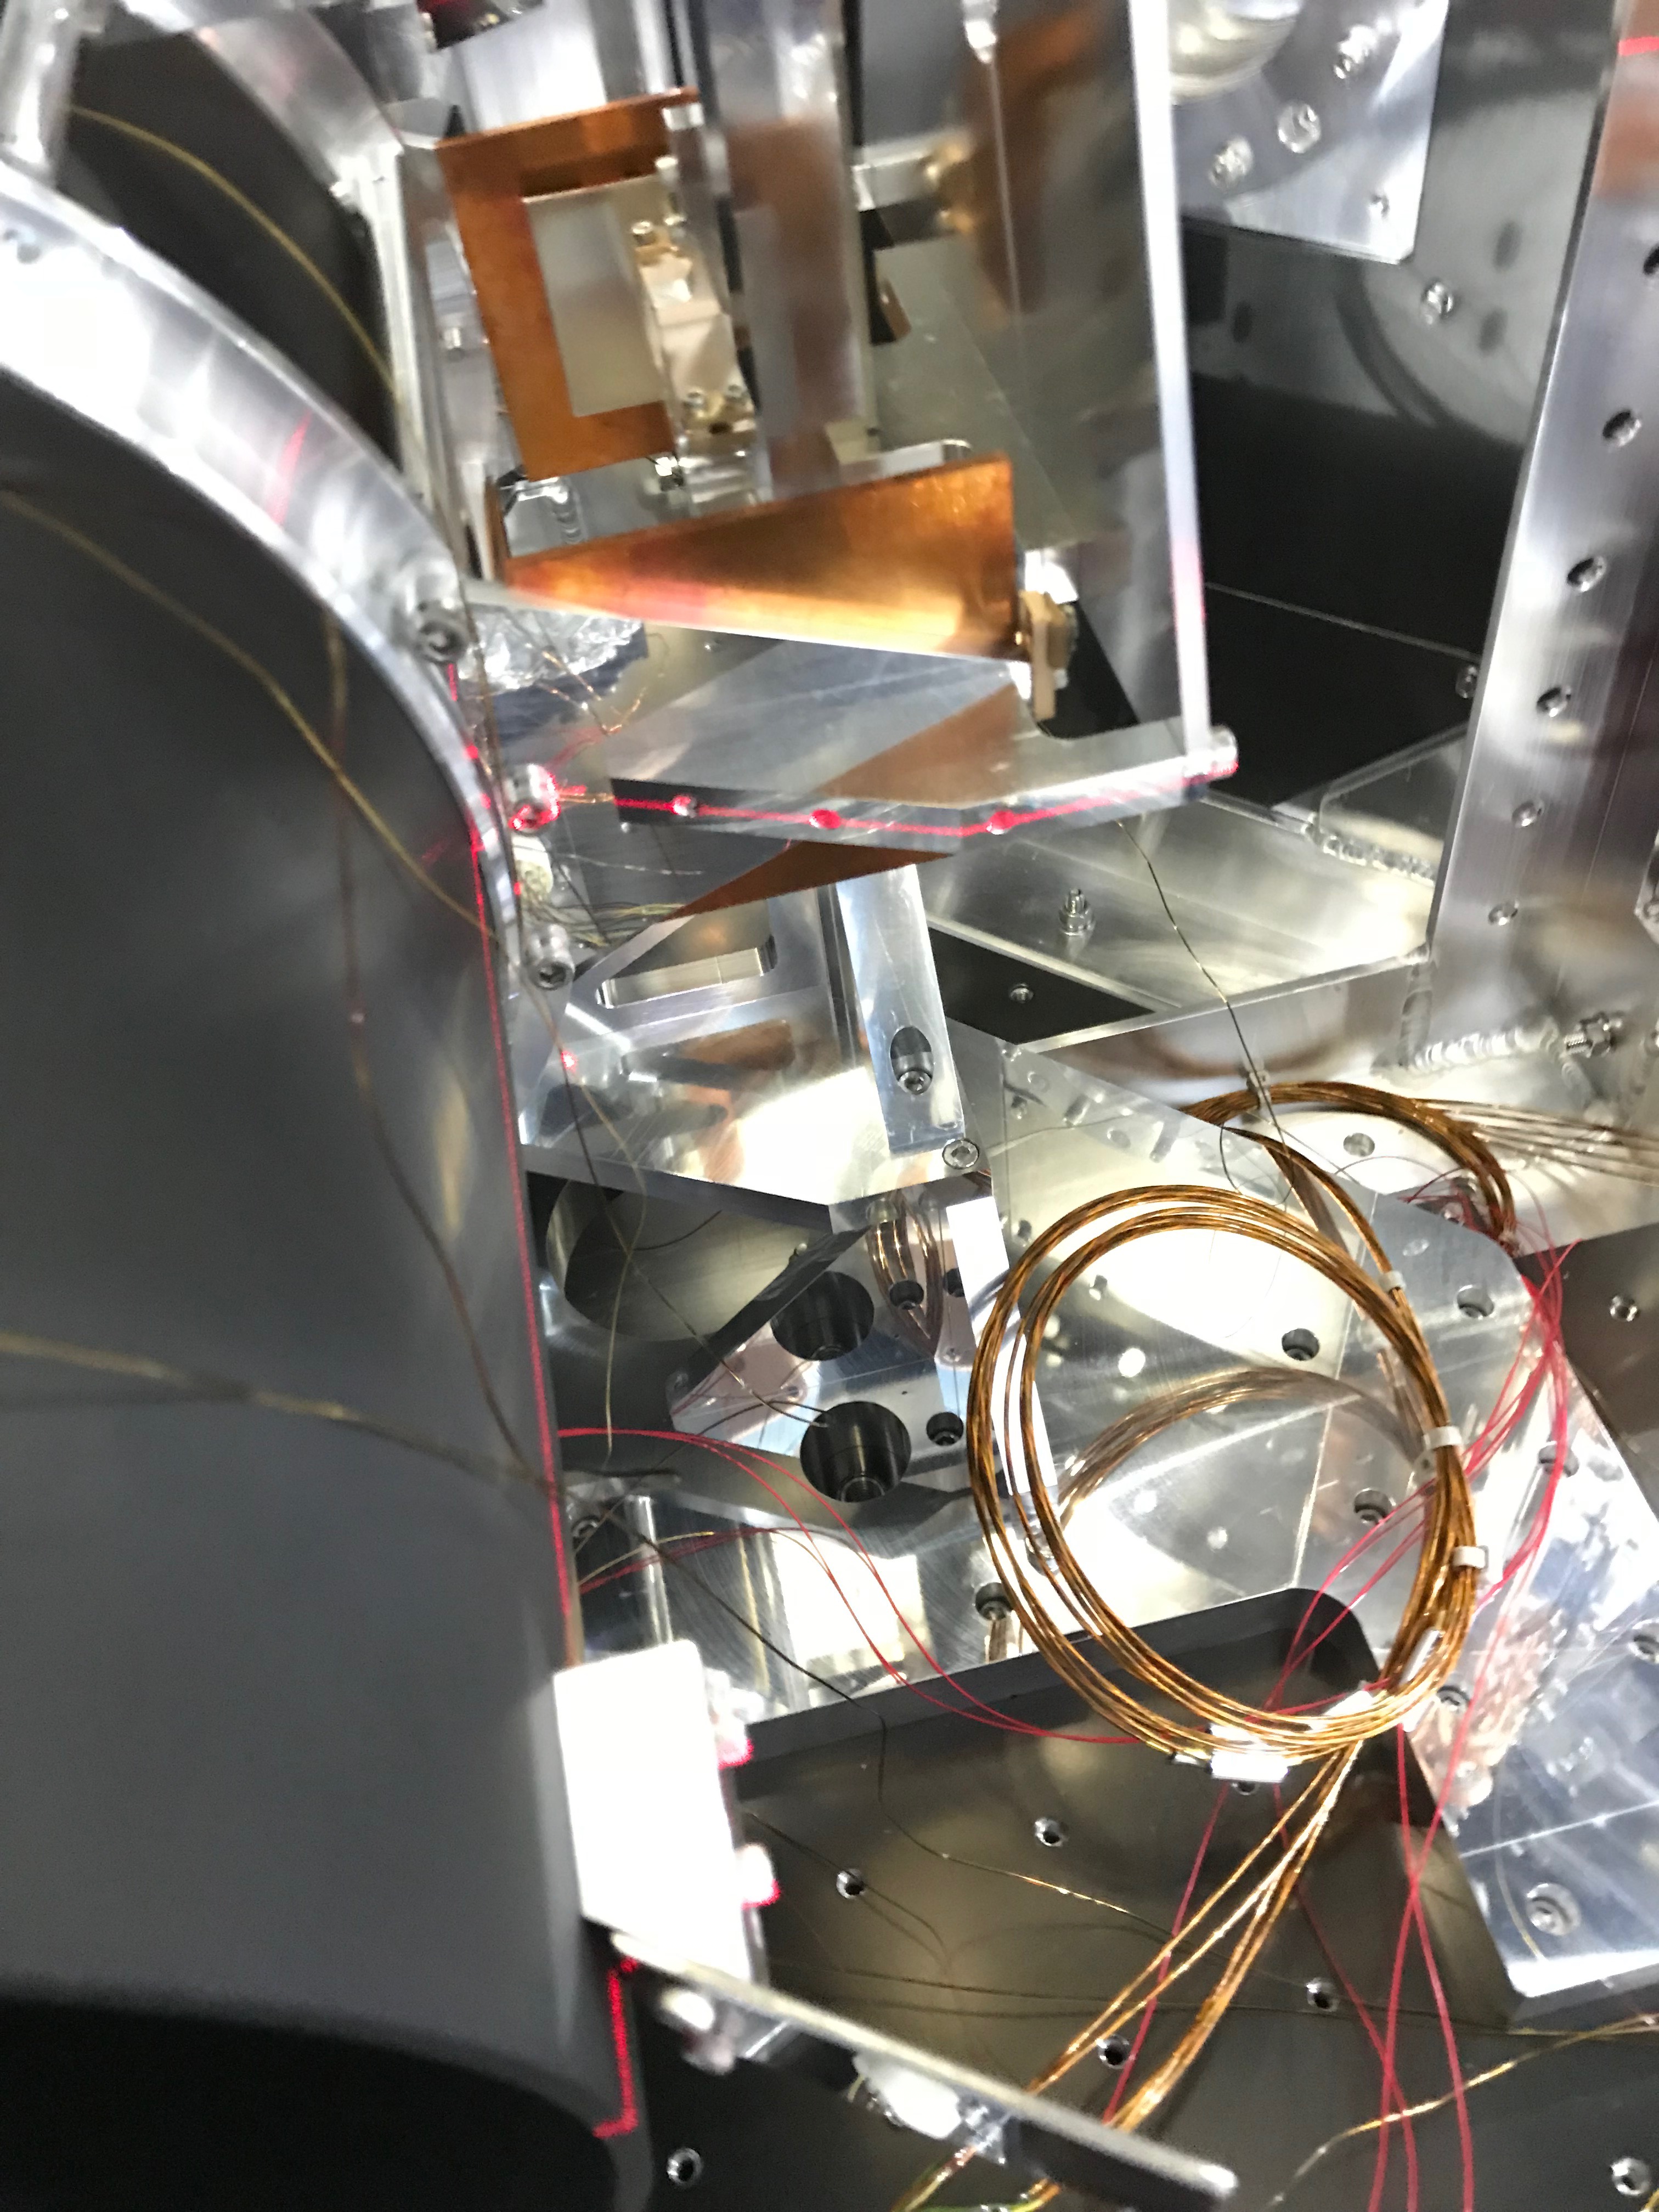
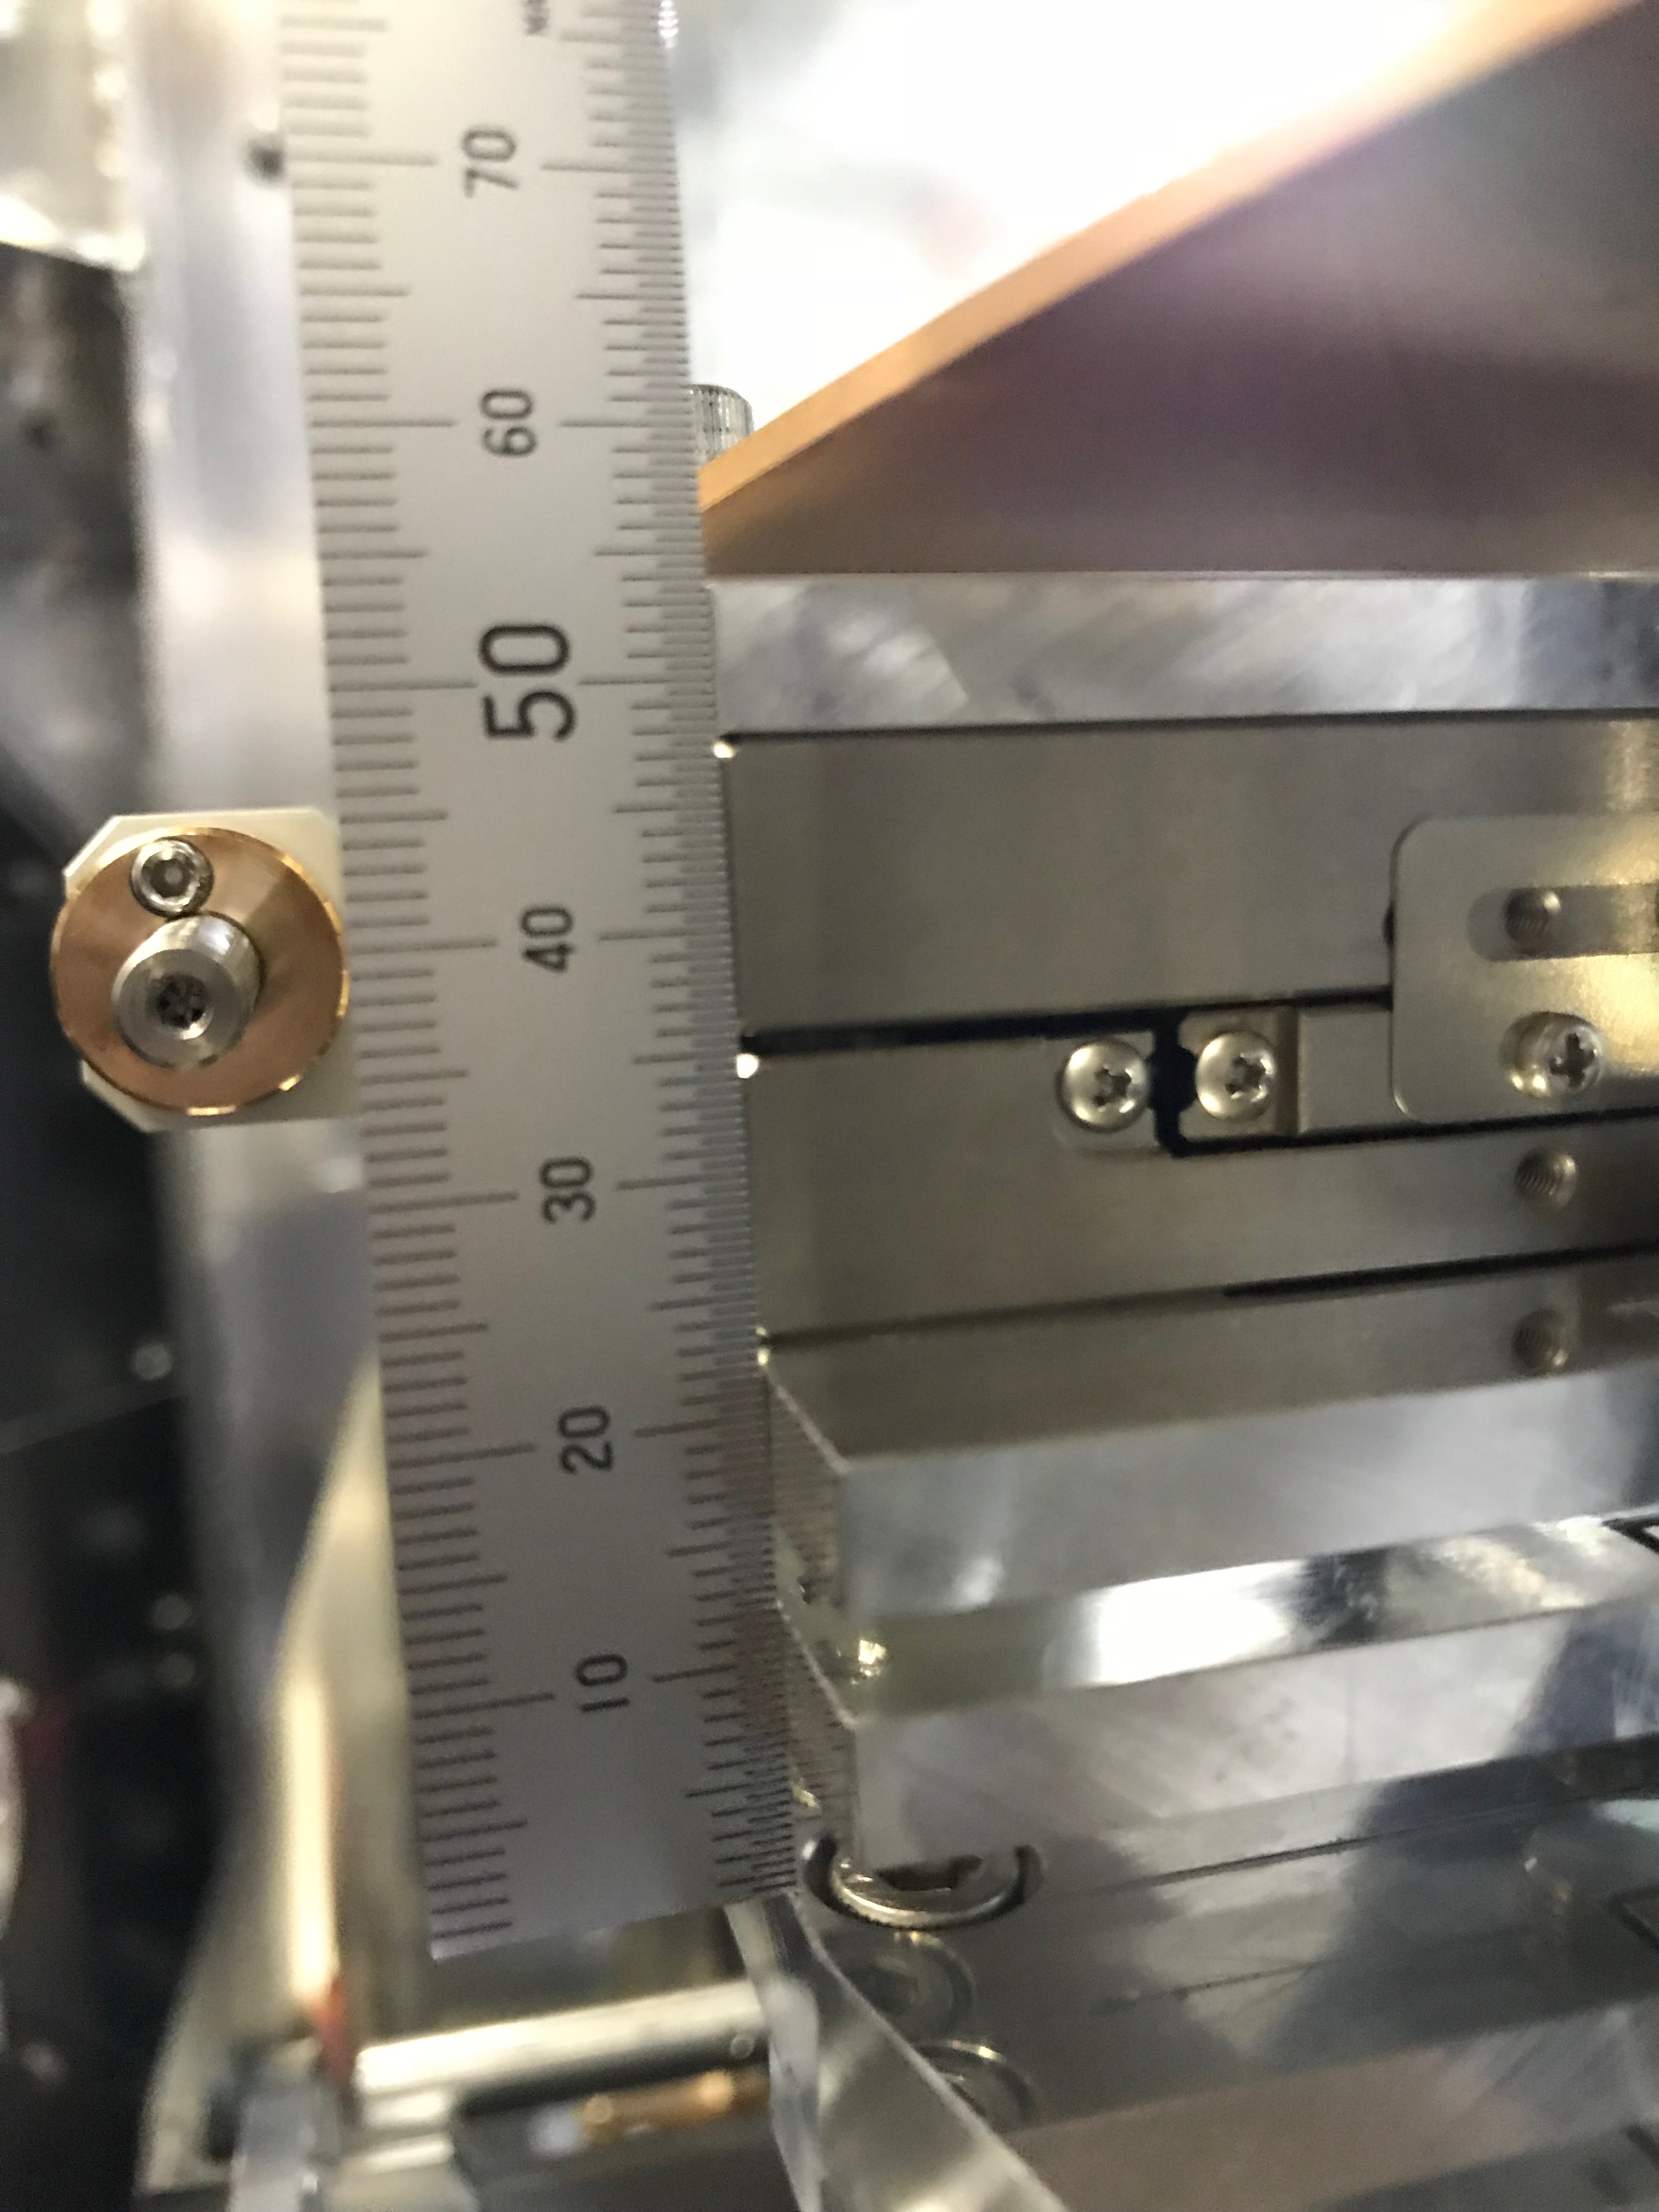
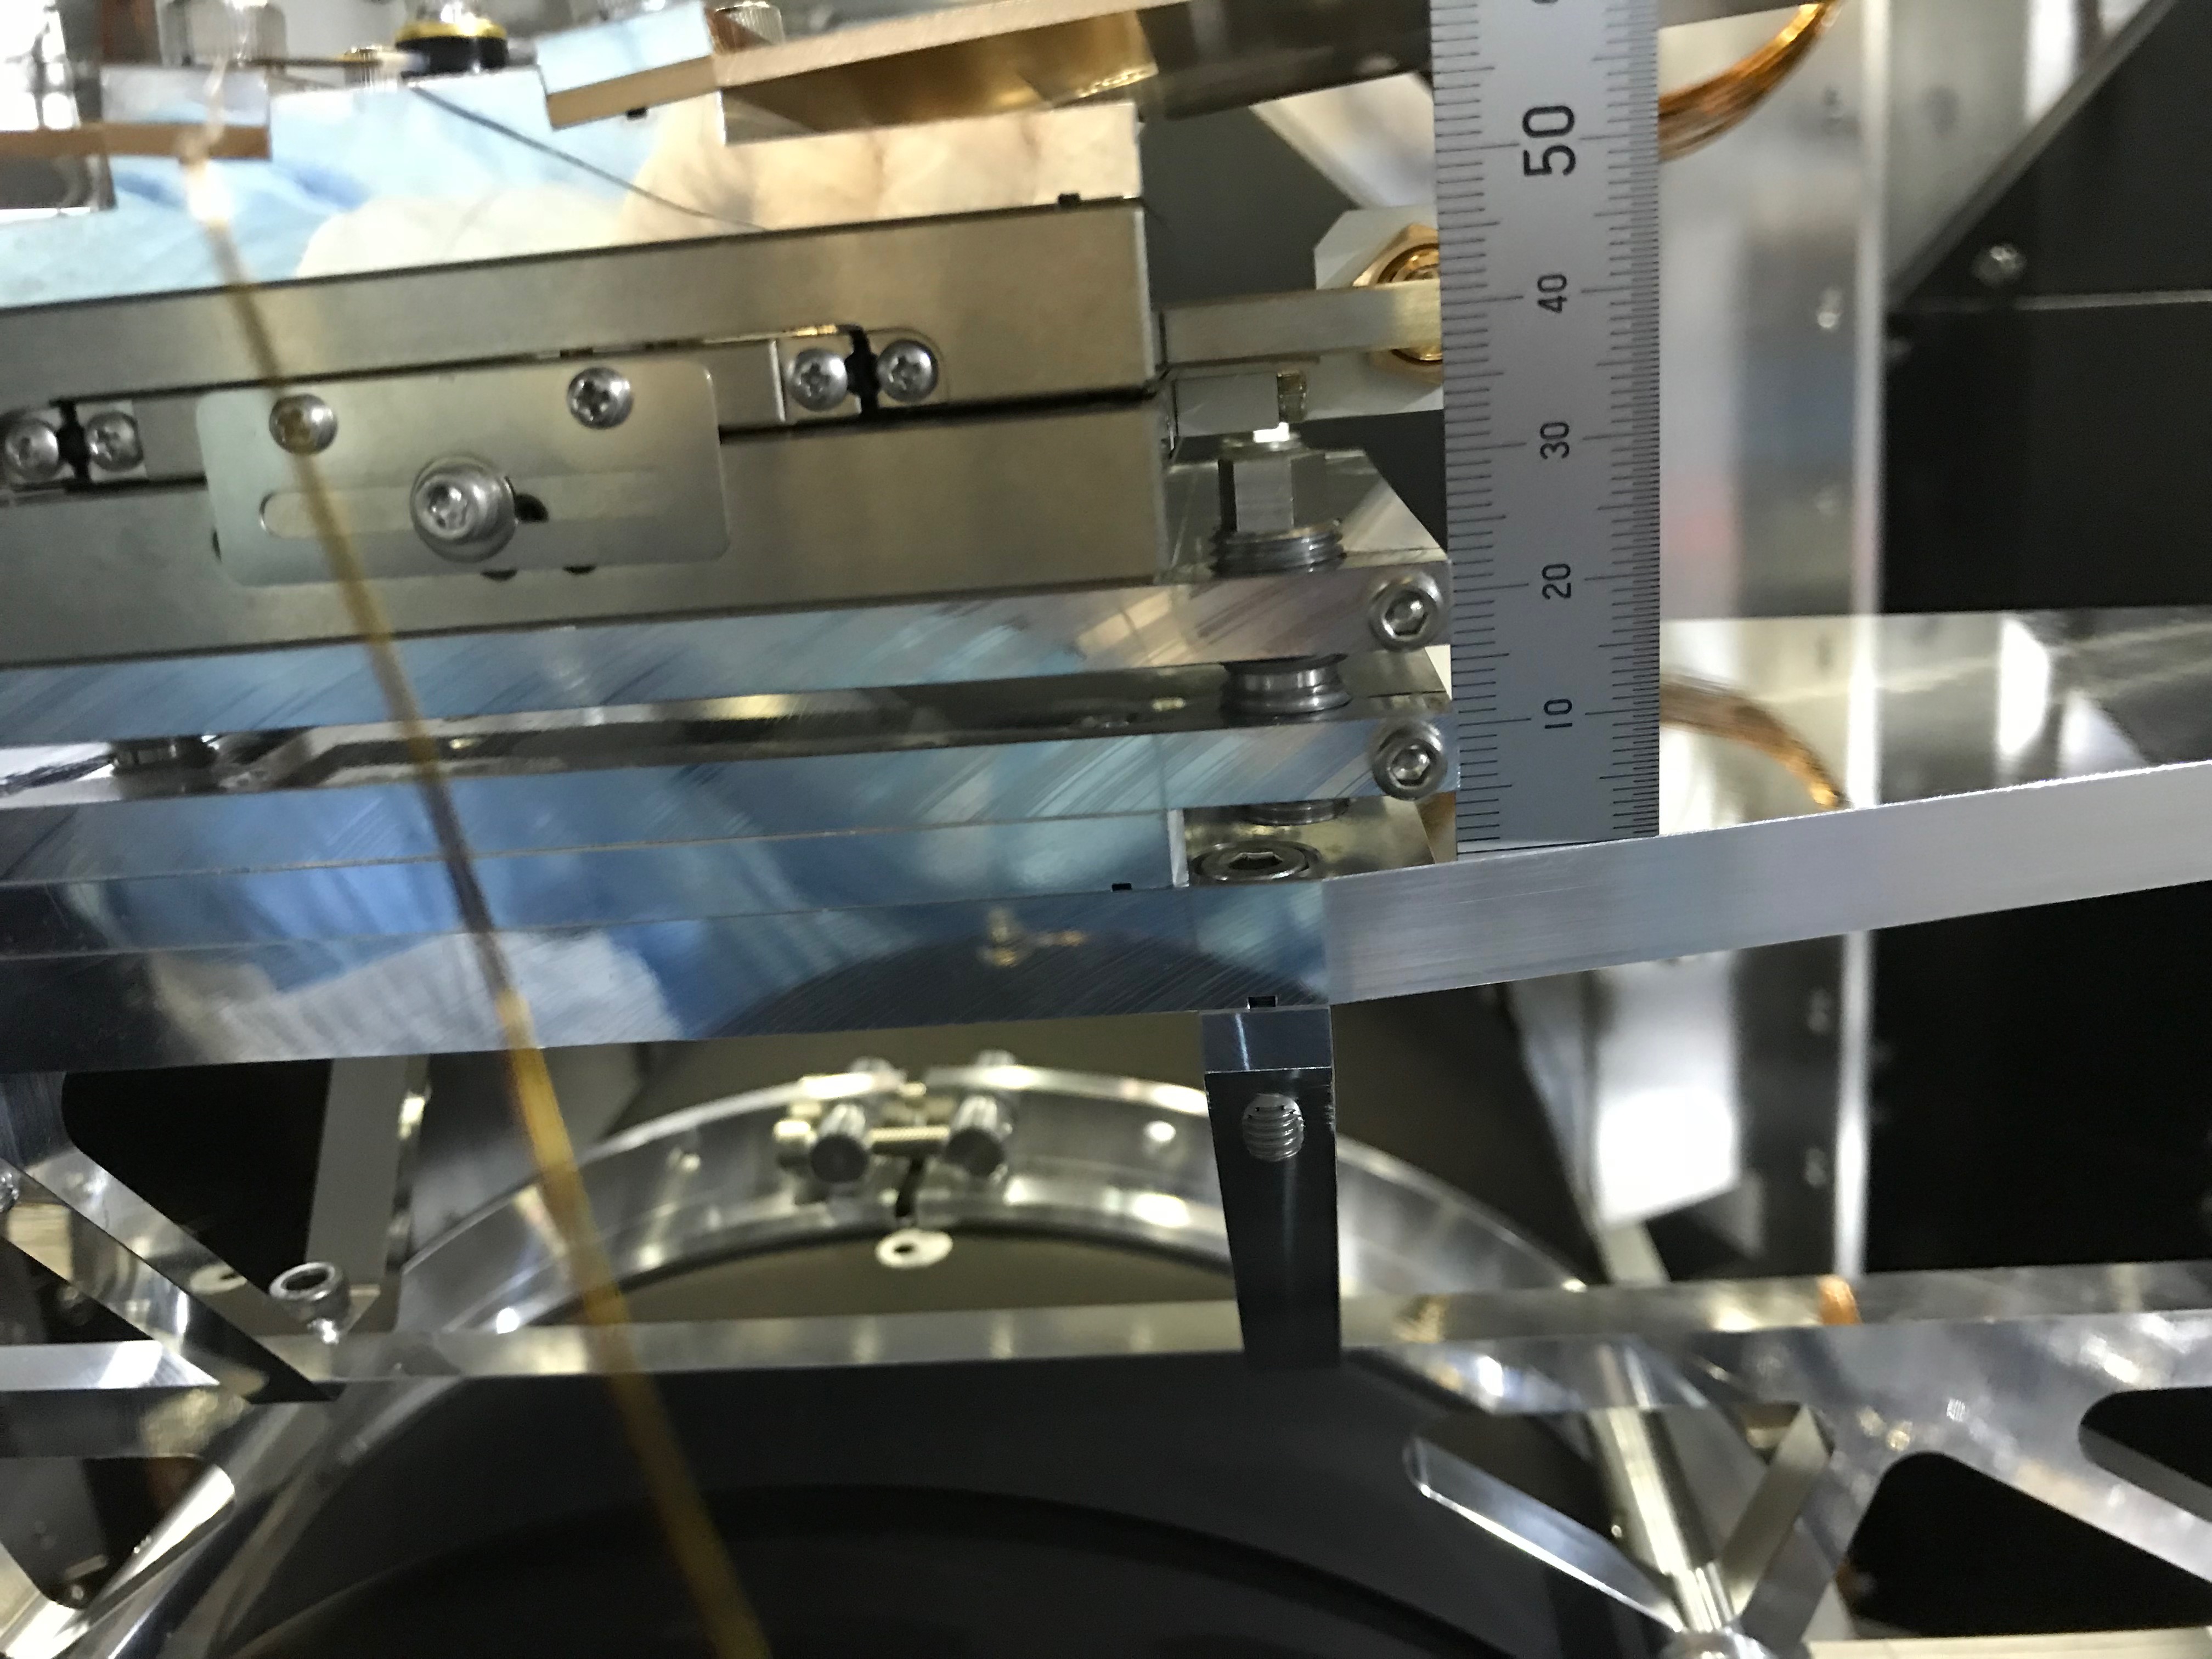
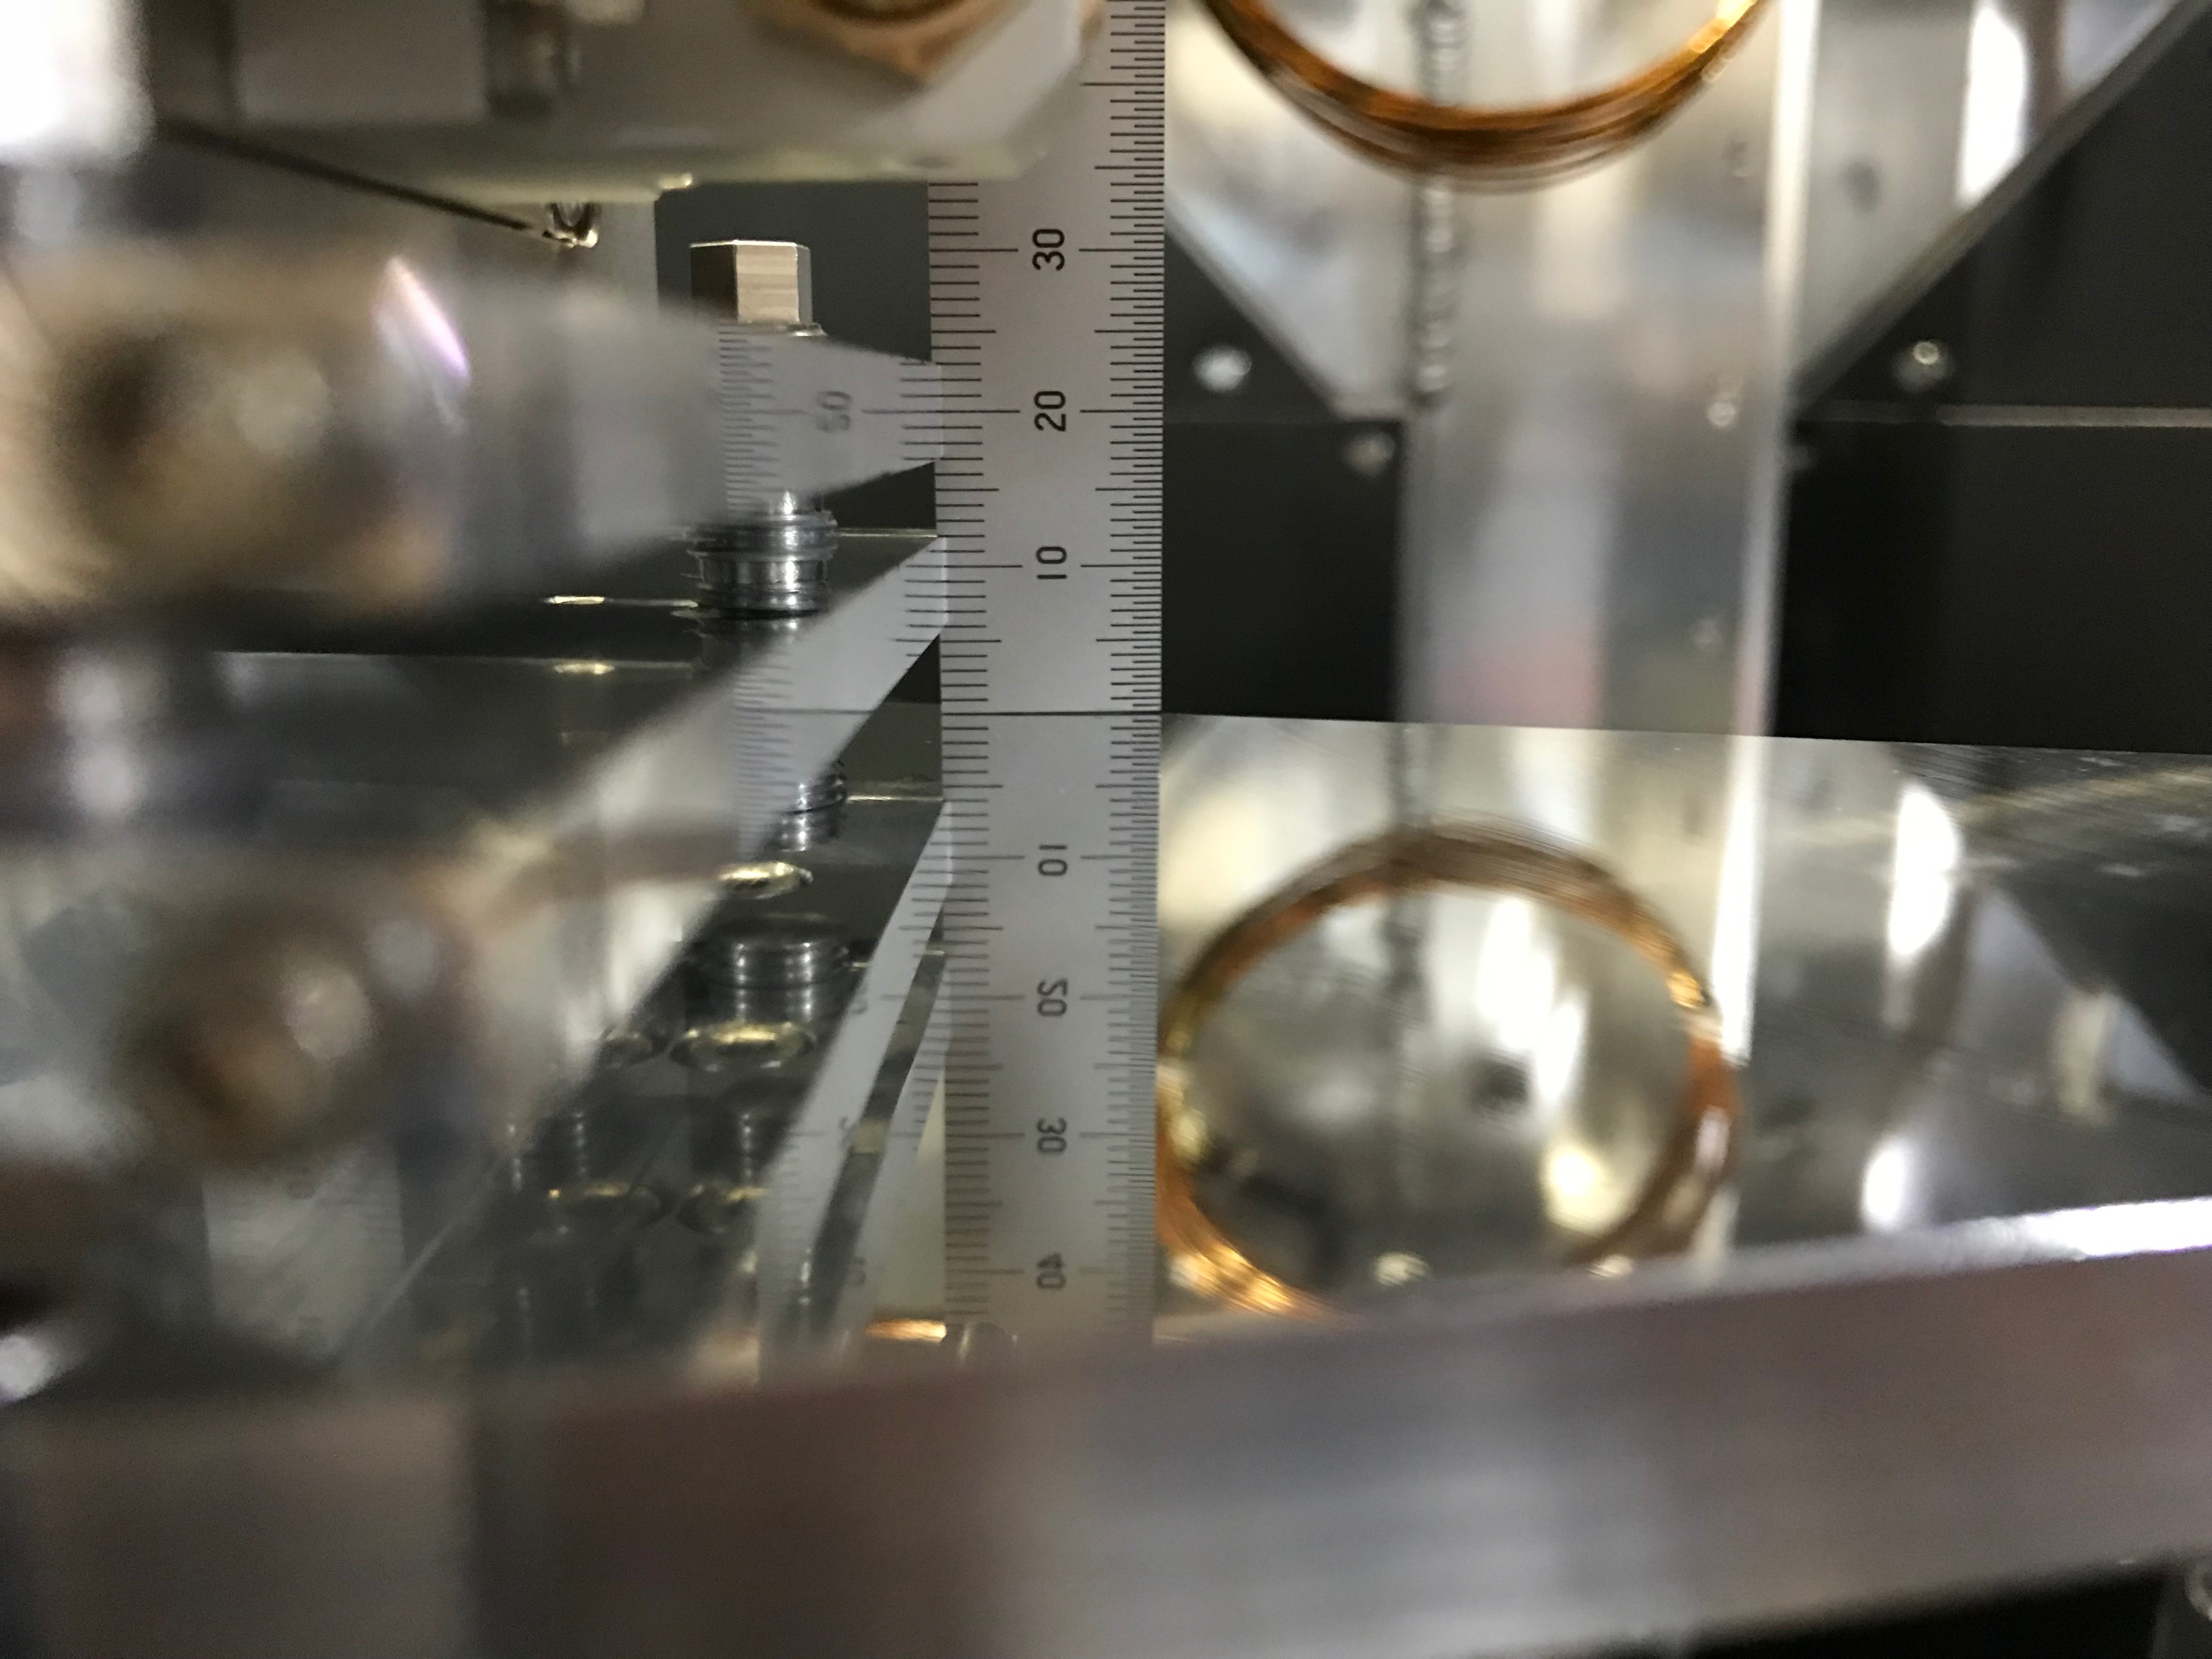
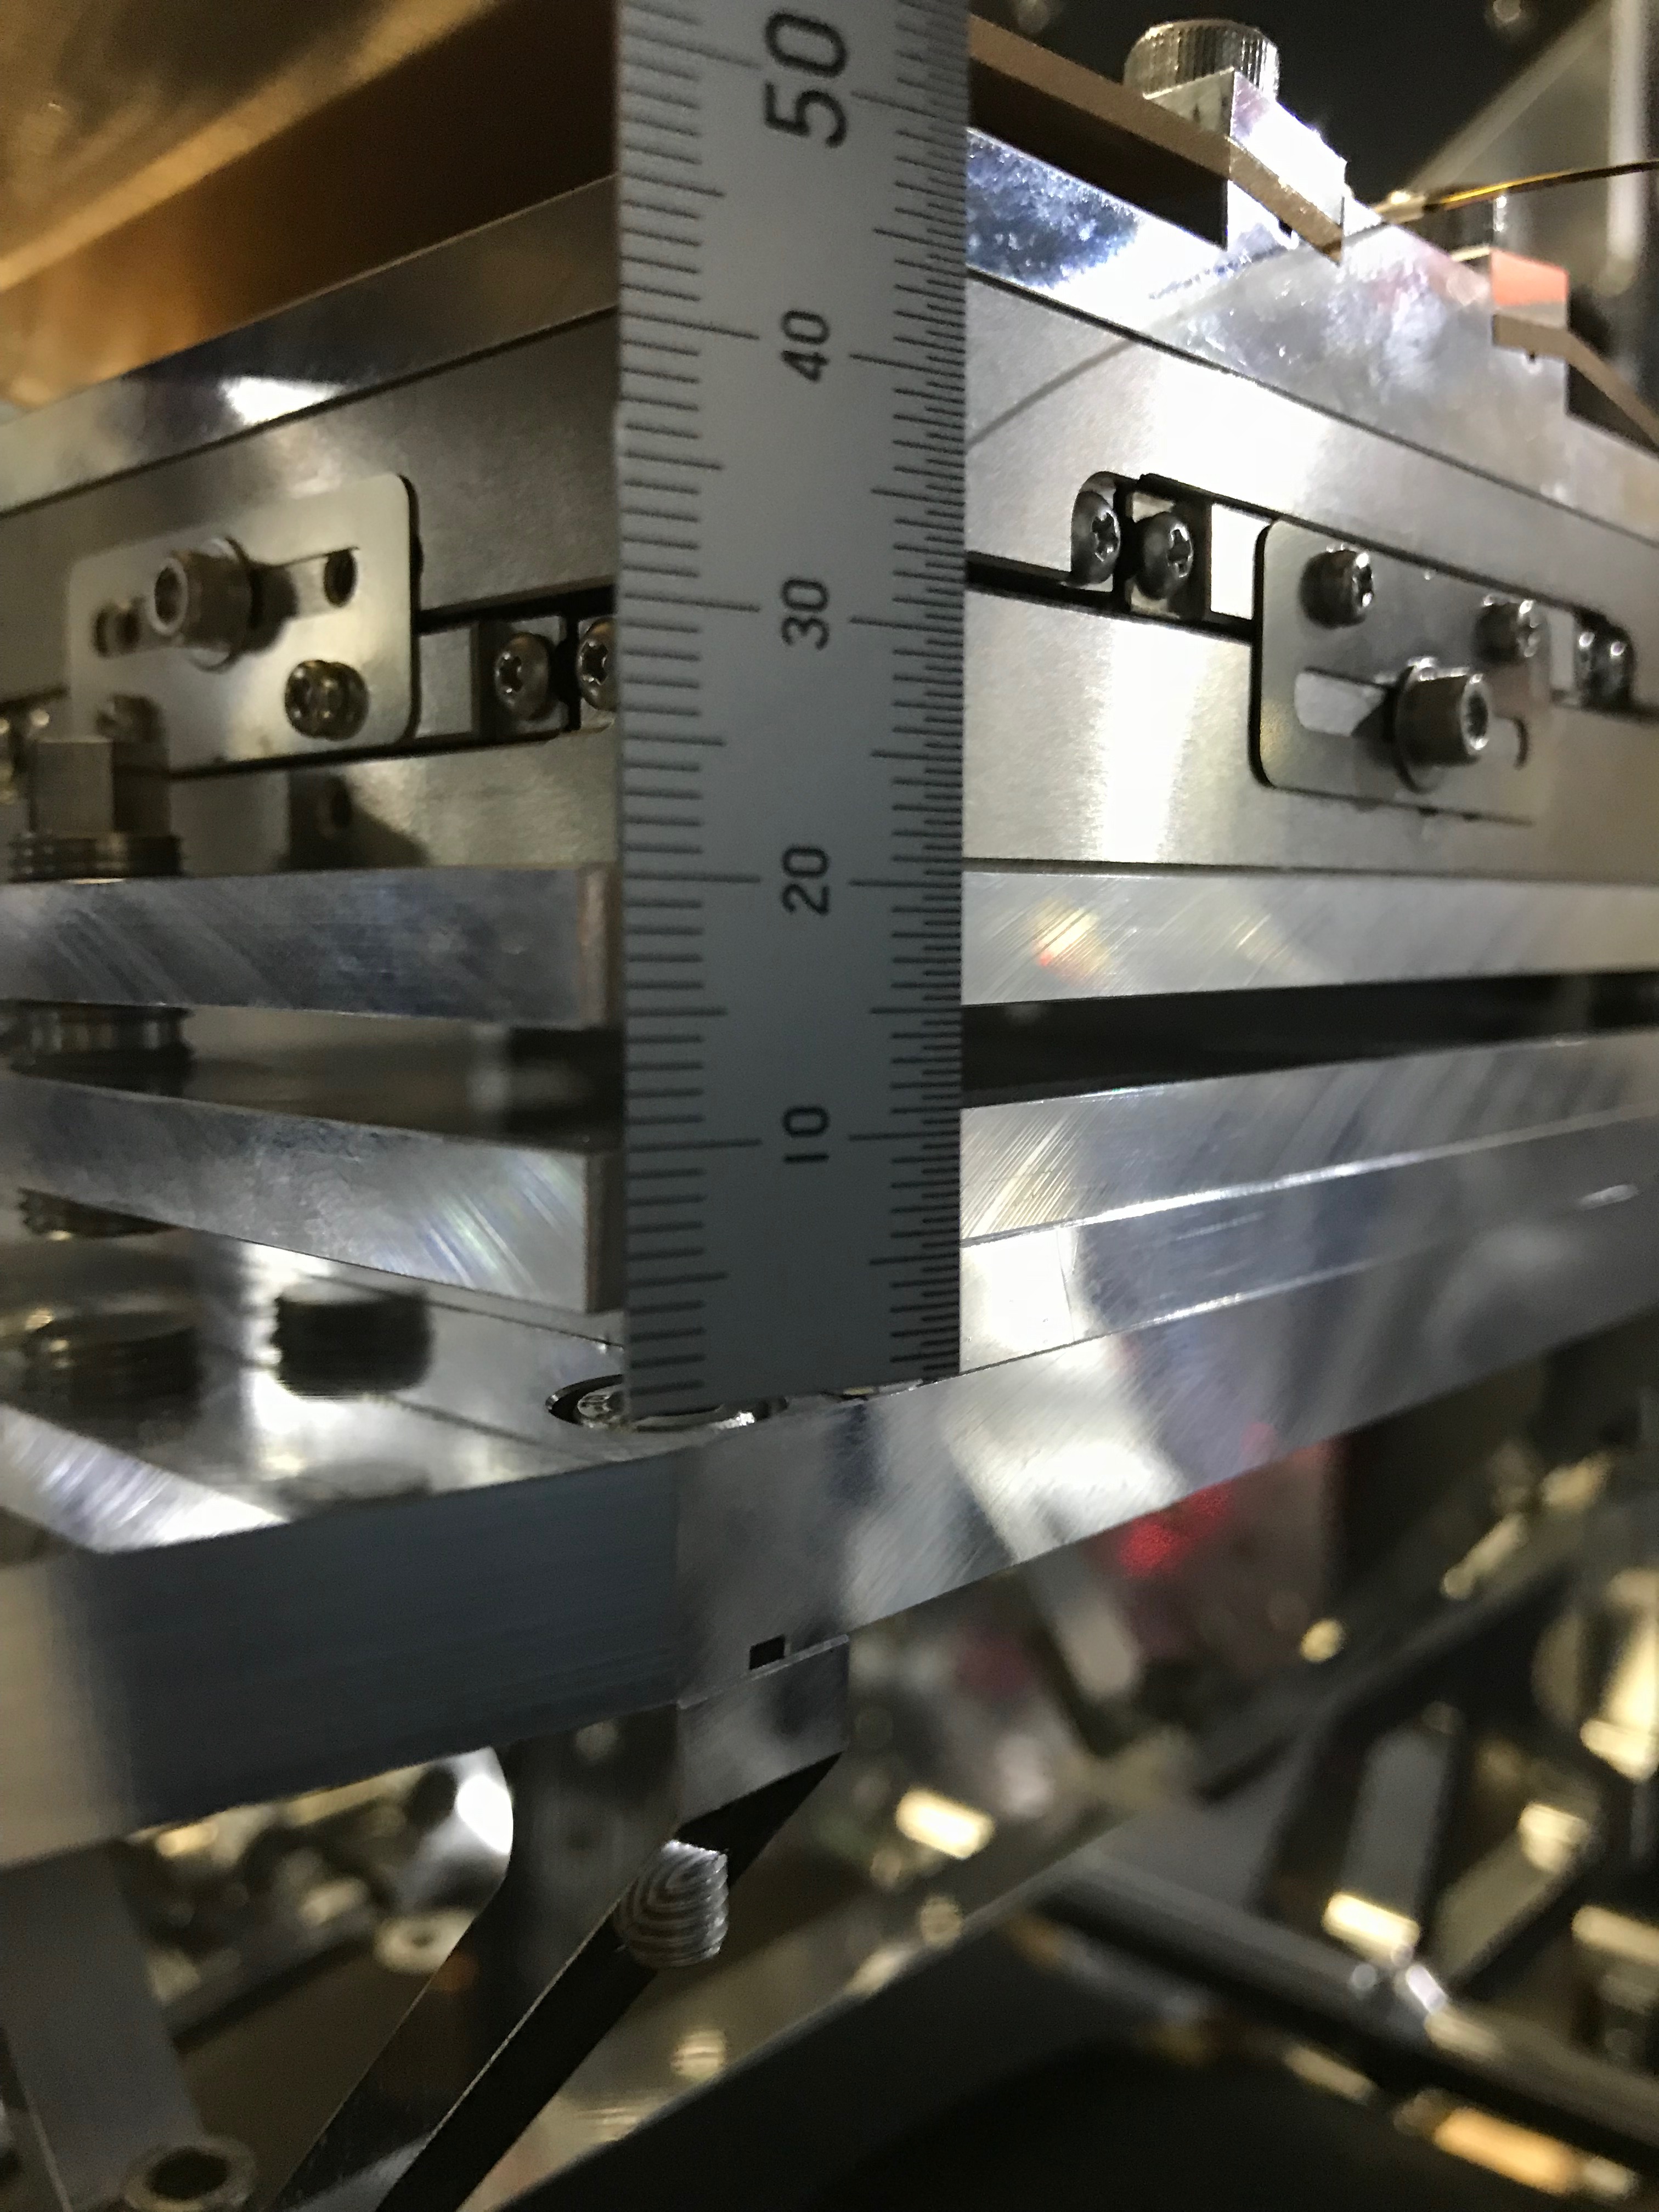
We checked the relative position of each plate and confirmed they are parallel (see pictures 2-5)
-
We tightened the M3 screws again and dismounted the protector wings from the suspension frame (but not from the baffle) and held the wings with one hand (one person for one wing)
-
We carefully lowered the baffle at each side at the same time
-
Akutsu-san then held both wings (he was standing on the optical table) while Miyo-kun and myself slowly removed the M5 screws that were holding the wings on the baffle.
We tried to do this also at the same time and were successful (at least nothing broke or was kinked) -
Finally, we confirmed the baffle’s new position by checking the lowered laser-line of the leveler and found it in the same position as before the lowering of the baffle! (see picture 6)
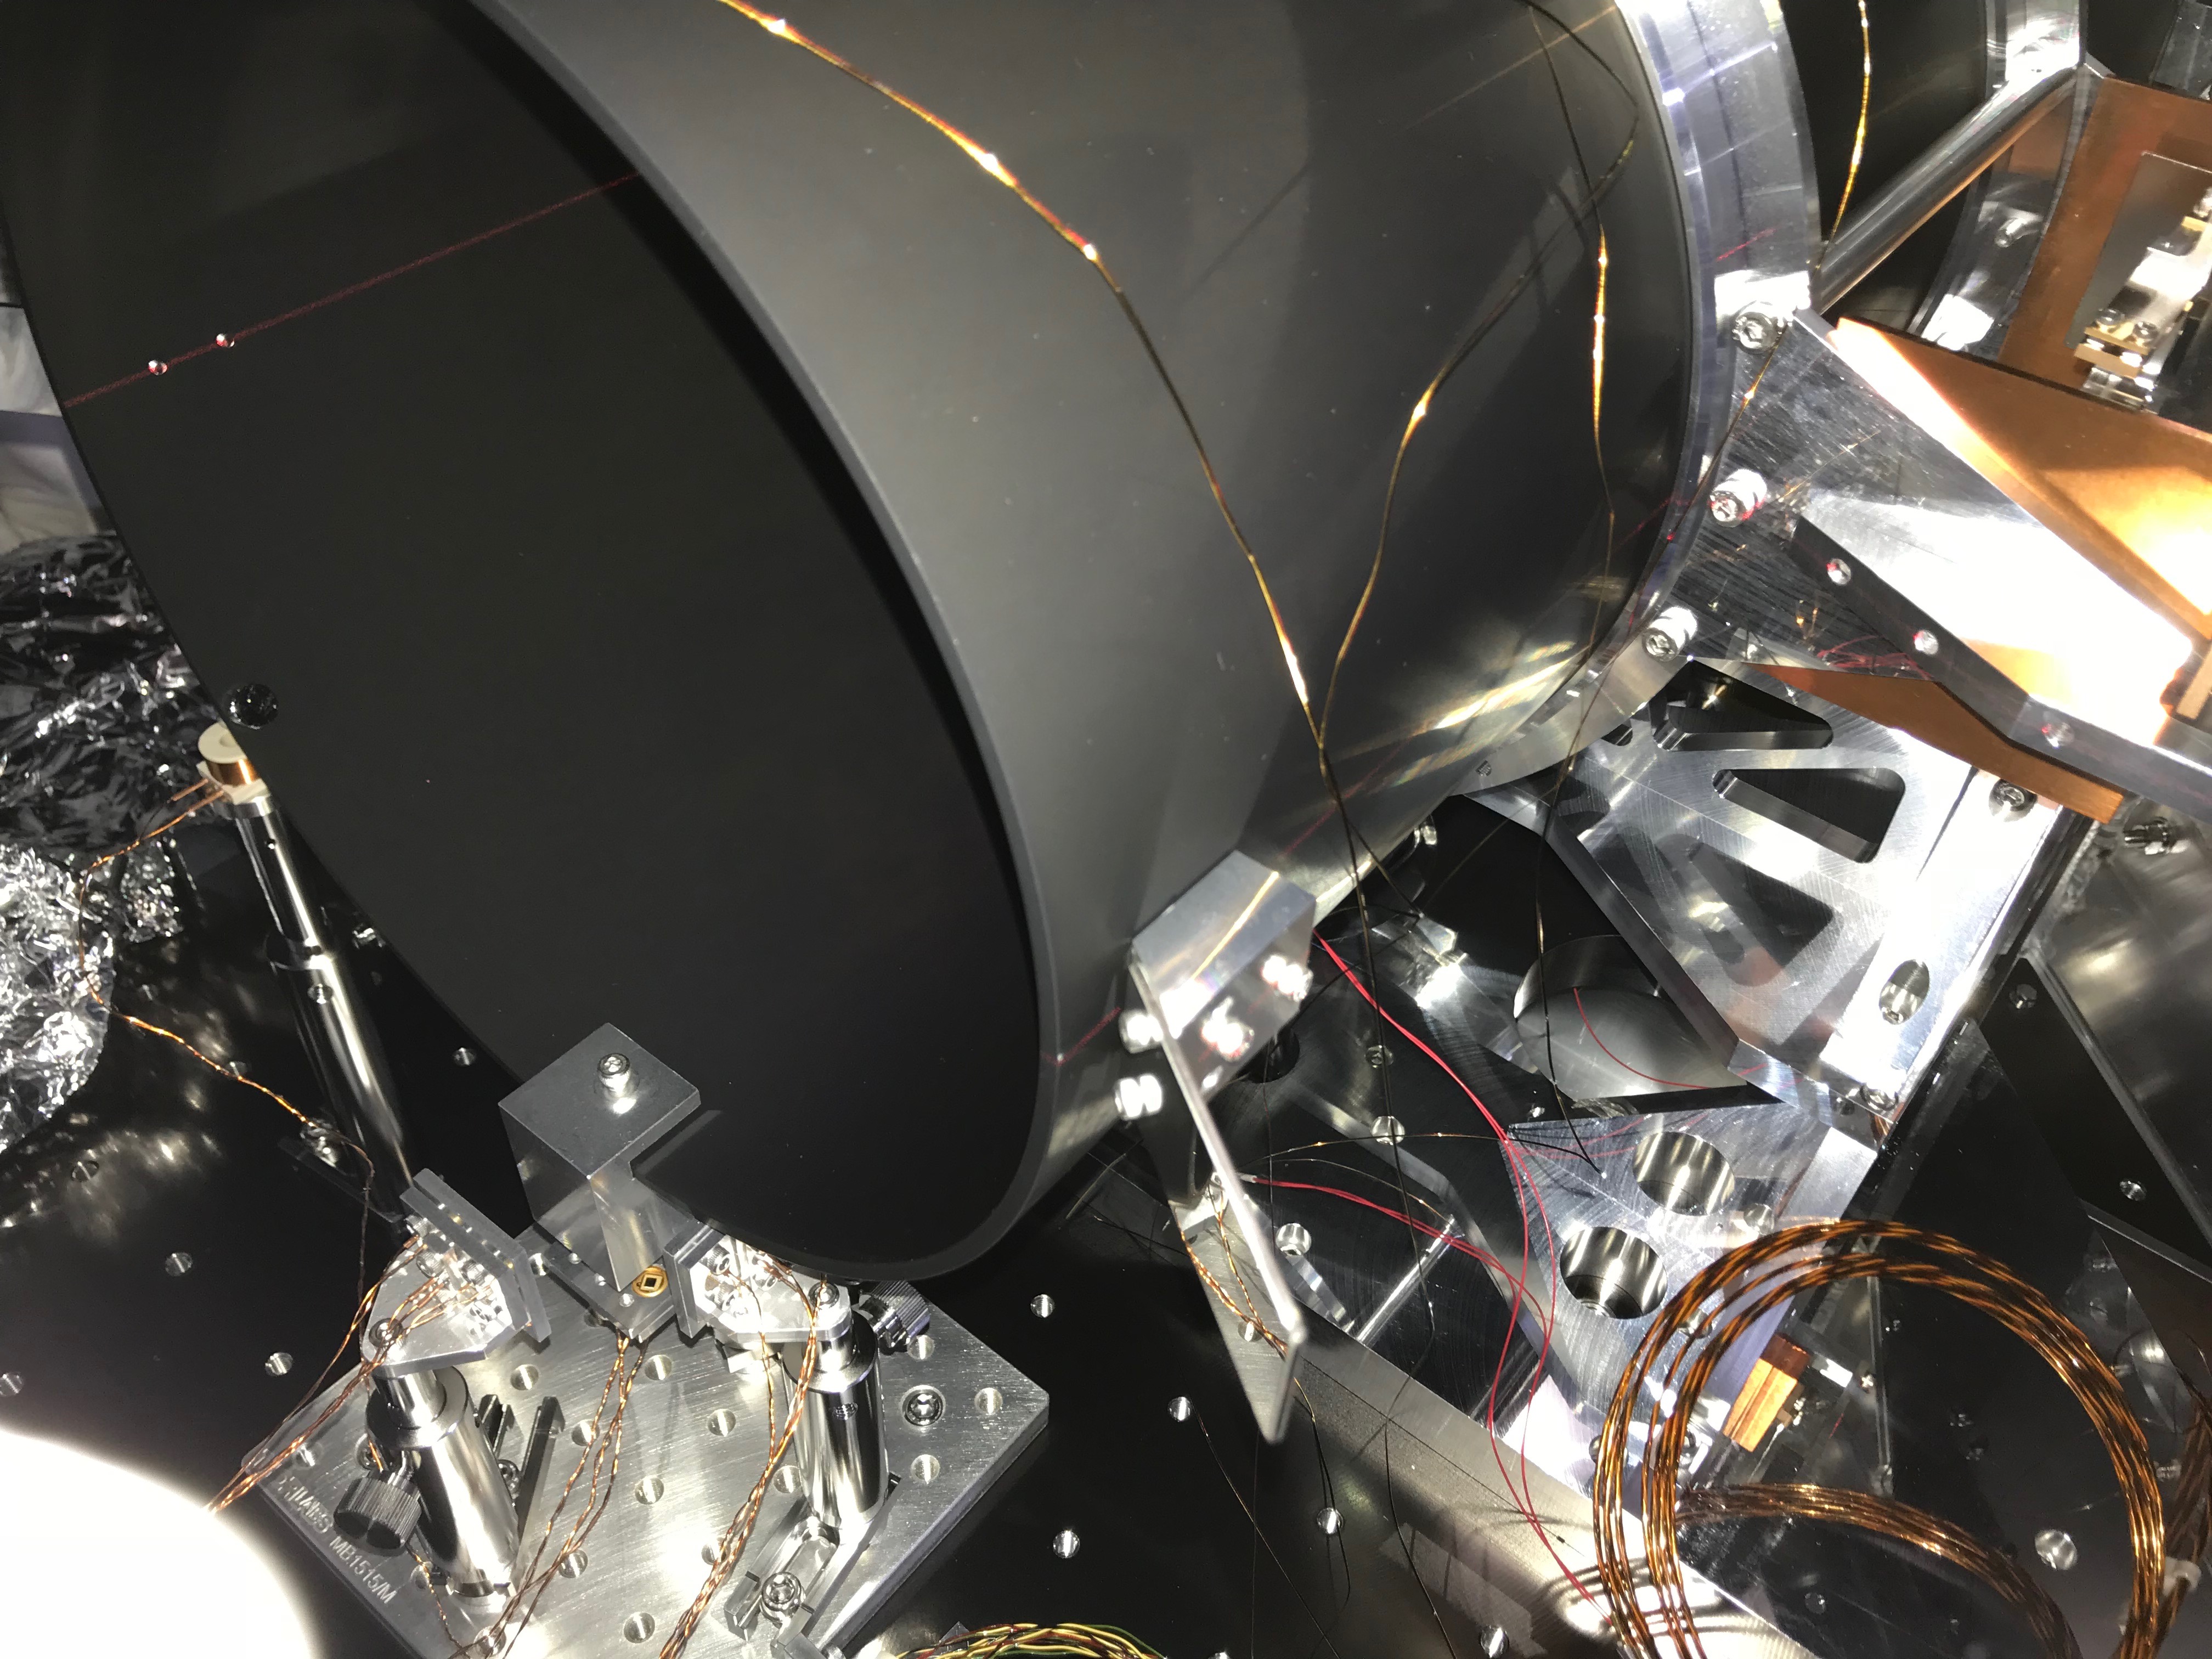
Also, and maybe most importantly, we confirmed that there is still some space between baffle and suspension frame! (see picture 9)
-
-
We injected again some current into the coil-magnet but this time with just 0.5A as the baffle is now much closer to the coil. We could clearly see a response while the magnets on the baffle are not moving or jumping – so, very good!!
Unfortunately, the DAQ was becoming weird when we did all the lowering process. Therefore, we could not take any data (or at least make them visible).
We will try again tomorrow. Hopefully, the DAQ is then recovered.


